Deciding what kind of greenhouse to build
Do I build a lean-to, hoop house, framed, or underground greenhouse? That was the first question I had to answer in the quest for a greenhouse.
Why would I want to have a greenhouse, you might ask? I’ve always wanted one. I think they are really cool. I wanted to be able to grow fresh vegetables for a longer time period each year. My son wants agriculture of some sort to be his job. I’m sure I’ve left out some reasons, but you get the idea. Greenhouses were/are interesting enough to me that I wanted one.
Should I buy a kit or design my own?
If I can do something for myself, I usually will. Buying a kit seemed like a good idea, but I couldn’t find what I wanted, at a price I could afford, when I was ready to start.
Now, back to the decision of what kind of greenhouse to build. I read a lot of articles about greenhouses and how to keep them warm in the winter. One of the things I knew I wanted to put into the greenhouse were some small trees like avocados and citrus trees. Neither of those types of trees can handle a deep freeze, so I knew I would have to keep the temperatures somewhat regulated. Also, if I was going to have a greenhouse, I wanted it to be as self-sustaining as possible. Life gets busy and I knew I wouldn’t be able to spend time in the greenhouse every day.
As I read, I kept coming back to two related ideas. These were building underground, and using forced air, to harness some of the heat energy from the earth.
Building sunken or underground greenhouses seems to have originated from some of the mountainous regions in South America. Also known as the walipini, or place of warmth, these sunken gardens helped to get the plants out of the wind and used the stored warmth in the soil to keep the crops growing. One of many references to this can be found here.
Most of the information I found about using forced air, or “geoair”, came from here. Since we live in Tennessee, which has a much milder climate in the winter than Nebraska, I figured even a less efficient version could do what I needed it to here. I purchased the report from that sight and learned that further testing had actually been done not very far from us, close to Oak Ridge, TN.
I decided I wanted something that combined these ideas, so went to work designing a structure. I started out with a boat shed design because of the advantages of strength and height, but after building the first rib as a prototype, I decided that would be more time-consuming than anticipated. Maybe I should have continued this design, but more about that later.
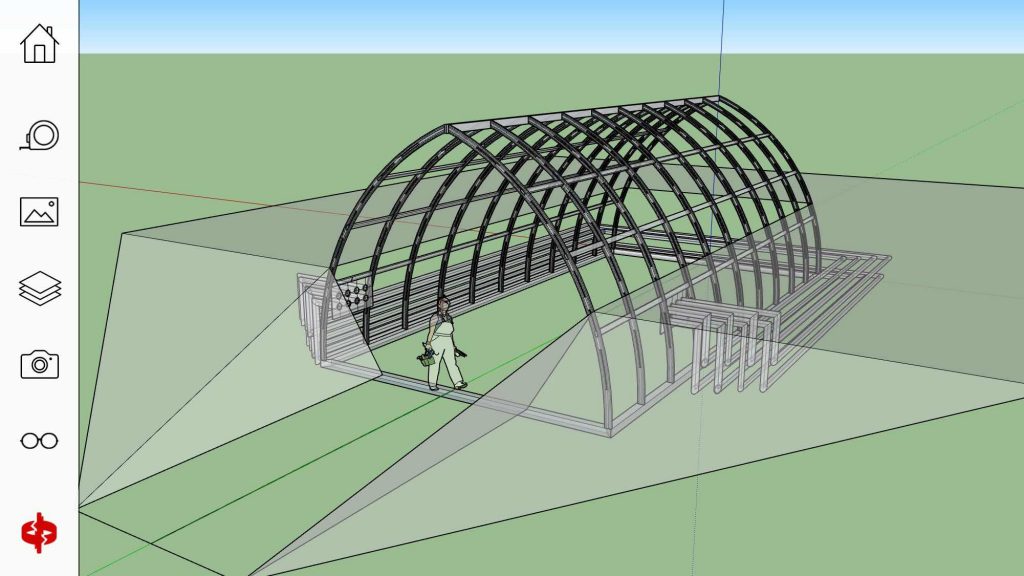
So I switched over to an easier design.
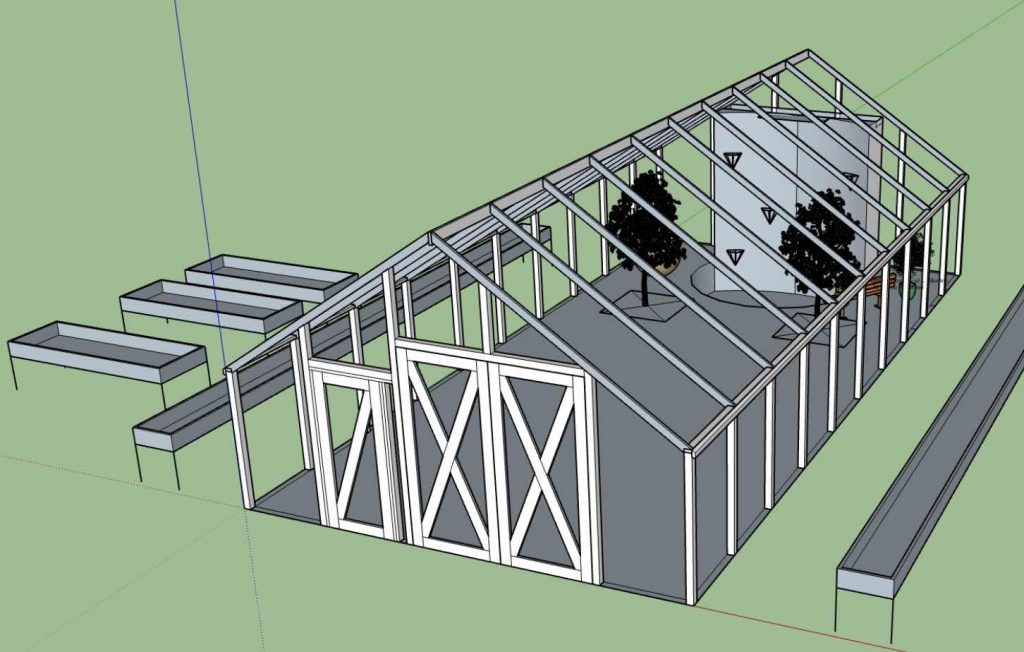
You can ignore the components and trees inside and outside, as I was trying to figure out how to make the best use of space. This is really close to the design I ended up using.
By the way, in case you are wondering how I created these designs, I used the free version of Sketchup. I should say something about affiliate links here. I may, at some point, make money off some of the links on this blog, if you click on them and make purchases. I haven’t found a way to set that up for Sketchup. It’s just a fairly easy to learn program that I’ve used to design woodworking and other projects for quite a few years.
That is kind of the synopsis of how I came up with the kind of greenhouse I wanted. Lots of reading and thinking about what I wanted to accomplish in the end. There are many other options than what I used, so do what works for you.
Deciding where to build the greenhouse
The next big decision for me was where to put the greenhouse. We have several acres of land, so space wasn’t the issue. However, access to the sun was an issue.
In order to get as much sun as possible, you really want an unshaded area. Lacking that, you want to make sure the southern side of the greenhouse has access to the sun. That’s the side the sun is going to hit and where you will get your heat from. The other sides can actually be covered up and insulated to retain more heat.
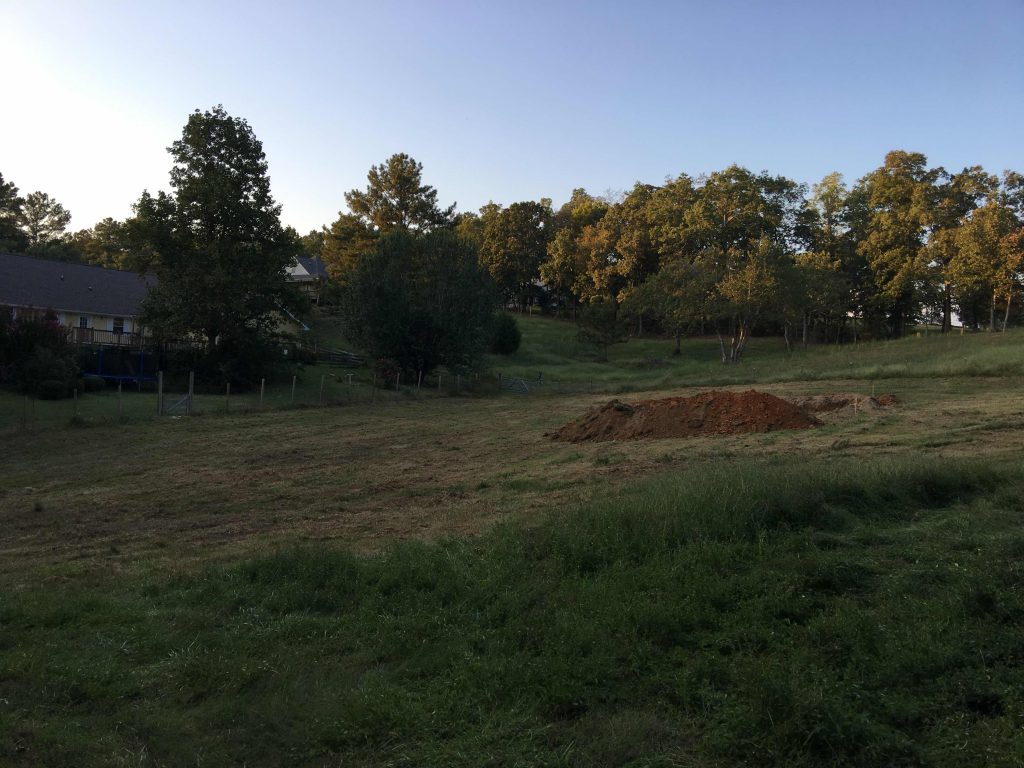
Enough with the rambling, and back to where to put our greenhouse. More than half of our property is wooded, so those areas weren’t ideal. The house and yard directly around the house were also not the place. However, the big field behind the house seemed to me to be a great location.
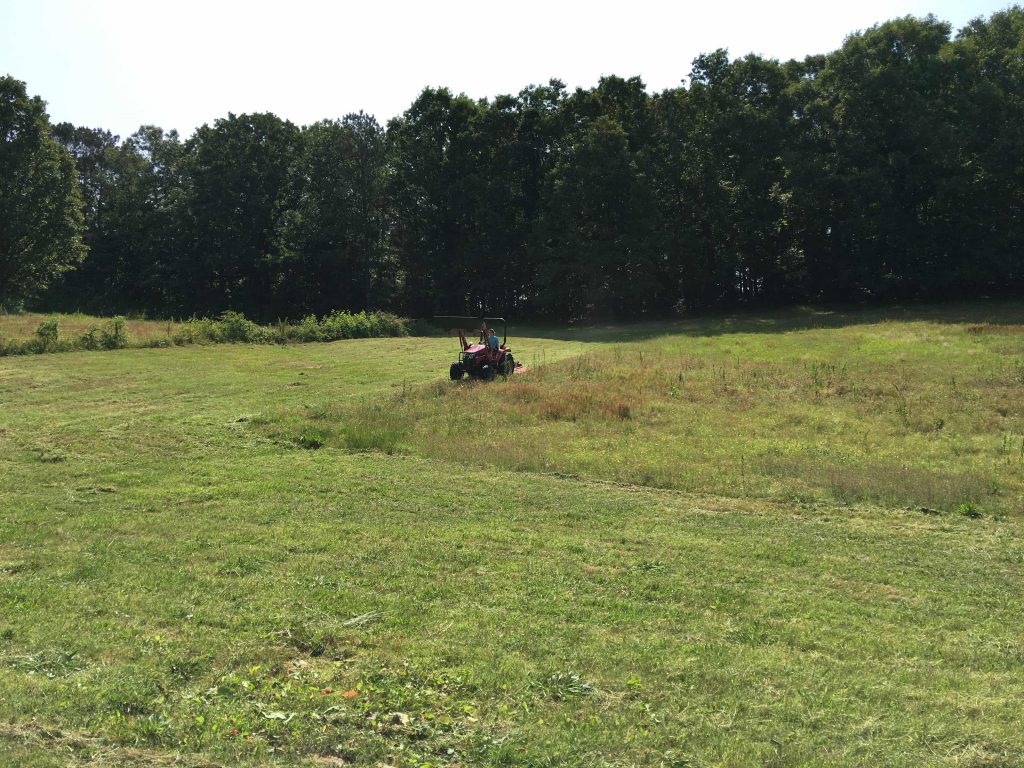
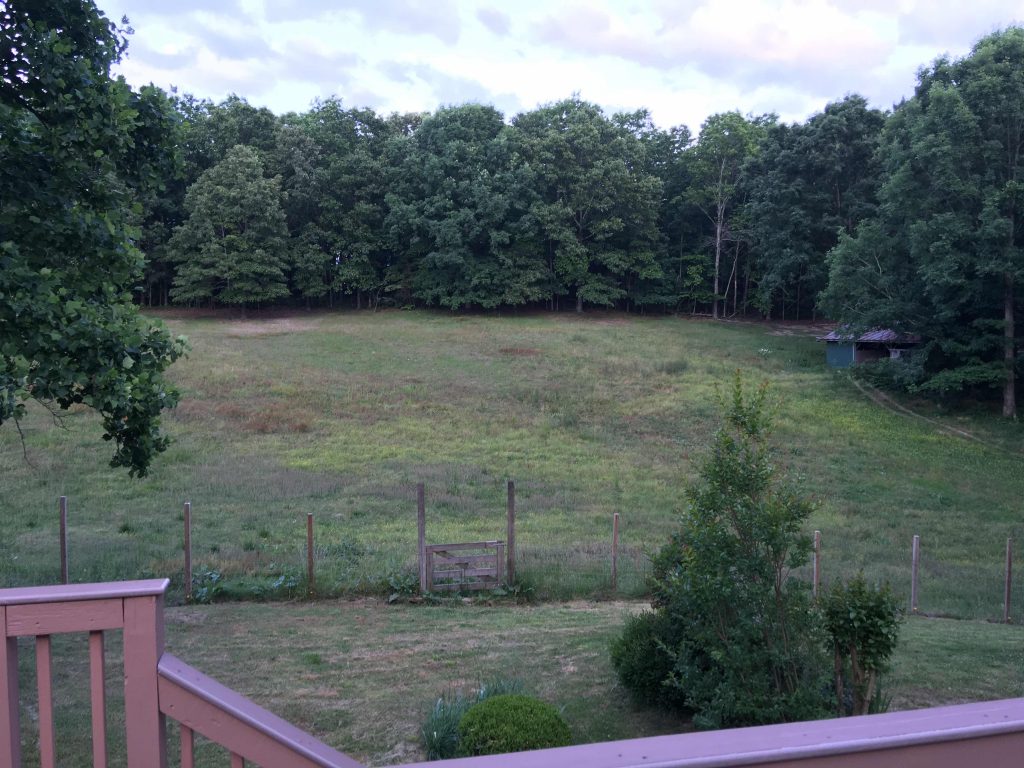
By putting the greenhouse on the north side of the field, it would have sun starting around 9 am and continuing through the day until late afternoon. Since we don’t have animals using the field, this also didn’t take away any space we utilizing, and decreased the area that needed mowed.
Breaking ground
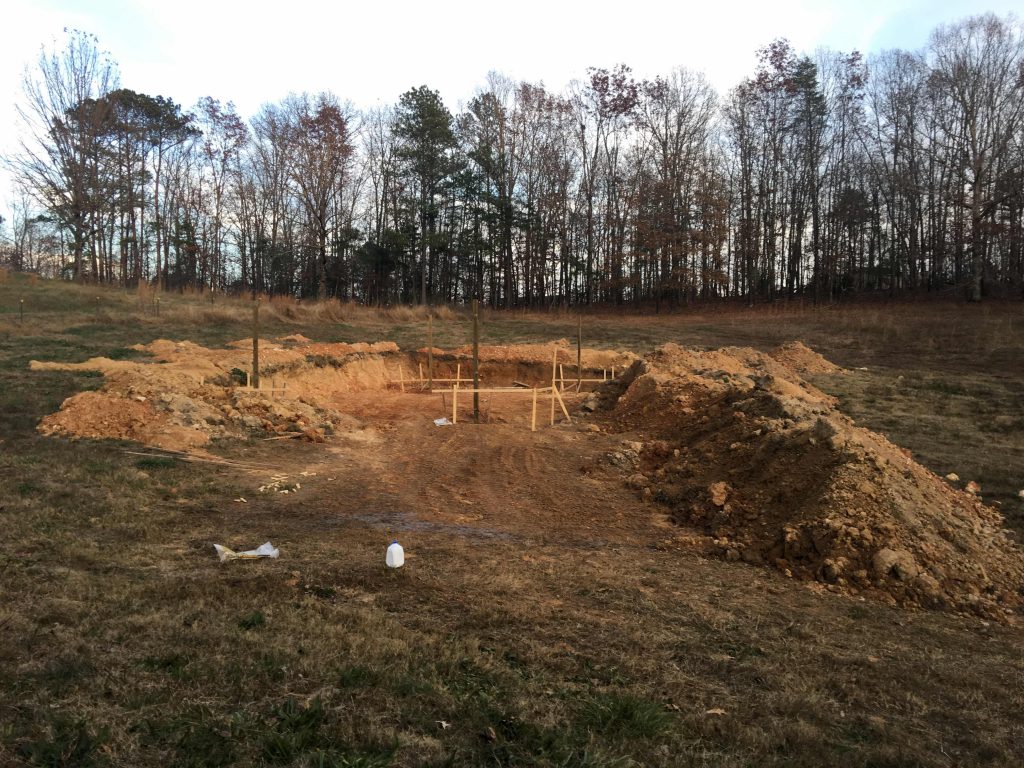
One Sunday, I decided that I had read enough and thought enough, so I started actually doing something. I marked out an area close to the size of the building I wanted, then got on the tractor and started using the front end loader to tear up the ground. By the way, if your spouse isn’t as understanding as mine, you should probably discuss the location with her ahead of time.
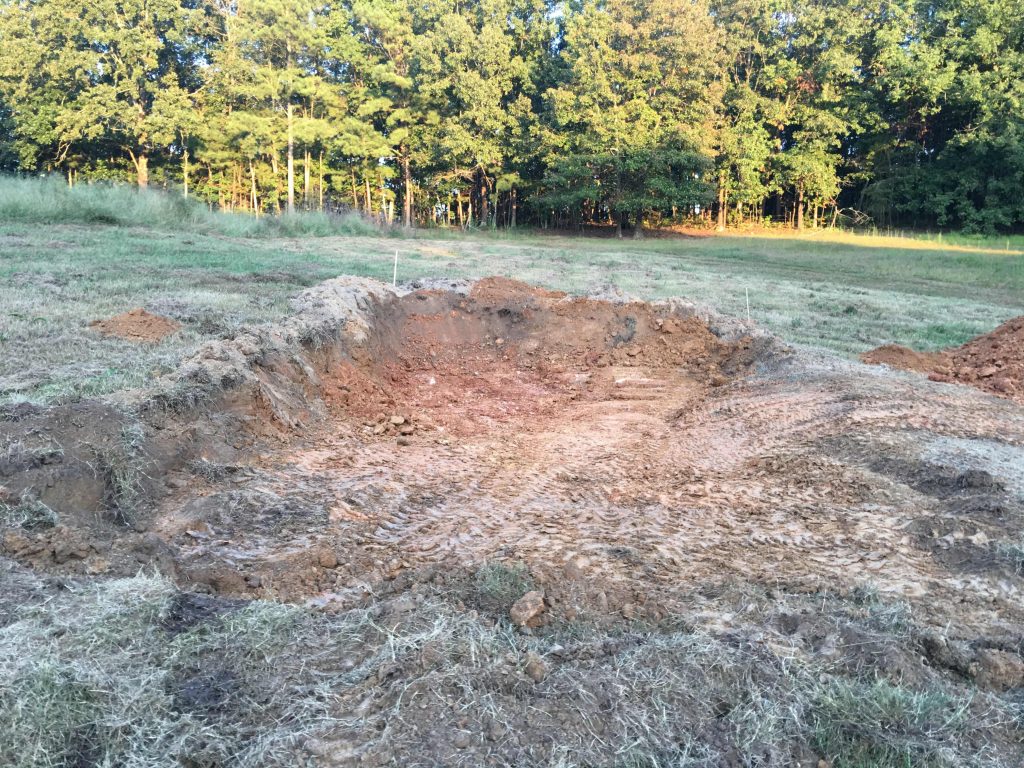
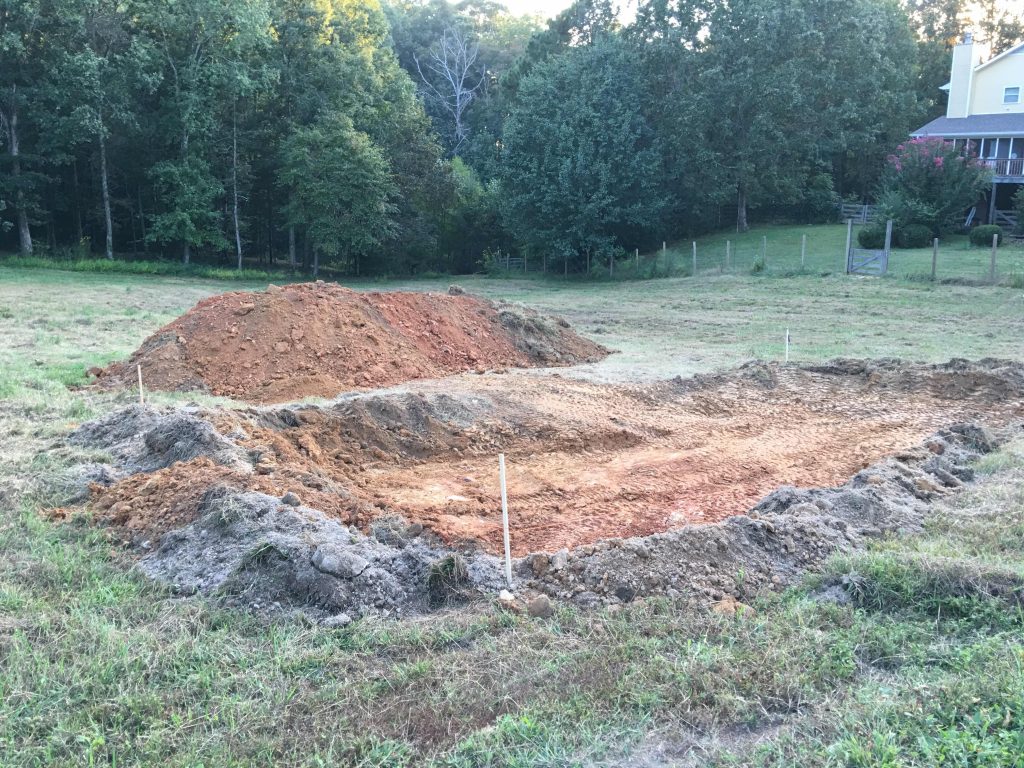
This process would continue for quite a while. A front end loader isn’t the most efficient digging device, but it was what I had, and did a pretty good job of moving around dirt. In the end, I needed to dig almost six feet down in the back to get to the level I wanted. This allowed me to put the geoair pipes into the ground at the depth I wanted and allowed me to bury part of the structure. I actually ended up stopping because of huge rocks that I couldn’t dig through, but why let reality get in the way of a good story.
A backhoe or excavator would have been much more efficient at digging, but as I mentioned earlier, I’m somewhat stubborn and like to do things myself. If I were to do this again, I would probably spend the money to rent the proper equipment. However, I didn’t, and it still got done.
Doing some layout work
Once the digging was completed, I needed to lay out the space for the building. If you’ve not done this before, this is how you attempt to make the corners as 90 degrees and square instead of ending up with a trapezoid shape of some sort.

In order to do this, you set up batter boards outside what the area of the actual building will be. These are corners built to stretch string on. The string is what you use to square up the actual building. This is probably easier to see in a picture, than with my poor wording.
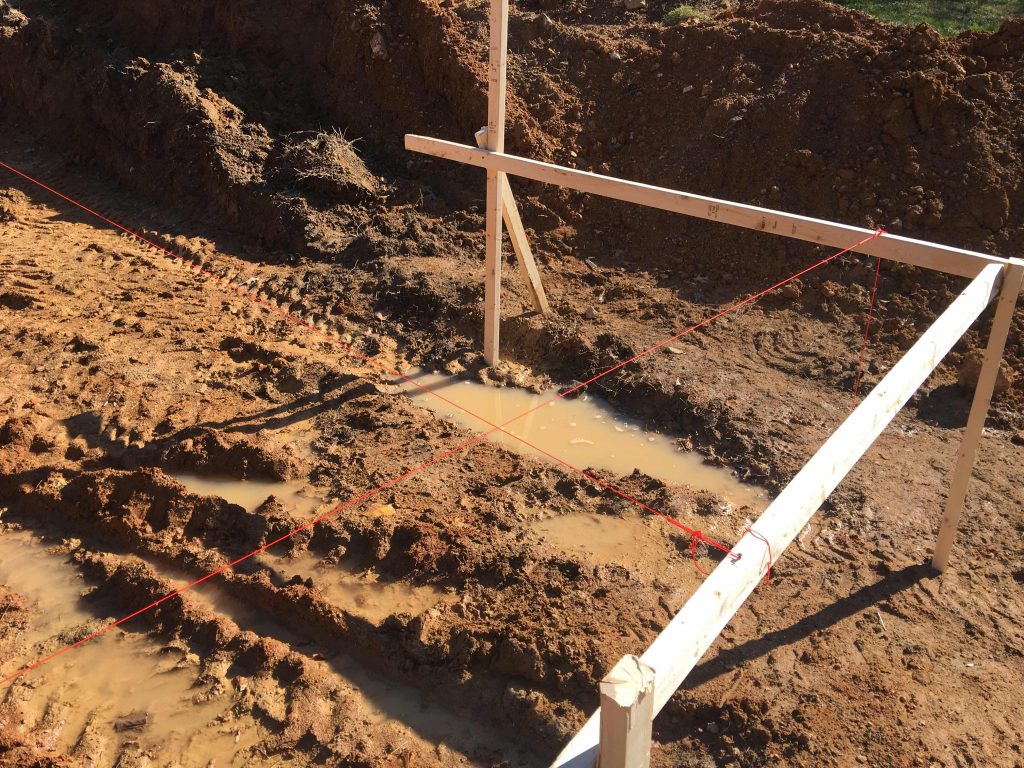
The string is adjustable down the length of the batter boards and is used to define the corners of the building. This technique is used for houses, decks, barns, and many other structures. The simplistic version of this is that you measure diagonally each direction and have a squared up shape when the diagonals are equal. Contrary to what many believe, math can actually be useful after school.
My wife was kind enough to put up with my poor instructions and helped me with the measuring and adjustments. There are plenty of tutorials of how to do this on the internet, from people that know much more about it than I do, so I won’t burden you with another one here.
One thing to mention here is about the setup of the batter boards. While they don’t need to be square to the building, you do want them to be level with each other. You can see from the pictures that the front of where I dug out is quite a bit lower than the back. This was fine for me because I wanted my geoair pipes to be several feet under the final ground level.
Starting construction
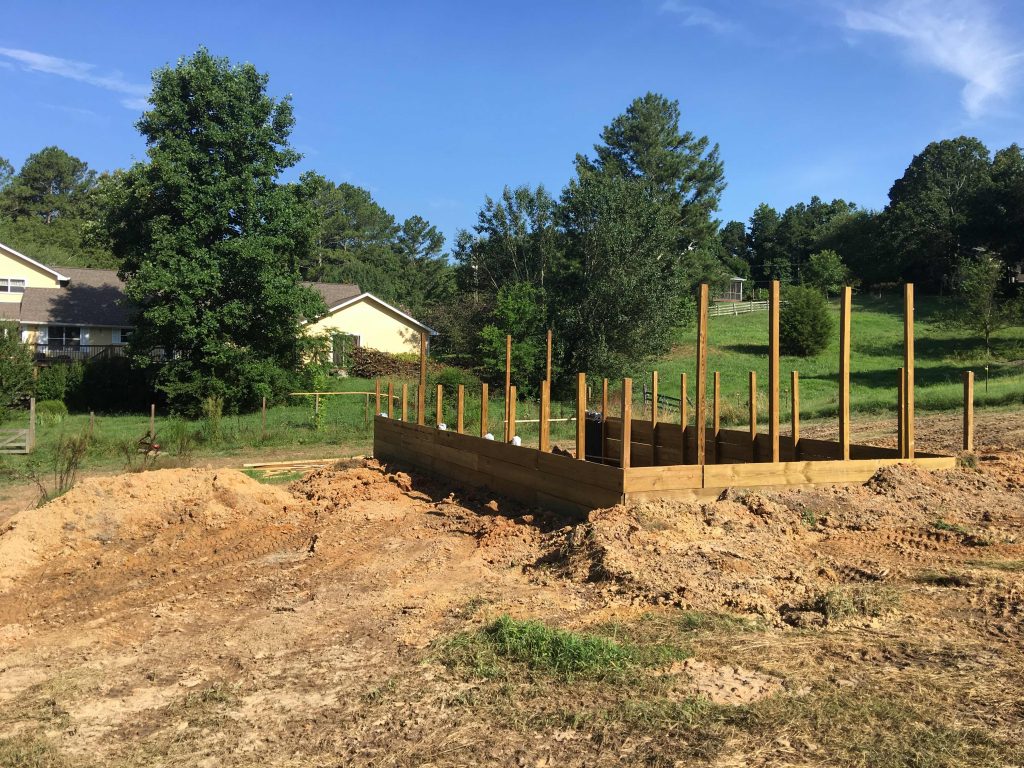
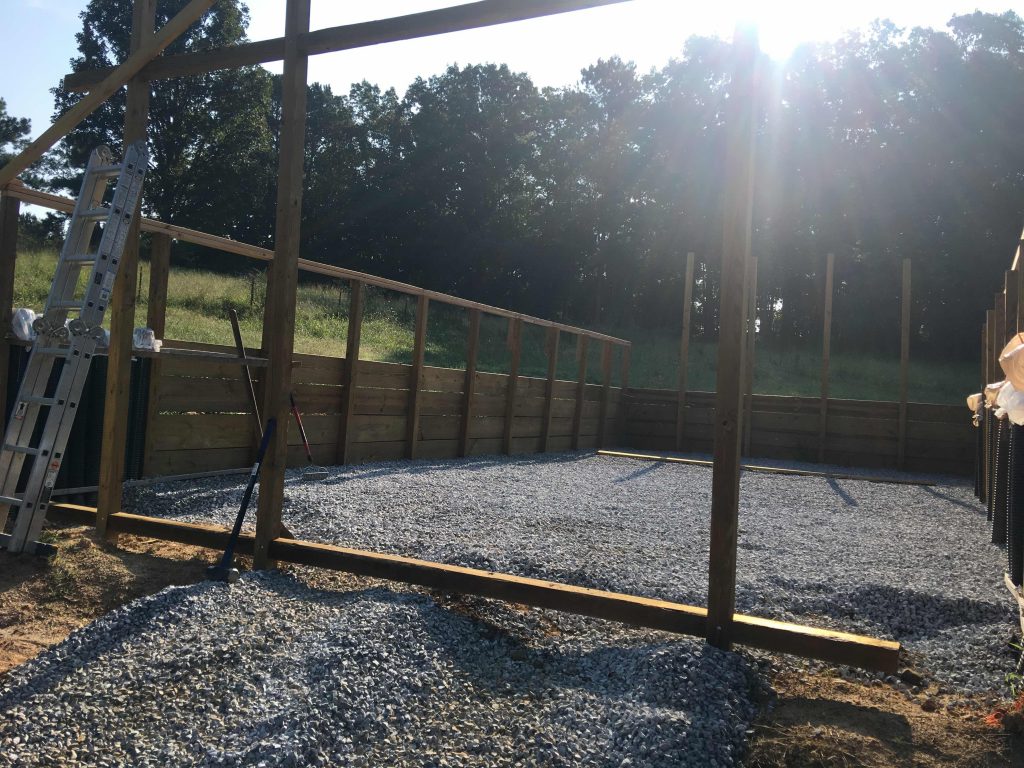
Once the batter boards and string were set up, this gave me locations for the corners of the building. Since I decided to go with what was essentially a pole barn design, this required digging holes to put in the posts. I started with the corners so that I wouldn’t have to redo the strings if anything got messed up. All of the posts I put in were in at least 36 inch deep holes.
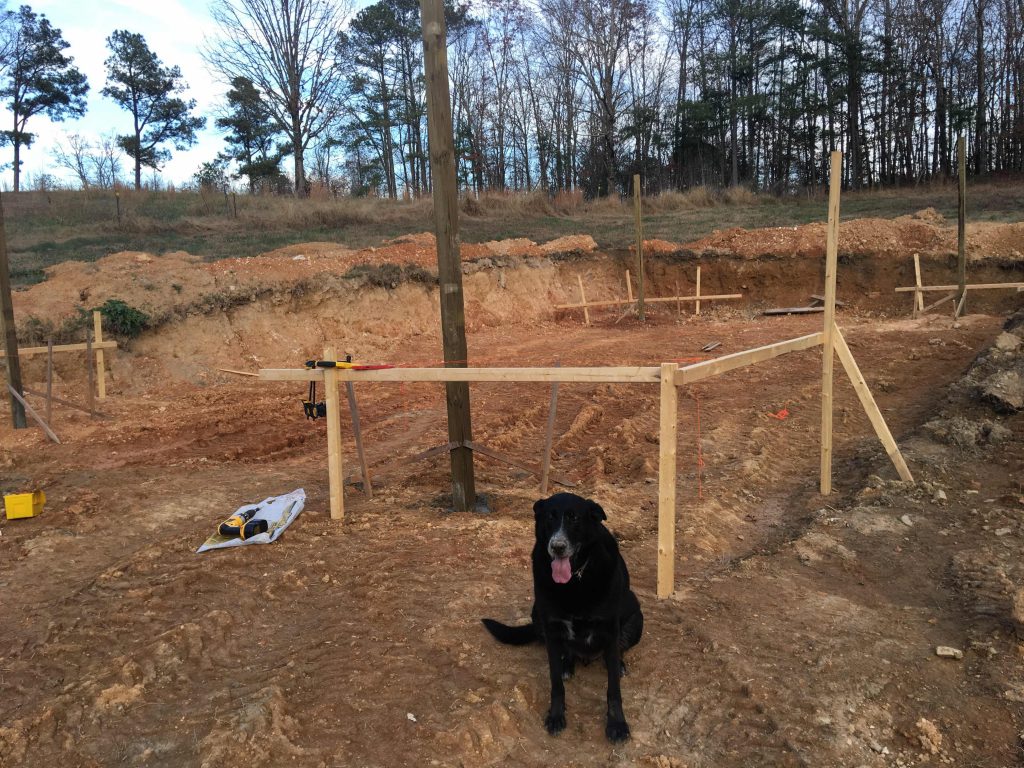
My son and I tried several different digging methods as we progressed through the process. We got an auger for the tractor. This worked great on holes that didn’t have any rocks in the way and saved us hours of manual labor. If you remember from above, I had to stop digging because I hit huge rocks. This same rocks were in the way for several of the post holes. We ended up finding that what worked best for us was to use a digging bar to break up a layer of rock and dirt and then lift out the broken up material with a set of post hole diggers. If you need some high impact workouts, this definitely qualifies. I went to bed sore several days after digging holes.
In the end, we put in posts every four feet on three sides, and just left out one post on the front for a door wide enough to get the tractor through if we need it for some reason.

The corner posts were lined up with the string and then the rest of the posts were spaced out every four feet in between them. We filled in around each post with concrete up to the top of the hole. As you can see from the pictures, this process took a little time. Actually, I remodeled my moms apartment and installed an IKEA kitchen for her in between the corner posts and the rest of the posts. That took a couple months to finish up.
Overall, putting in the posts was labor intensive, but after the corners, it wasn’t that technically difficult. Just measurements and making sure everything stayed straight.
Adding some walls
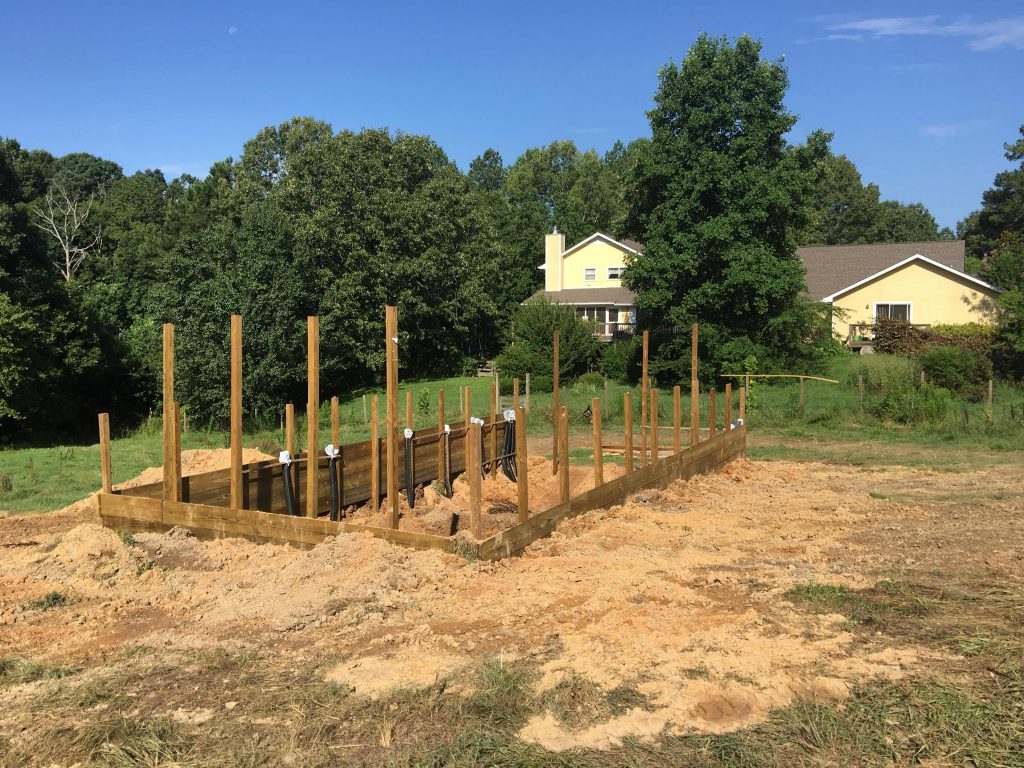
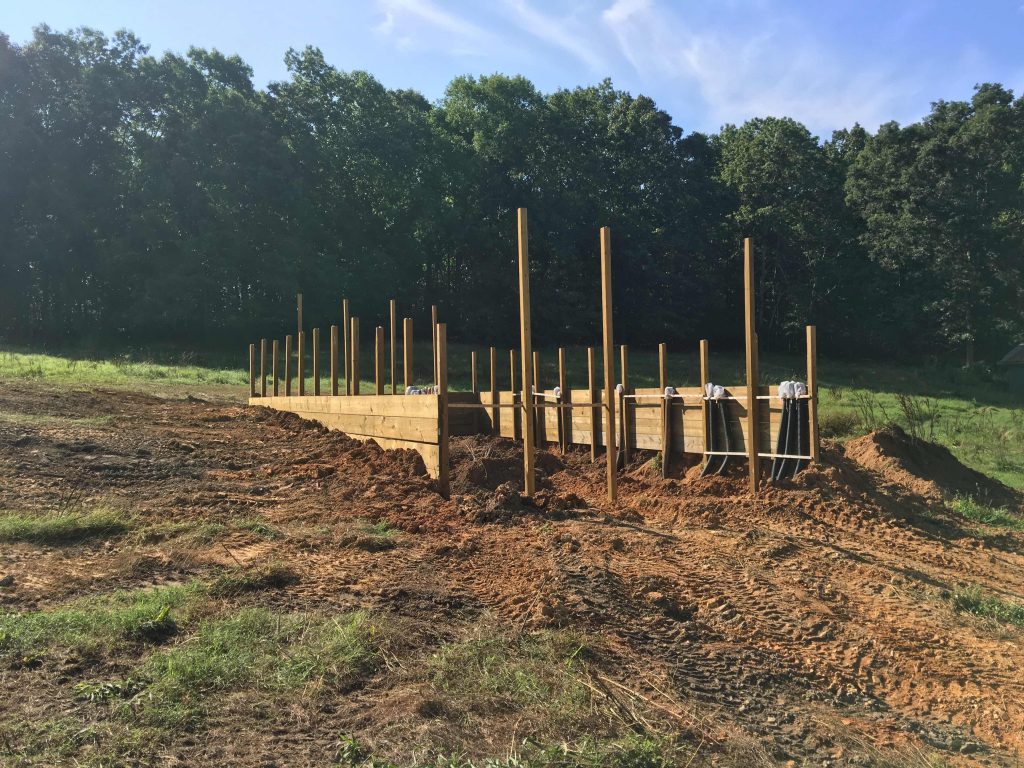
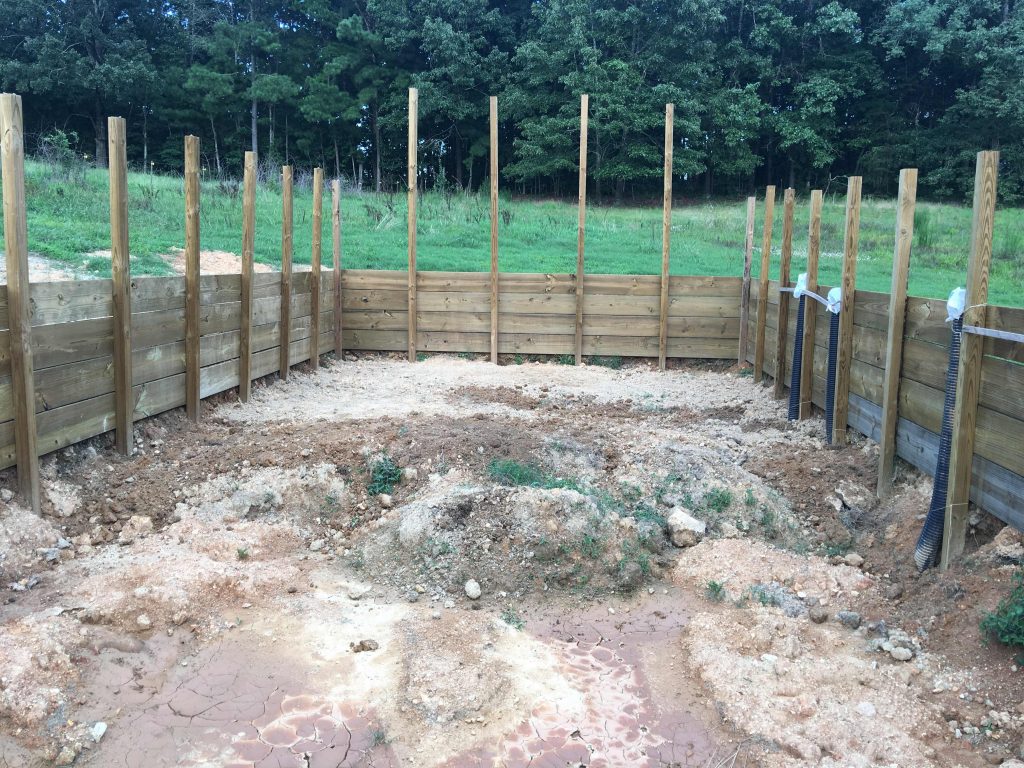
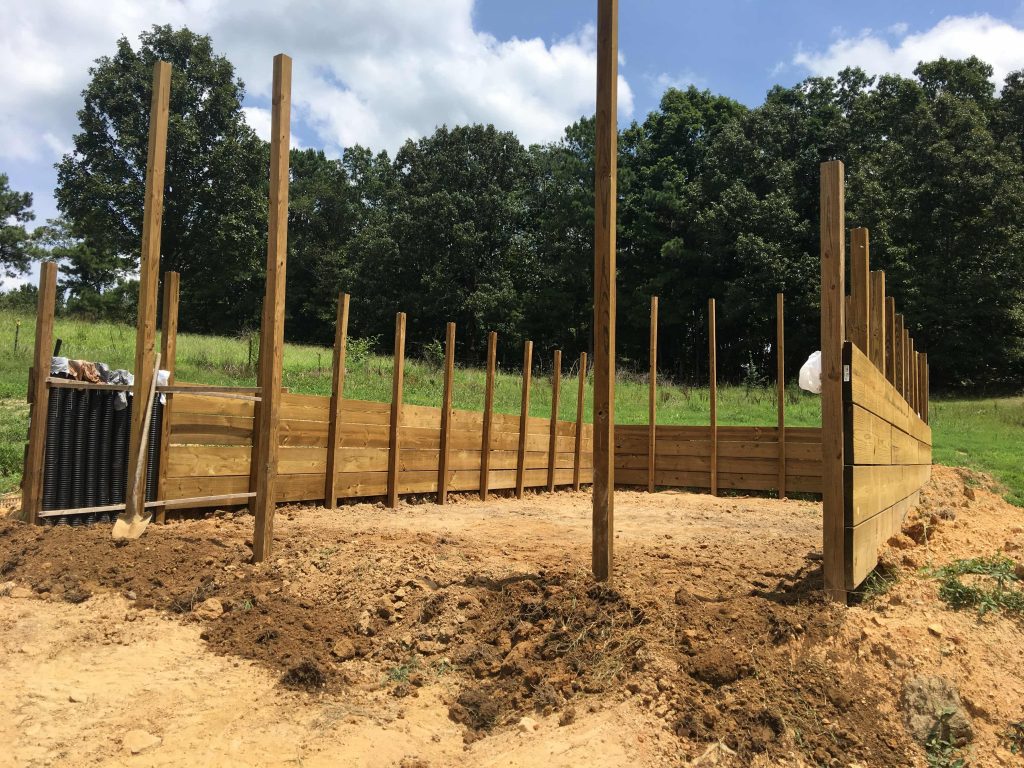
Since I needed to backfill around the structure to take advantage of the walipini characteristics, I had to come up with some way to keep the dirt from coming through between the posts. I decided to use pressure treated lumber that was rated for direct ground contact. Sixteen foot 2x12s are really heavy!

I put four courses of planks around the exterior of the greenhouse on three sides. Everything above these boards would end up covered with plastic, and the bottoms would be the final floor level inside.
This is the thing I would change about the construction if I were to do this again. I think I would use masonry walls below ground level because the pressure of the back filled dirt on the outside forced the walls to lean in several inches on the long sides and back. They only support the roof and plastic above, so I’m not worried about strength. I just don’t like that the walls aren’t straight, and it made putting the roof on a little more challenging.
Laying some pipe
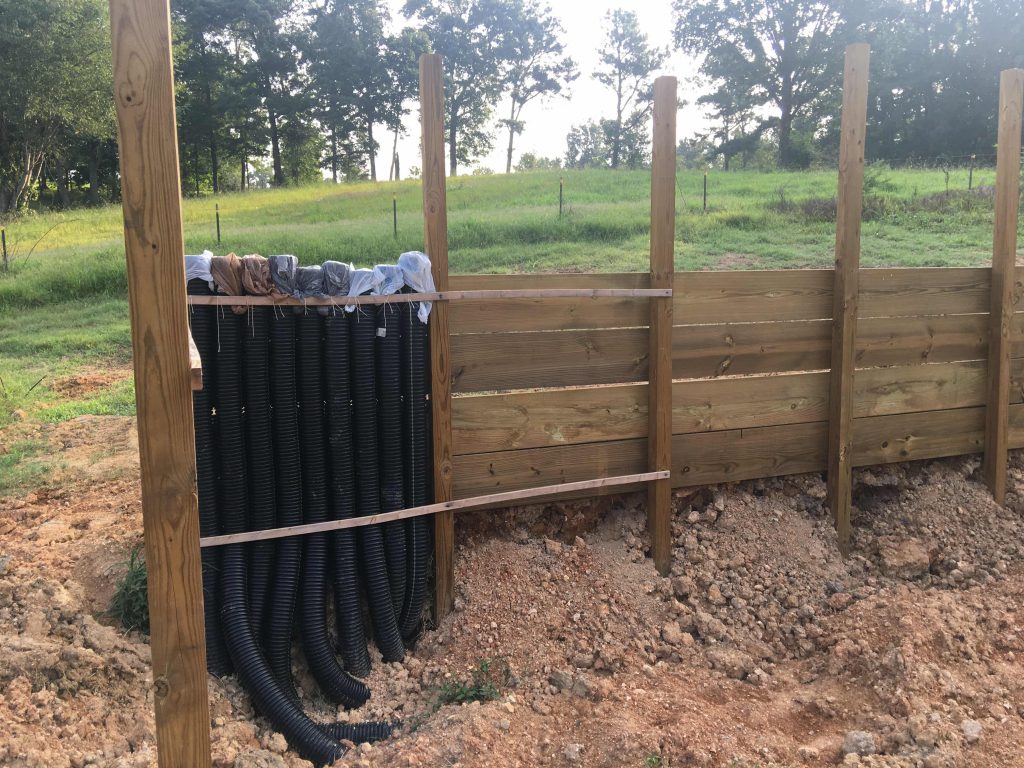
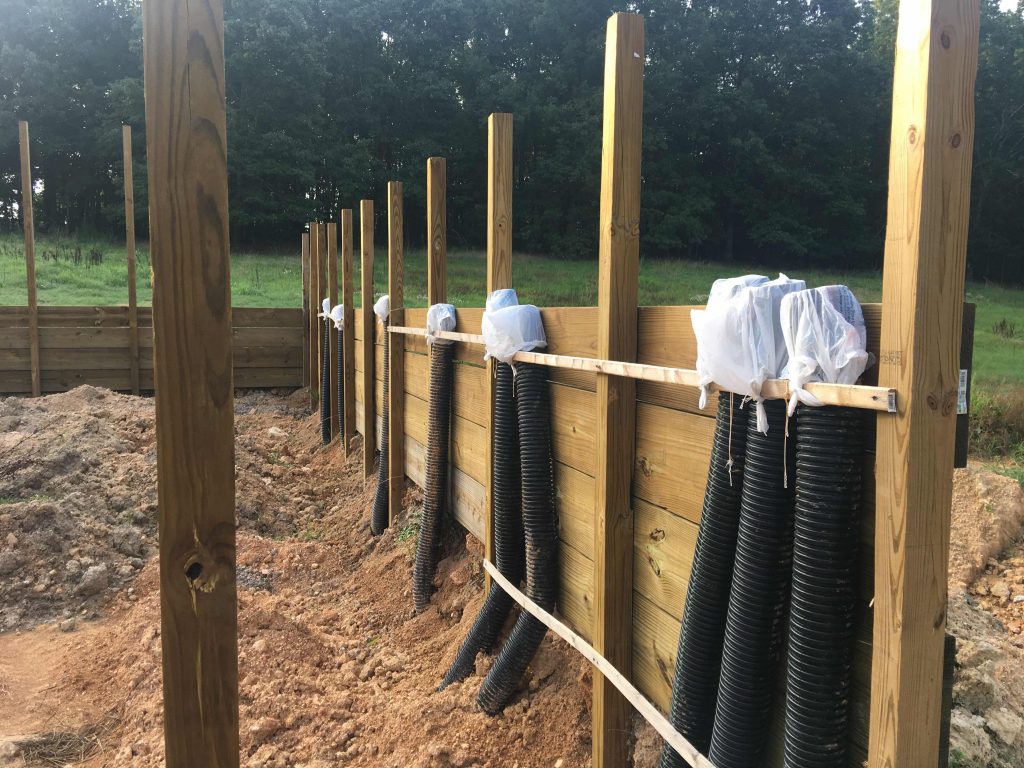
Once the walls were up, I could get started on the geoair pipes. From my calculations, I needed to have a little more than 800 feet of 4 inch pipe buried underground to exchange enough heat to keep the building from freezing. I ended up using 900 feet of pipe since it comes in 100’ pieces, and several feet of pipe were exposed on each end.
We started off by laying out plastic fencing on the ground so we could space out and secure the pipe. This worked pretty well, but was somewhat tedious. We did one piece inside and one outside to posts.
Once the fence was secured to the ground with landscaping staples, we started laying out the pipes. You want spacing between the pipes to allow dirt in between them. This a another thing I would change from what I did. I just used the clay that I dug out to begin with to backfill around the pipes. I should have purchased sand to fill in around them before starting with the dirt and clay. It would have prevented some issues later, I think. I didn’t though, so learn from my mistakes.
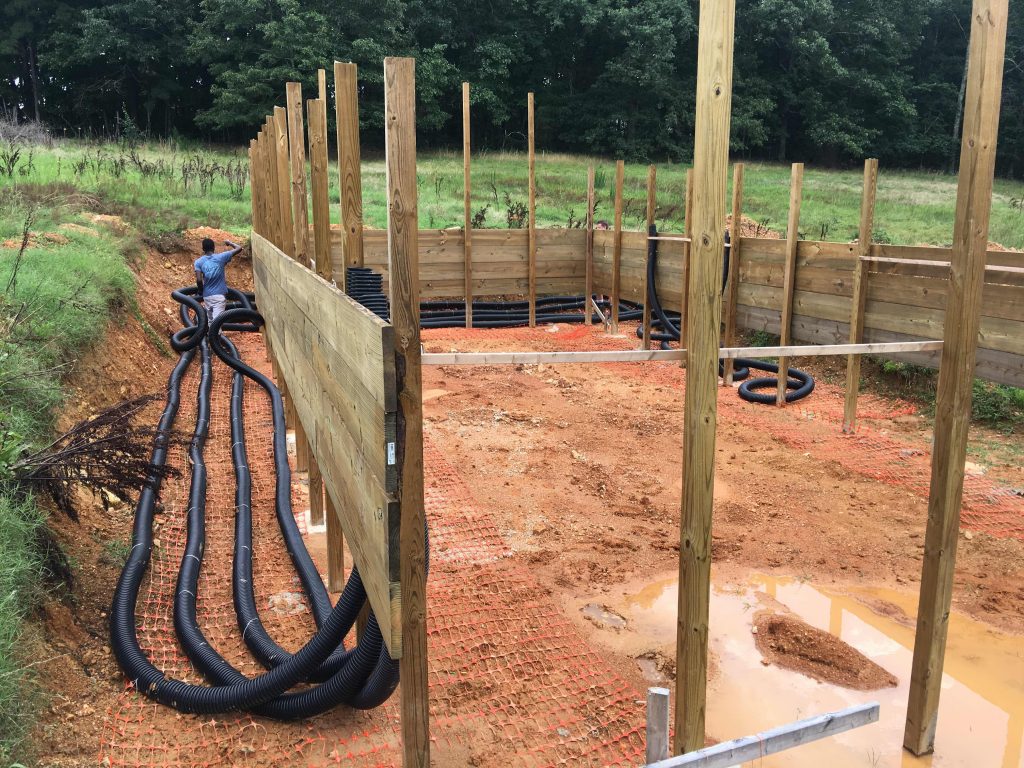
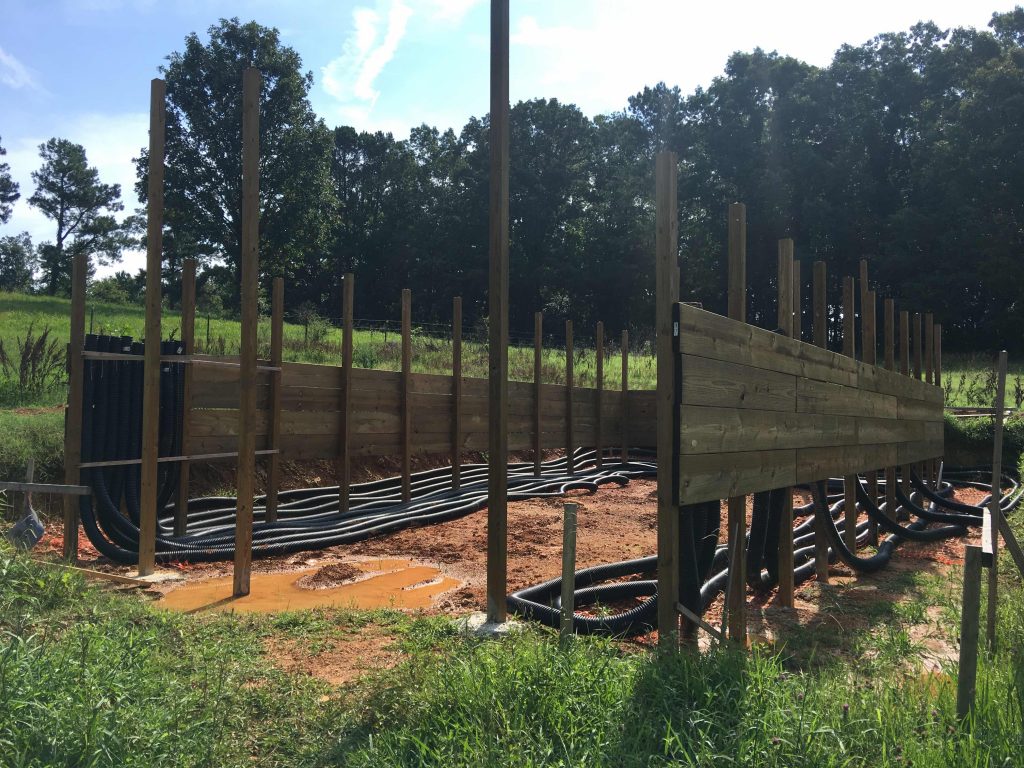
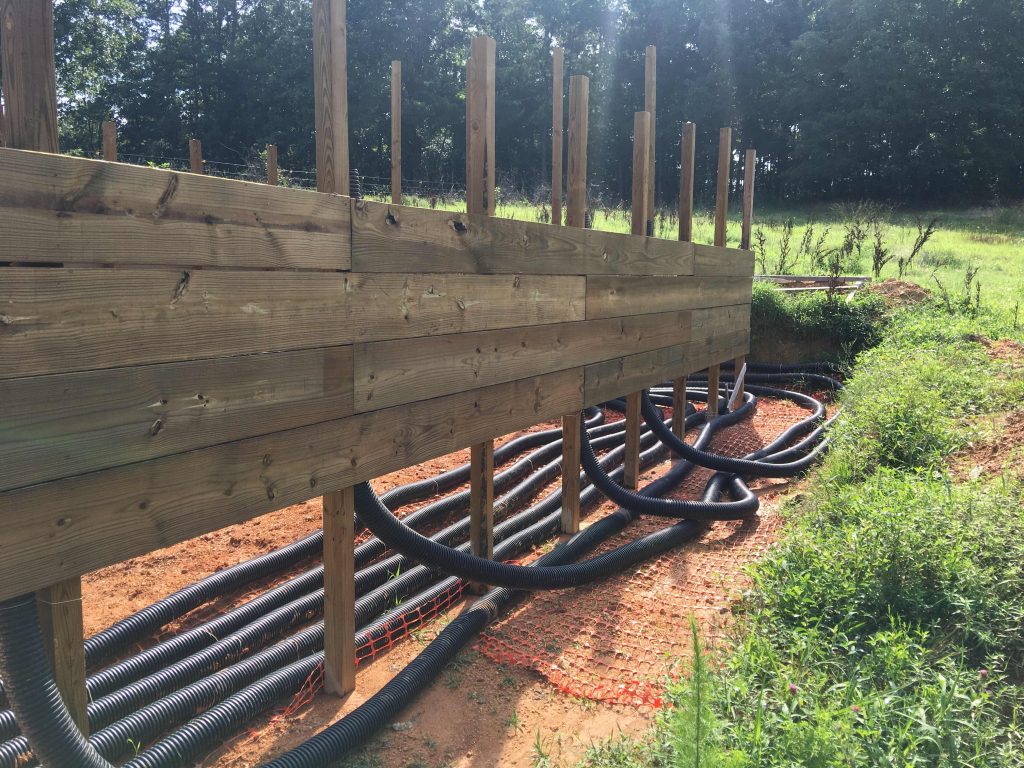
It wasn’t planned at all, but I knew I wanted to have all the pipes start at one place on one end so I could connect the to a fan to pull air through them. Since we spaced them out inside and outside, this spaced out the other ends nicely on the opposite wall. It also wasn’t planned, but they fit between two of the posts perfectly.
Once the pipes were laid out, I started backfilling. It was somewhat difficult to direct the dirt just where I wanted it, but we made it work. It was easier to have someone spread it out around the pipes for the first layer or two, but by the end, it was just a matter of dumping in the dirt around the outside. Inside I worked at keeping the top of the dirt as level as possible.
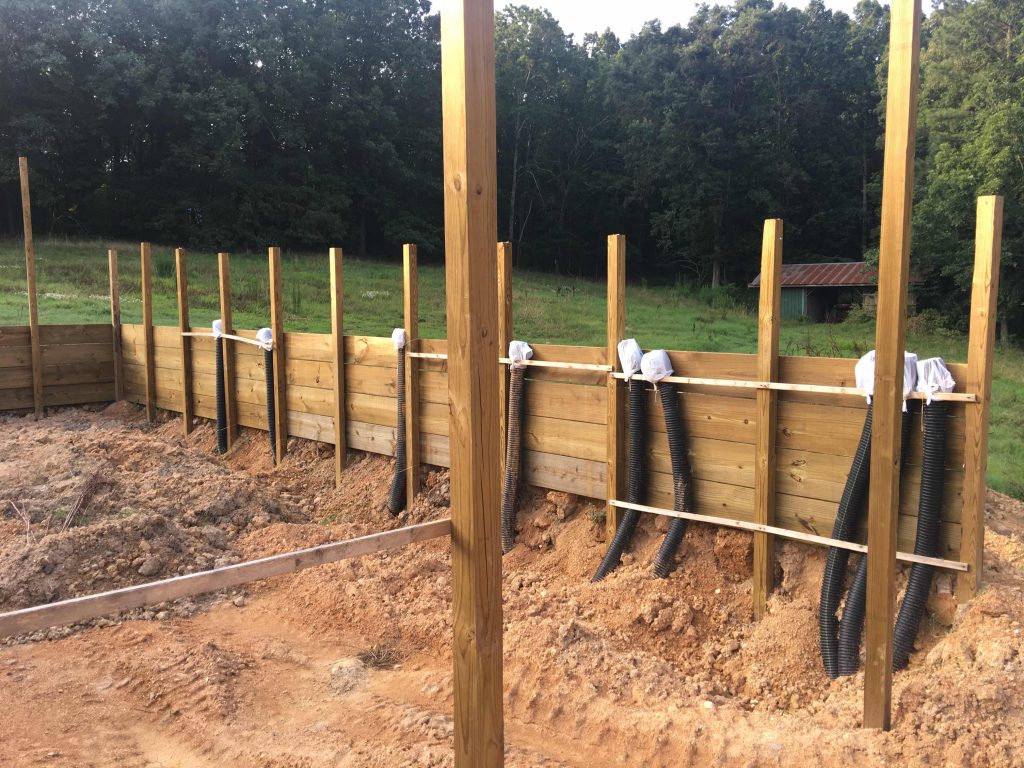
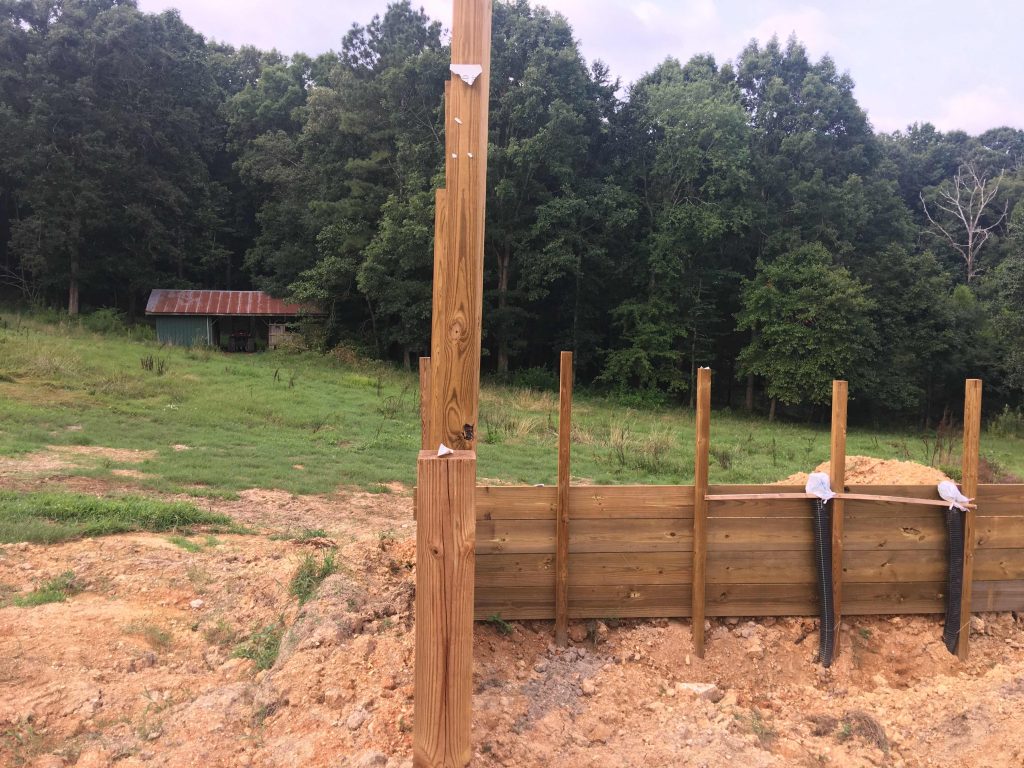
Somewhere along the way, I managed to put some holes into the pipes, because I’ve had to deal with water in them after every big storm since we built it. I think having sand around them probably would have prevented that.
The final dirt backfilling was to even out the floor inside.
Adding a floor
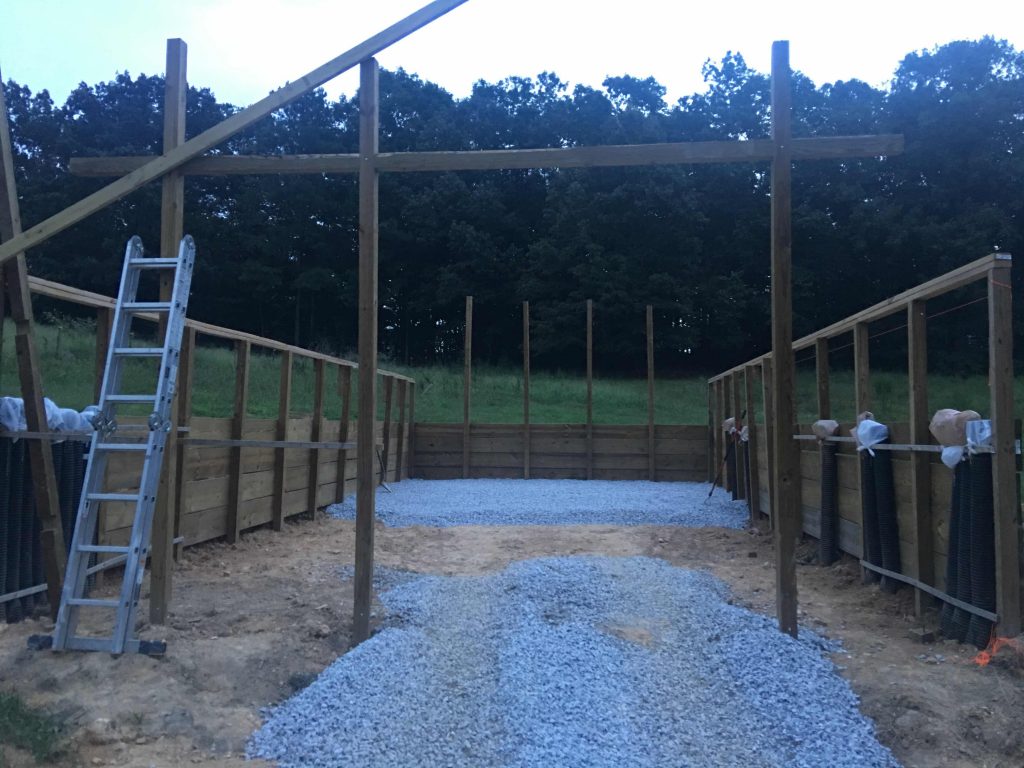
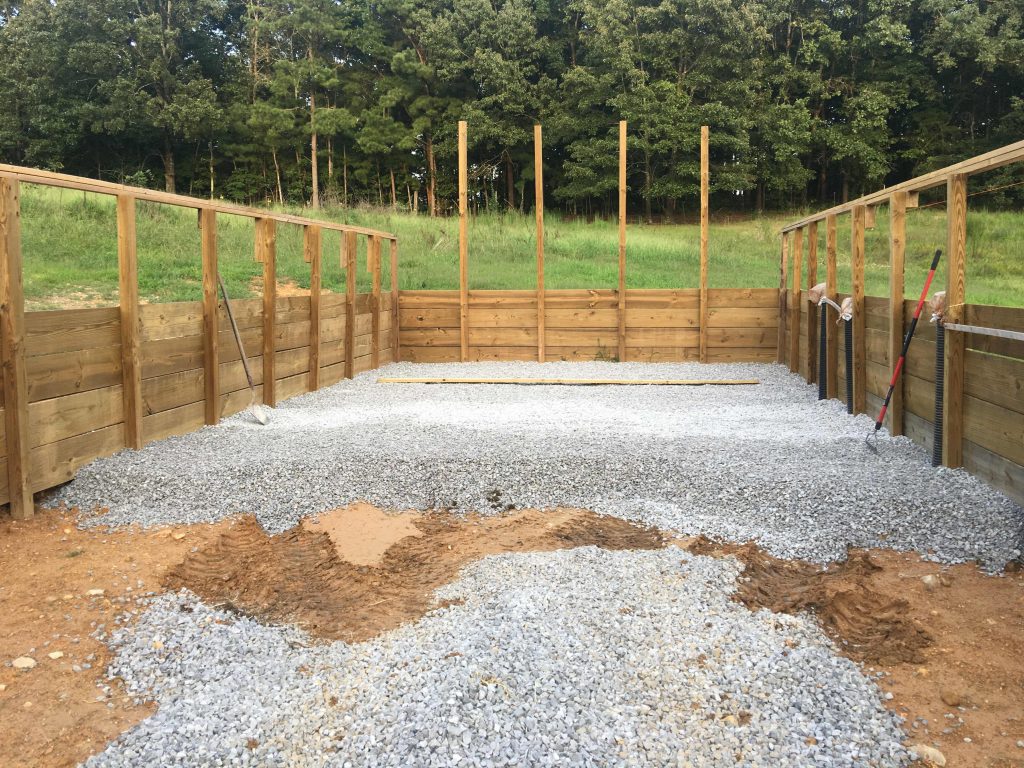
Once the dirt was leveled out a few inches below the wall boards, we added gravel up to a couple inches above the bottom of the boards. We used a long 2×4 and a level to help keep the surface flat.
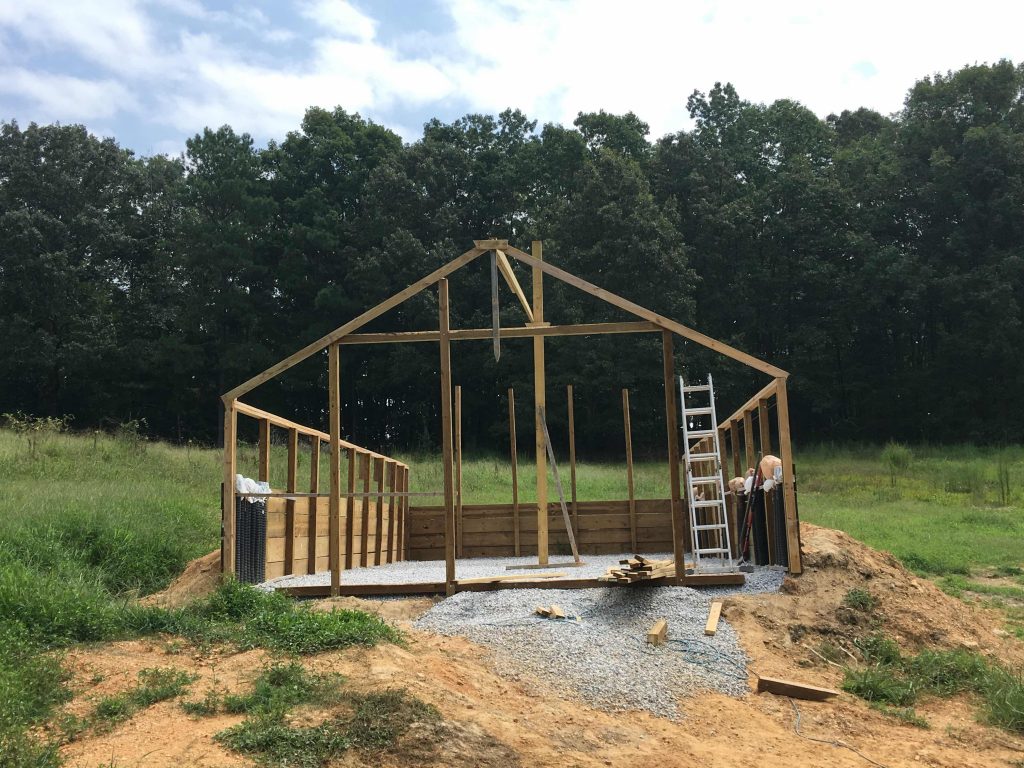
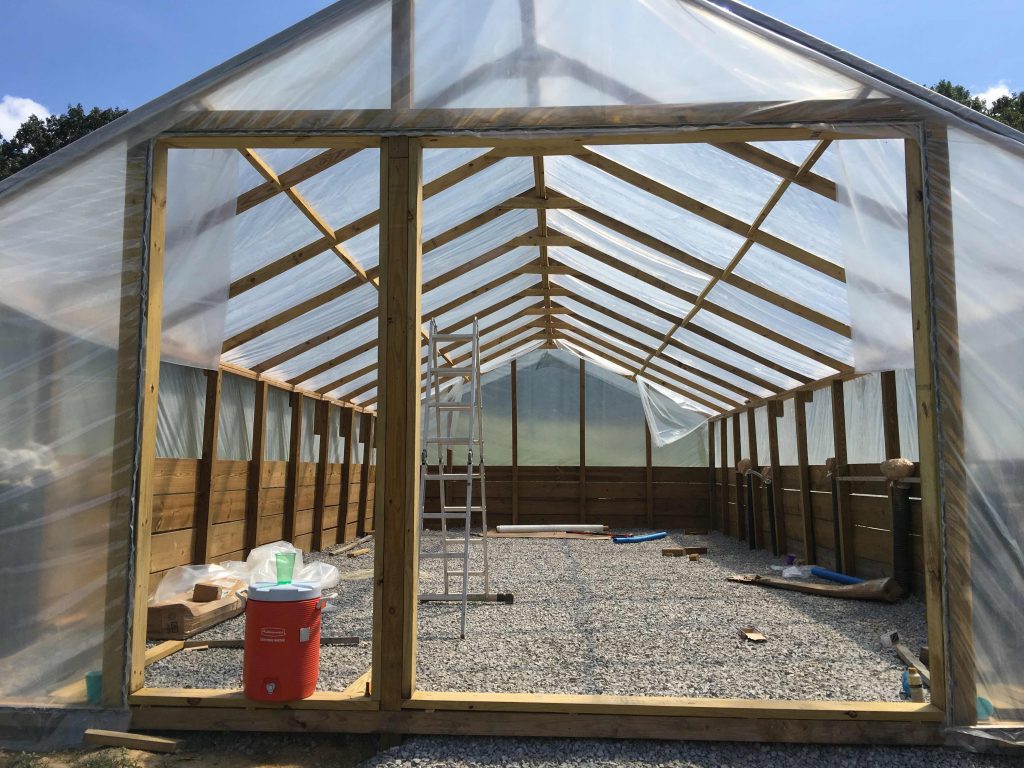
Raising the roof
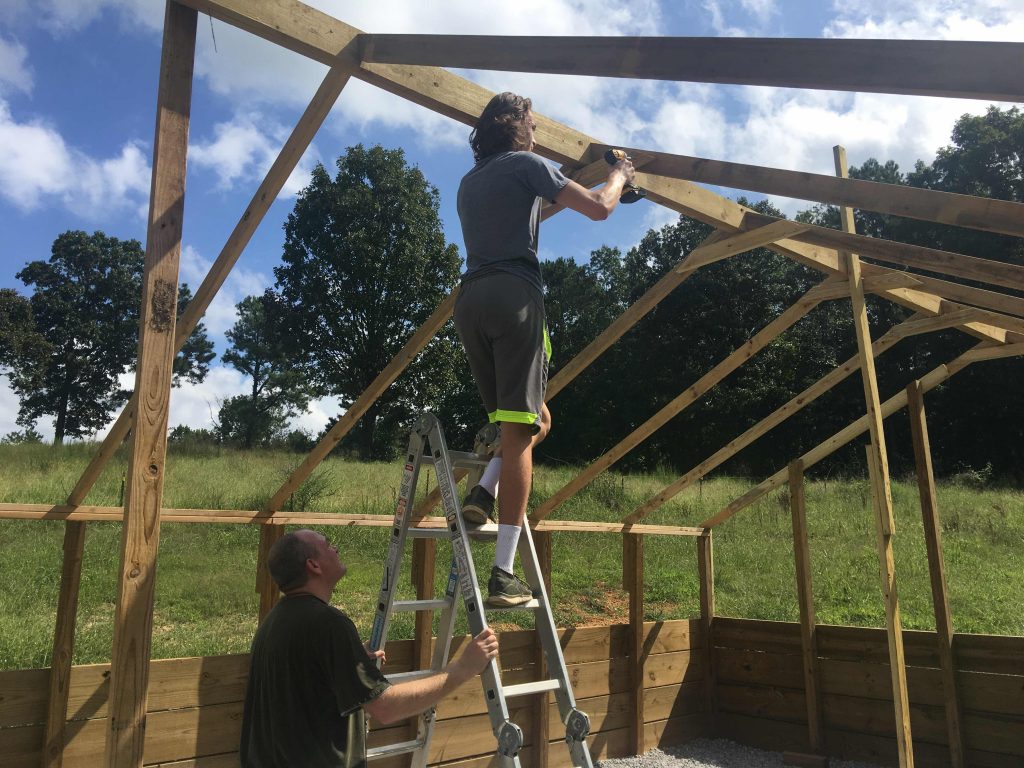
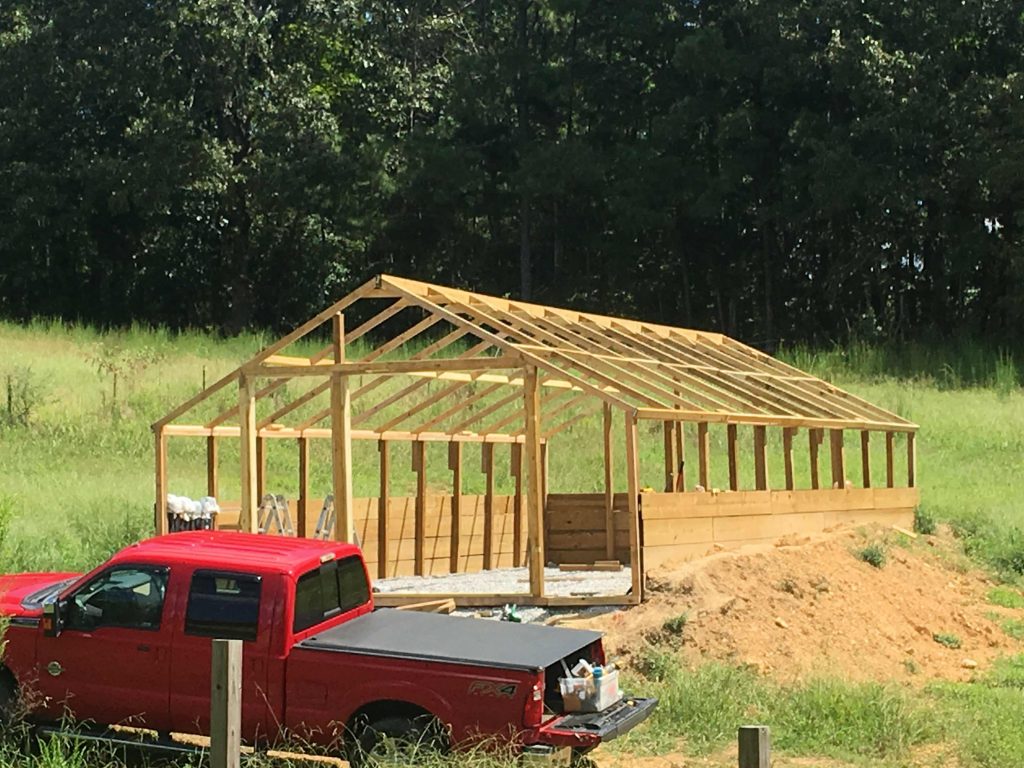
You could see the boards we used along the top of the walls in the gravel pictures above. We used a level and went around the building a couple times to figure out where the top of the walls should be. Once we determined that, we cut all the side posts to the same level and capped them with 2×4 boards. On the ends, I determined the angle of the roof and cut the end posts at or below that level. We then trimmed out the end to create the roof line.


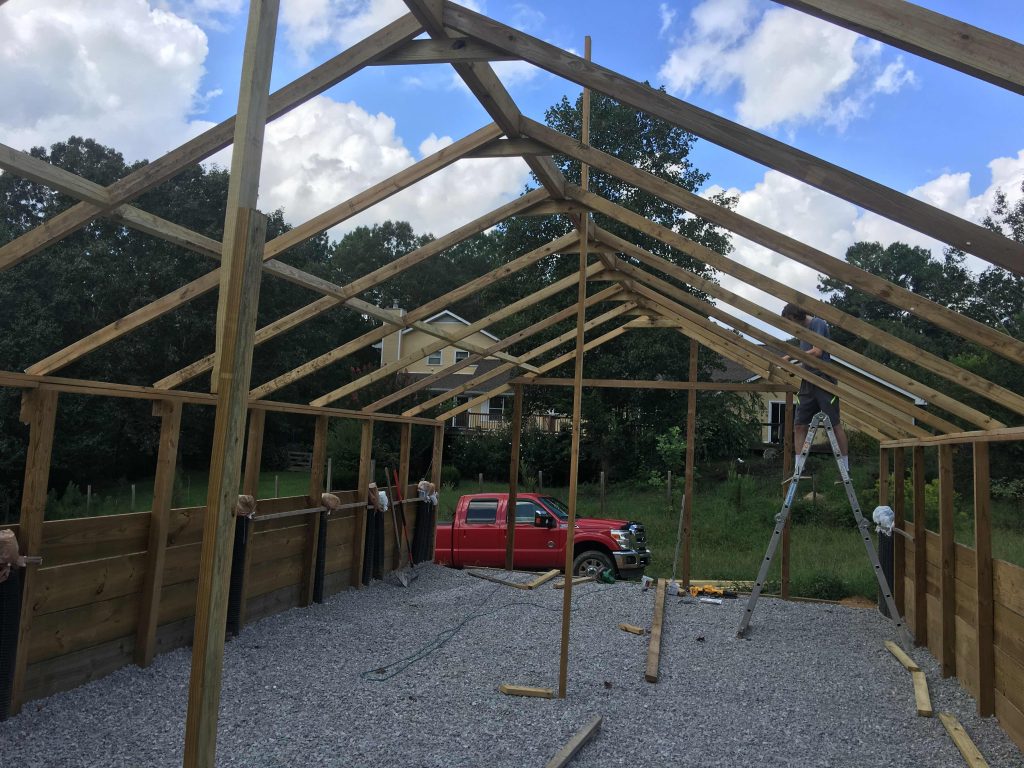
From there, we used 2×4 boards for the rafters and 2×6 boards for the ridge that they rest against. This is not a one person job, and my son helped get these all in place.

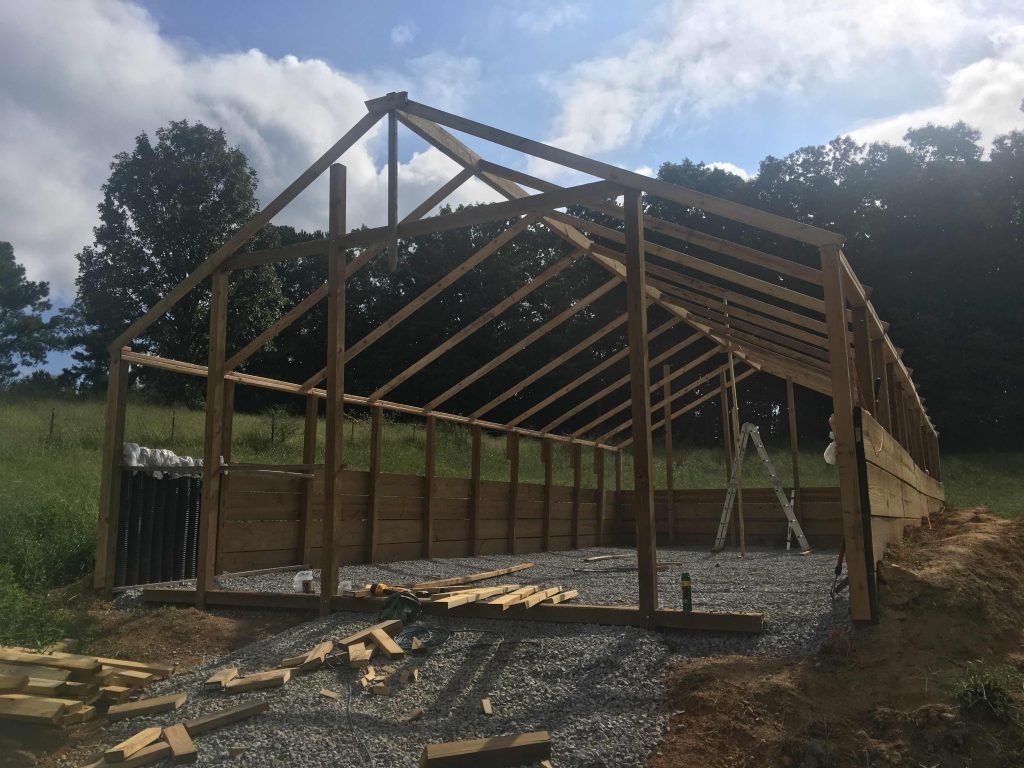
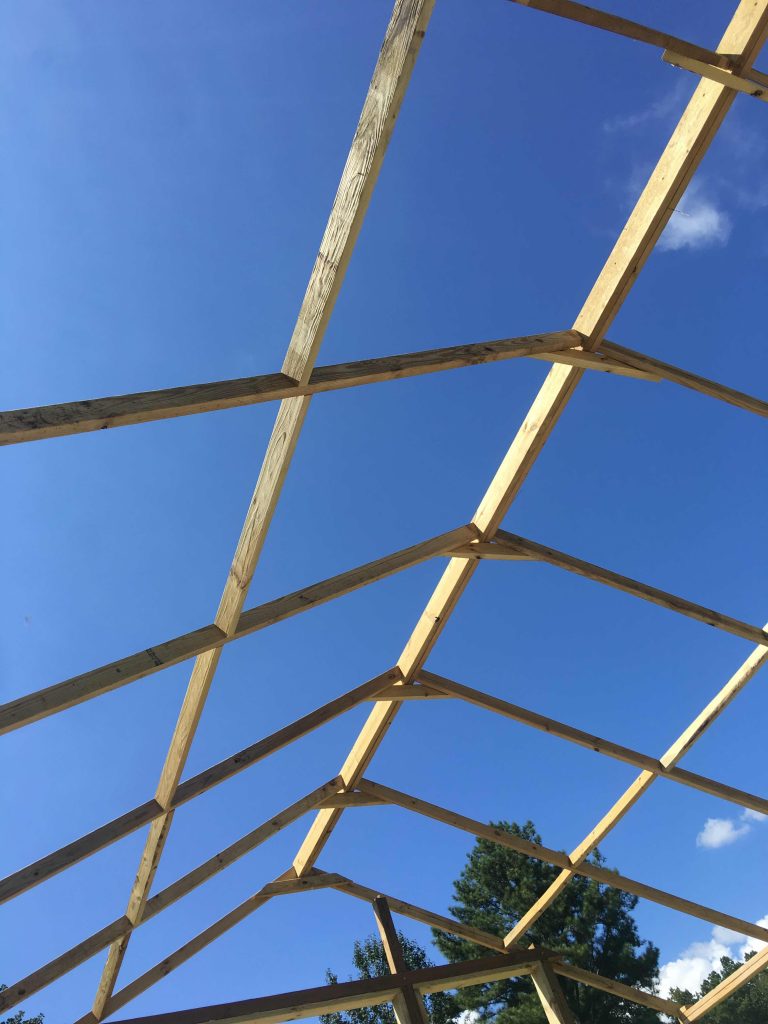
Once the rafters were up, we put boards between the rafters to tie them together and strengthen the structure.
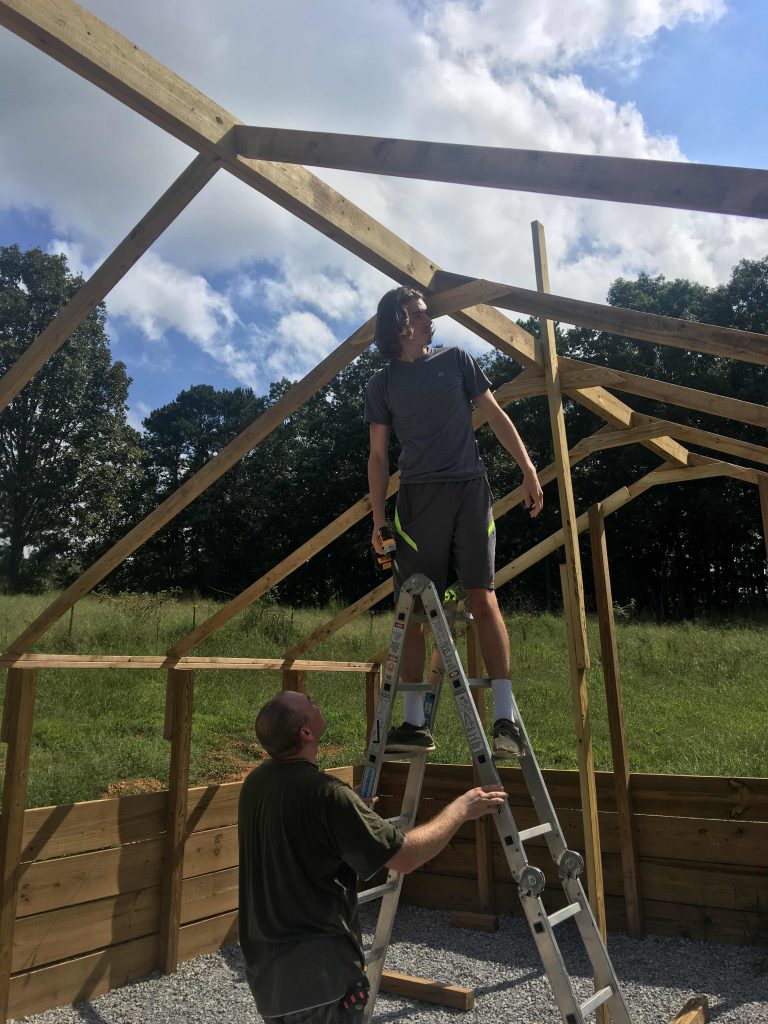
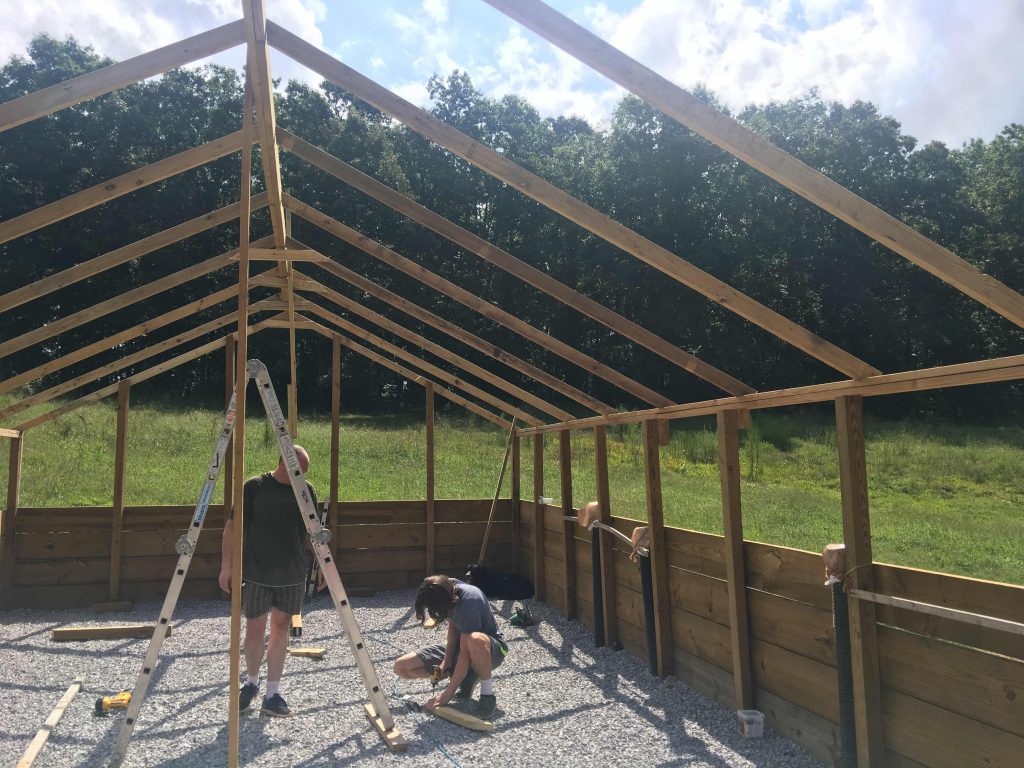
This made a fairly strong roof but 2×4 boards almost 12 feet long have a lot of flex side to side, so we added a row of supports in between them. This really stabilized the whole thing and it is plenty strong to support the plastic above it. This might not be the case in an area with heavy snow loads, but I feel comfortable with the design here.


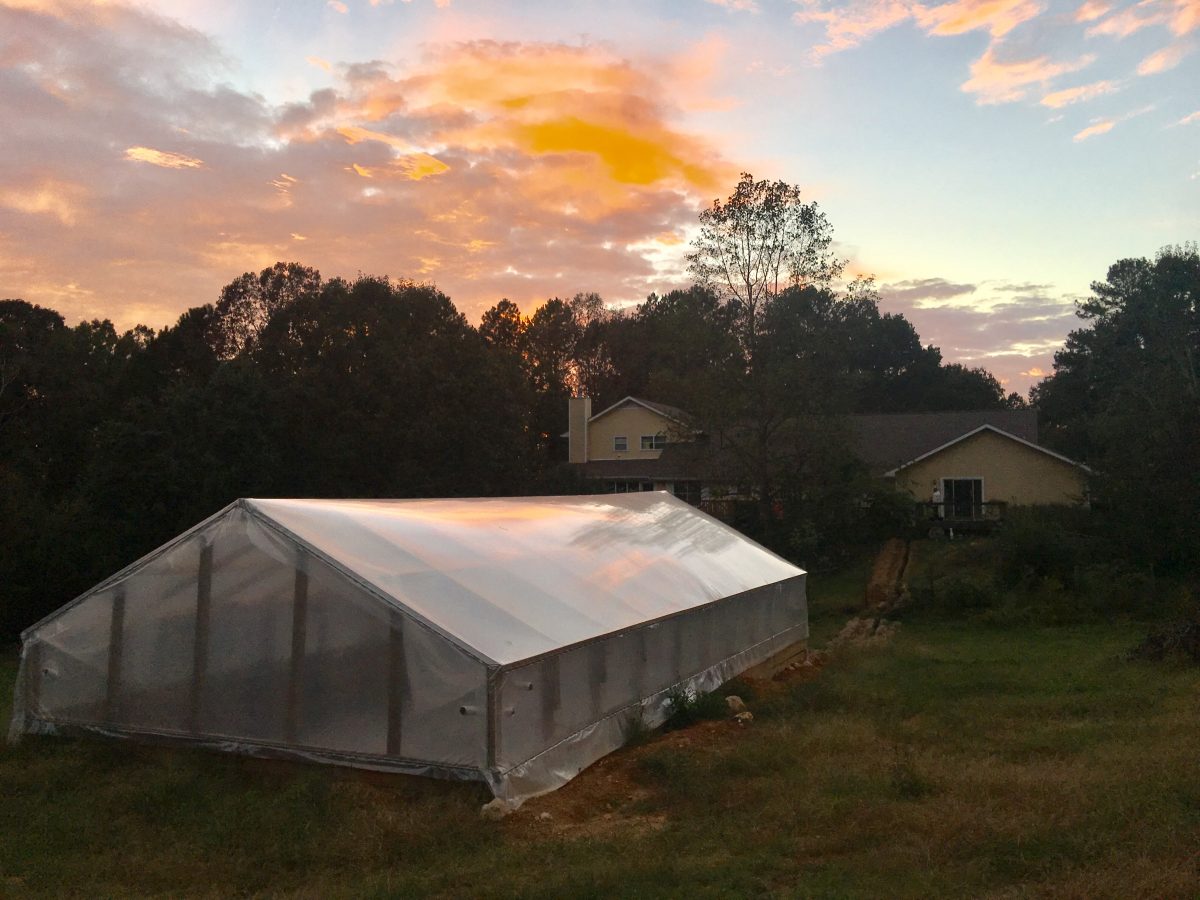
Drying in the building
With the structure done, it was time to enclose the building. I decided to go with a double layer of plastic so that we could blow air between the layers and increase the insulation value of the plastic. I looked at some of the double walled options, but decided that for the price, I would try plastic first. If I ever decide to change my mind, the dimensions are already set up to switch to one of the more expensive options. For now, the plastic is working just fine.
The plastic I purchased was a single sheet the was 42 feet wide so we could stretch it from end to end on the greenhouse. We stretched it out across the field and doubled it over before pulling it carefully across the roof. This took several people and you want to make sure that it is not a windy day.
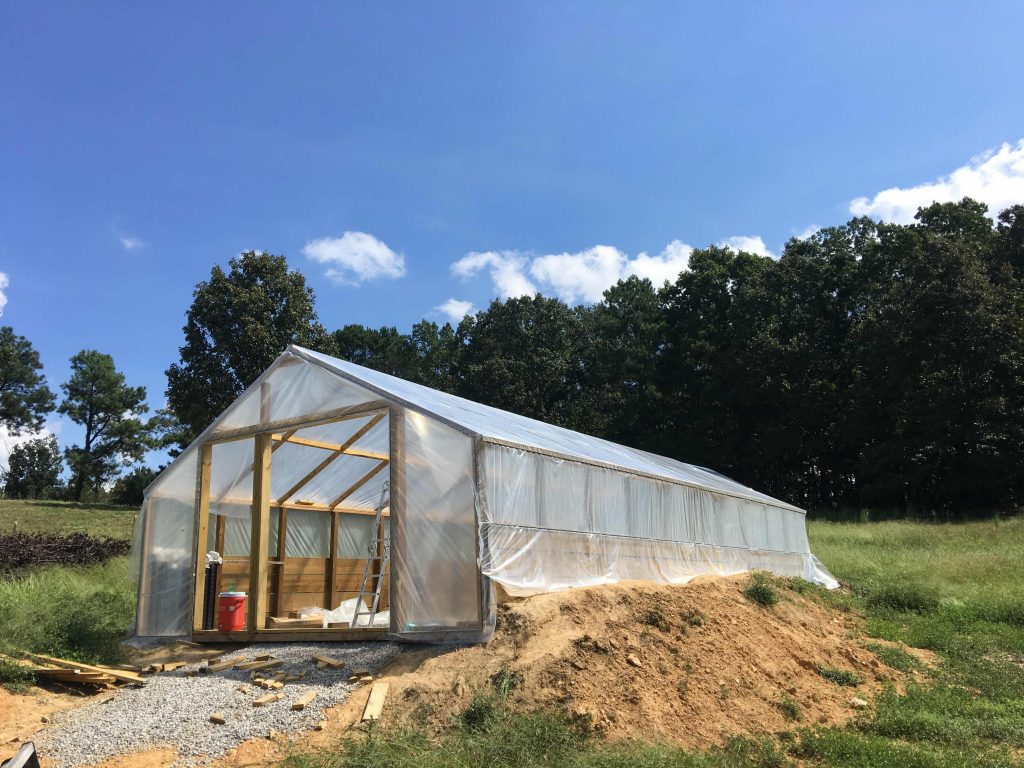
I didn’t get picture of the process because it took all of us to get the project done. We used C-channel and wiggle wire to secure the plastic. I’m very happy with the results, although there was a learning curve to getting the appropriate tension on the plastic. You can see that I didn’t have the doors built yet, so one end was still open.
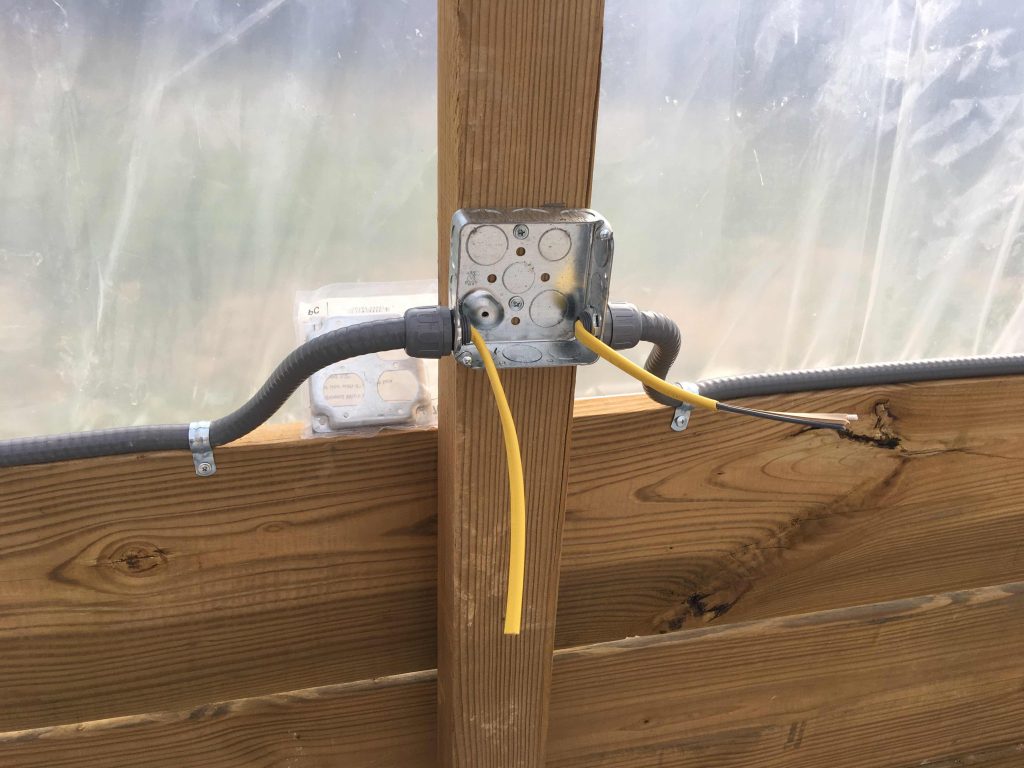
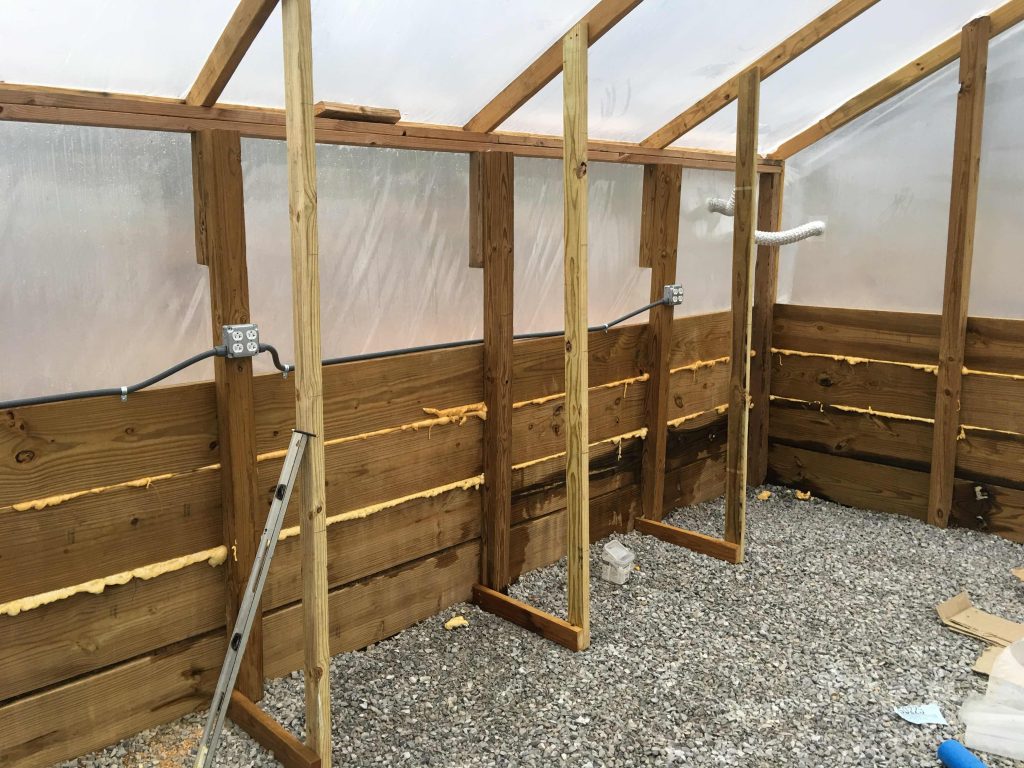
Adding electricity and plumbing
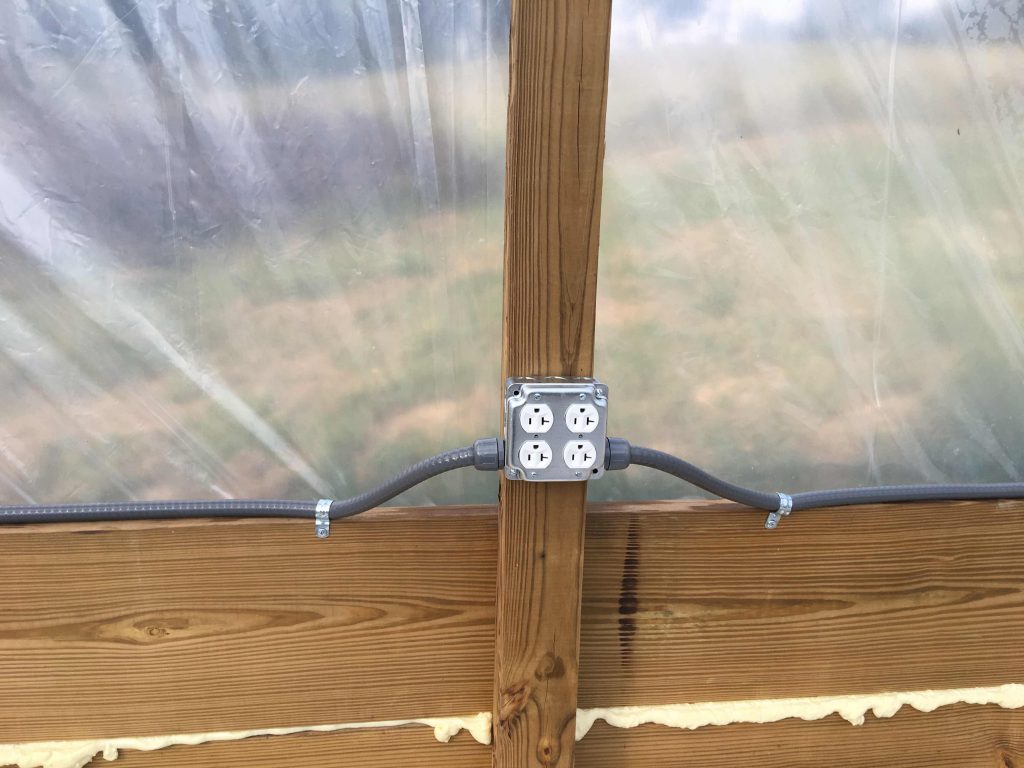
Once the roof was on, I could start doing some of the jobs inside, like adding electricity and plumbing. I wanted plenty of options for electricity anywhere it might be needed and I probably went overboard with the wiring. I added four outlets on each post with plastic conduit between each one.
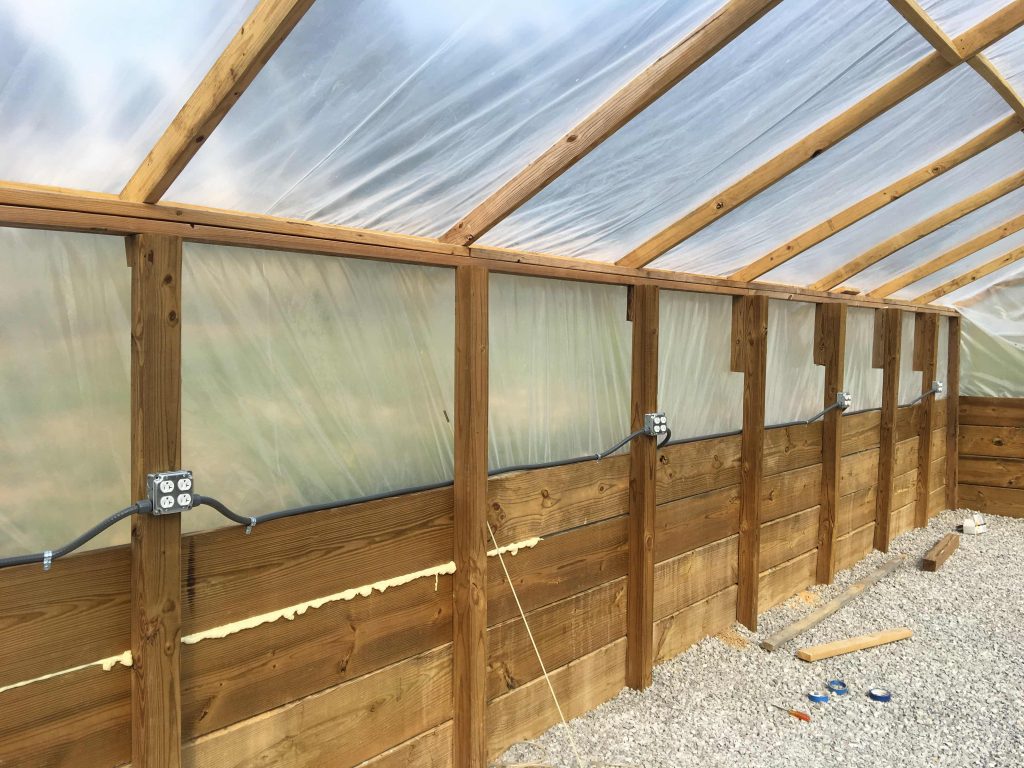
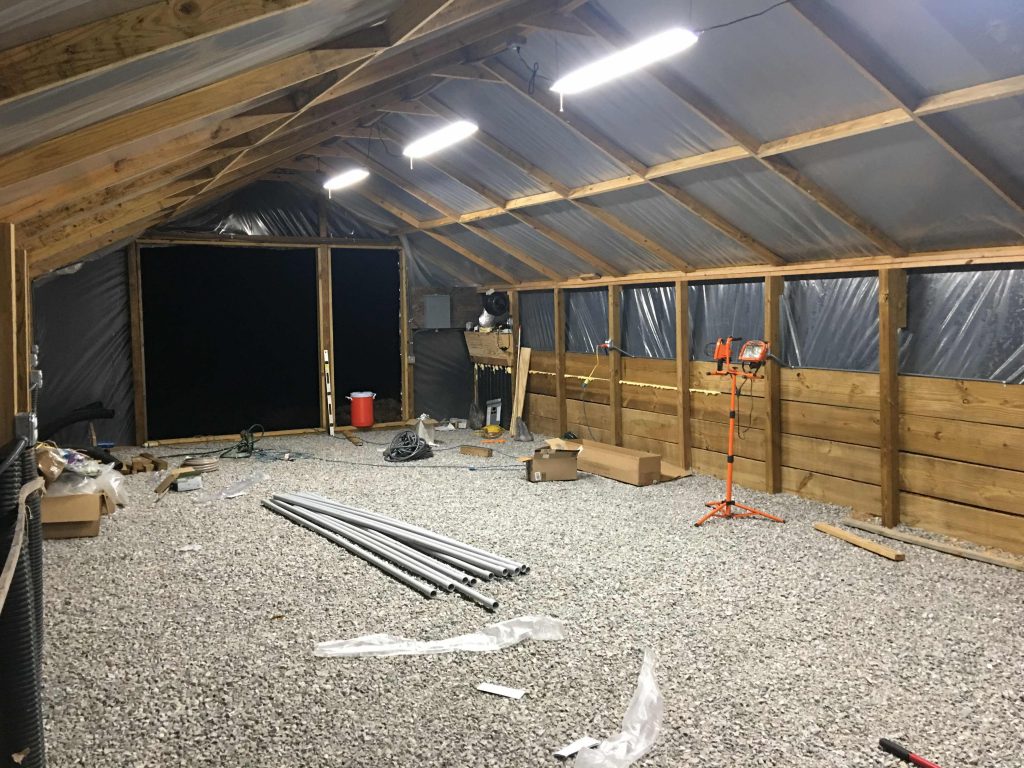
I also added LED strip lights to the ceiling so I could finally work out there after dark. That extended the time I could spend during the week by quite a bit.
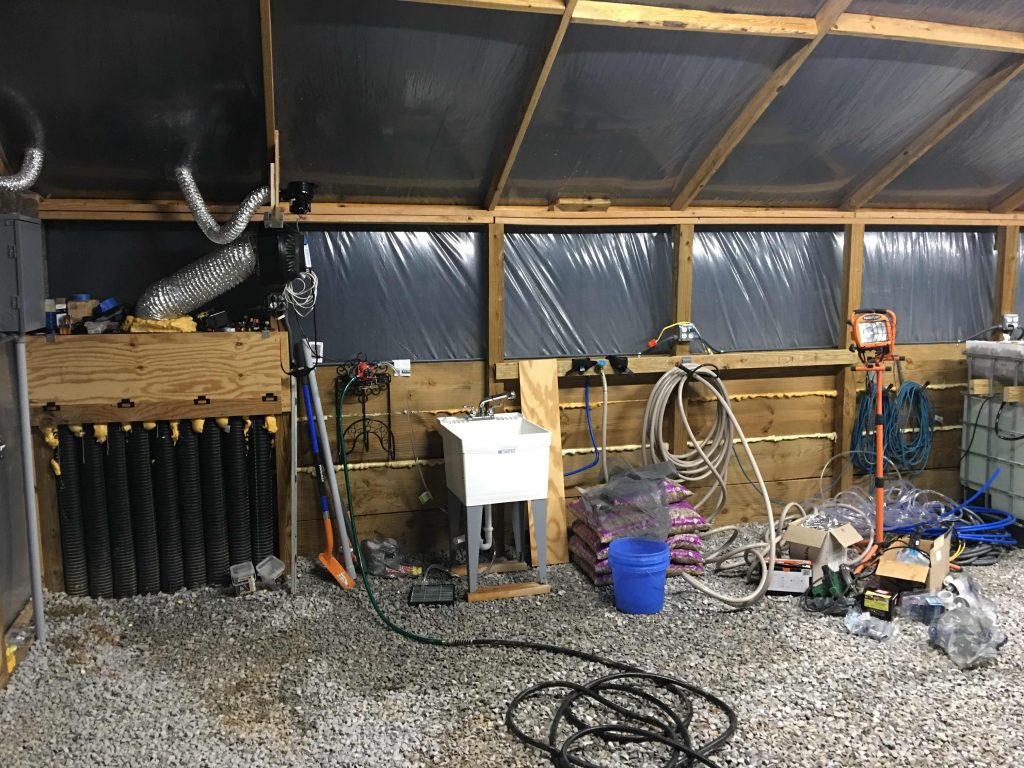
In addition to the wiring, I added a sink so we could clean things up and a hose bib to allow us to water the plants when we got to that stage.
Geothermal heat
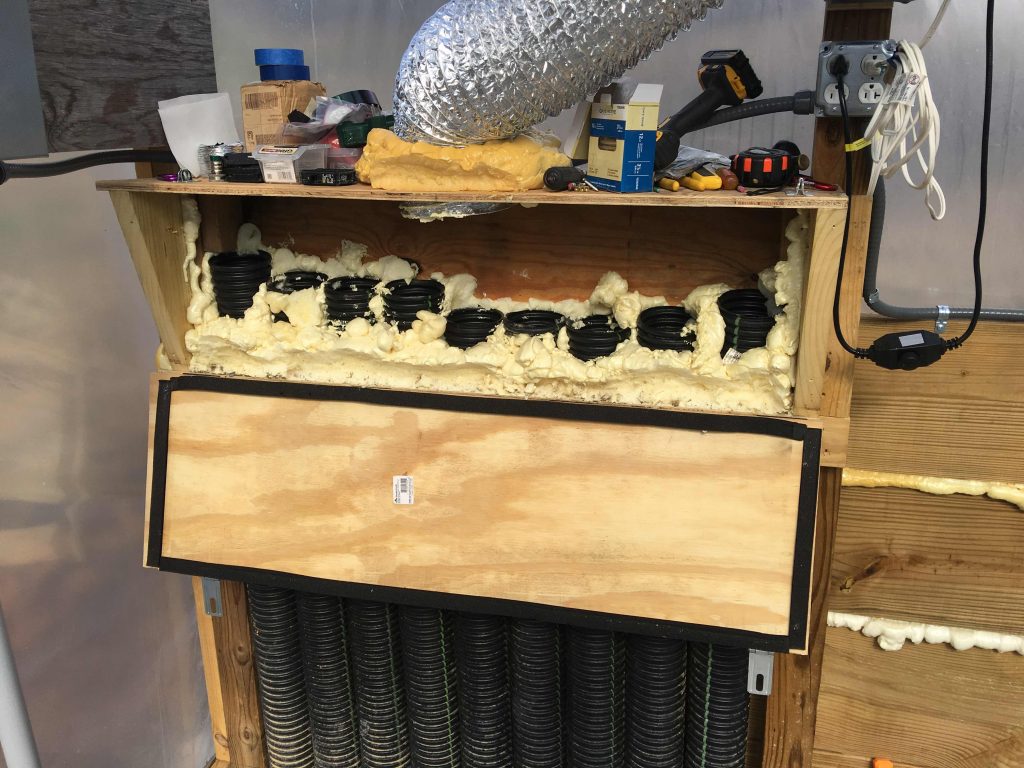
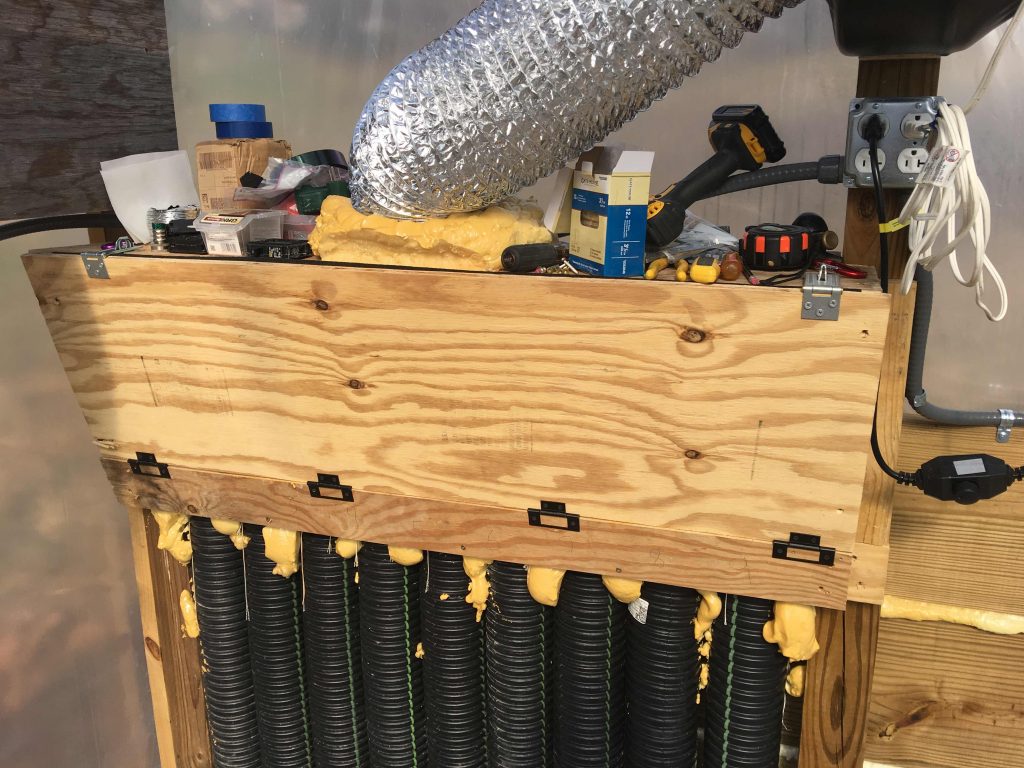
The pipes that were added before needed to be tied together so that I could wire one fan into them to pull air through the ground. According to all the sites I read, it is more efficient to pull air through a pipe than to push it, so this is what I did.
I built a manifold box with plywood with an 8” duct coming out the top that is connected to a fan. I then sealed up around all the pipes and used seam tape around the door to make the box as airtight as possible. In theory, the fan has enough airflow to exchange the air in the greenhouse several times per hour, and the pipes have enough ground contact to exchange heat and warm the air during the winter.
In practice, the lowest I’ve seen the output air is around 40 degrees Fahrenheit. This has been enough to keep the greenhouse air right around or above freezing, even on nights that the temperature drops to around zero Fahrenheit. It isn’t enough to cool the greenhouse during the summer. The sun just puts out too much power during the summer to allow for cooling this way. Overall, I’m really pleased with the results of the geoair system.
Adding our first hydroponic bed
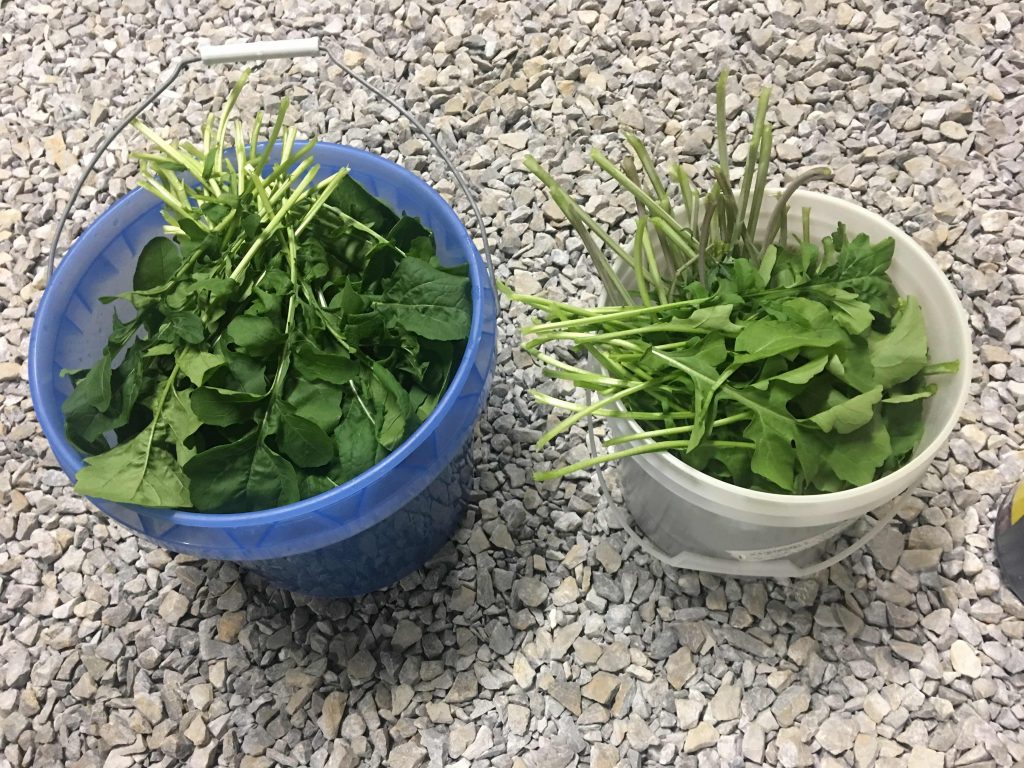
After we finally had a way to get water and electricity to the greenhouse, we couldn’t wait to put it to work. I found some used plastic totes for sale locally, and we started to work. There are plenty of sources out there on how to use these for hydroponic beds, so I will save you the time of reading about another one. Suffice it to say that we are pleased with how it turned out, and we’ve gotten good produce out of it.
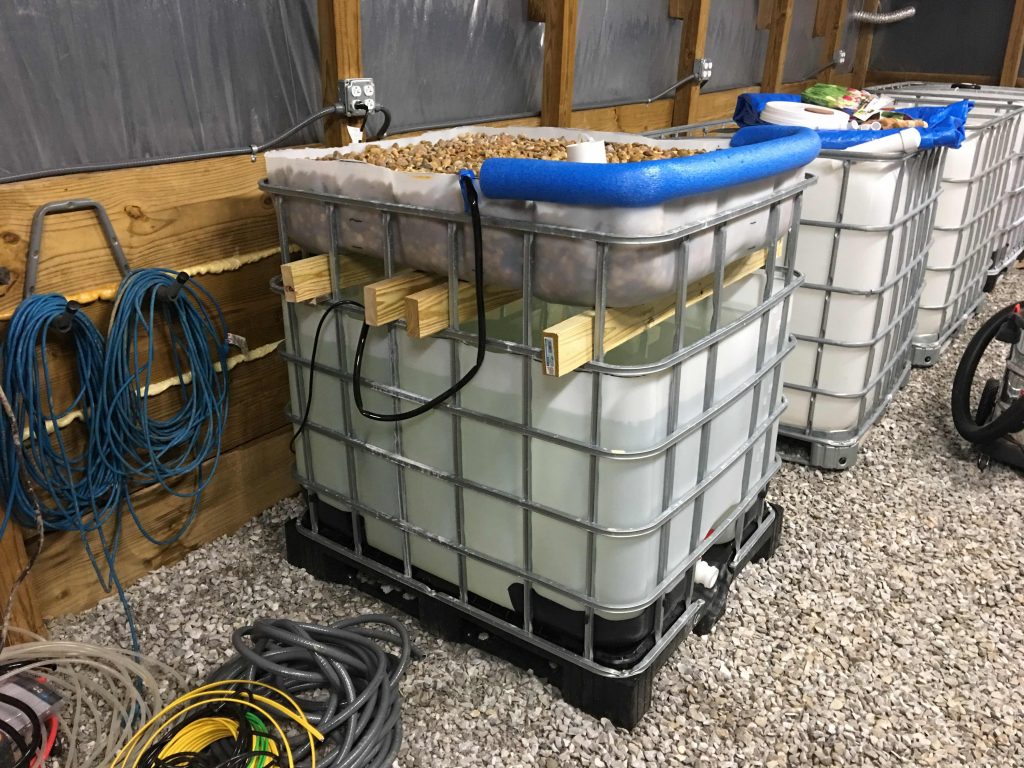
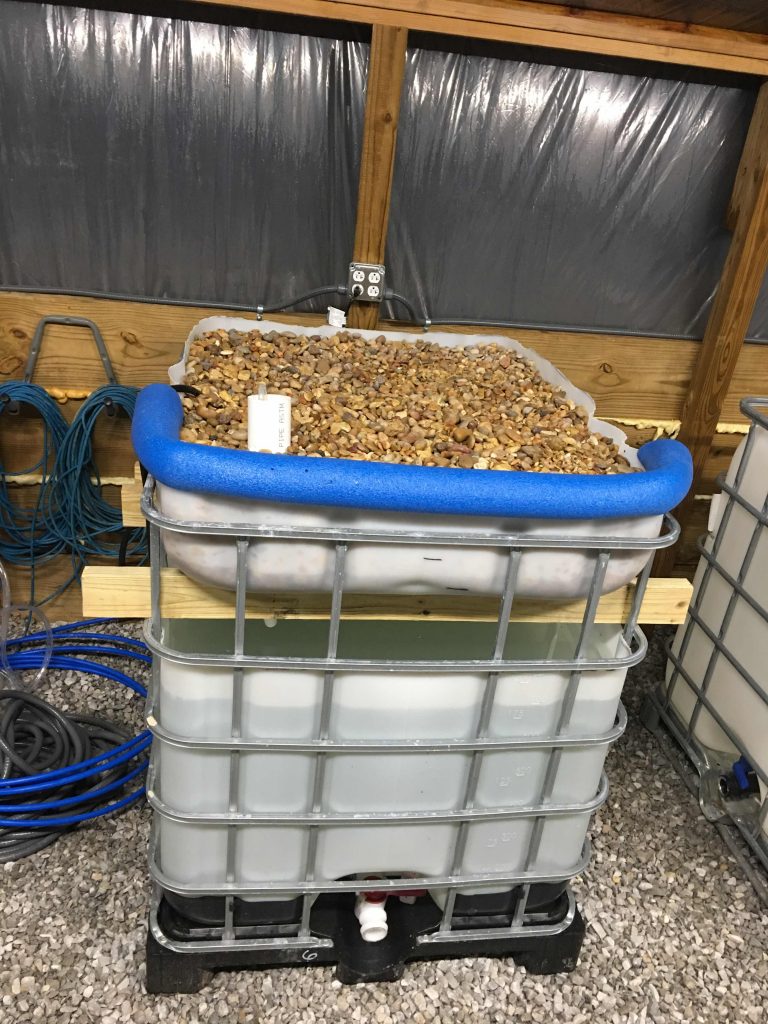
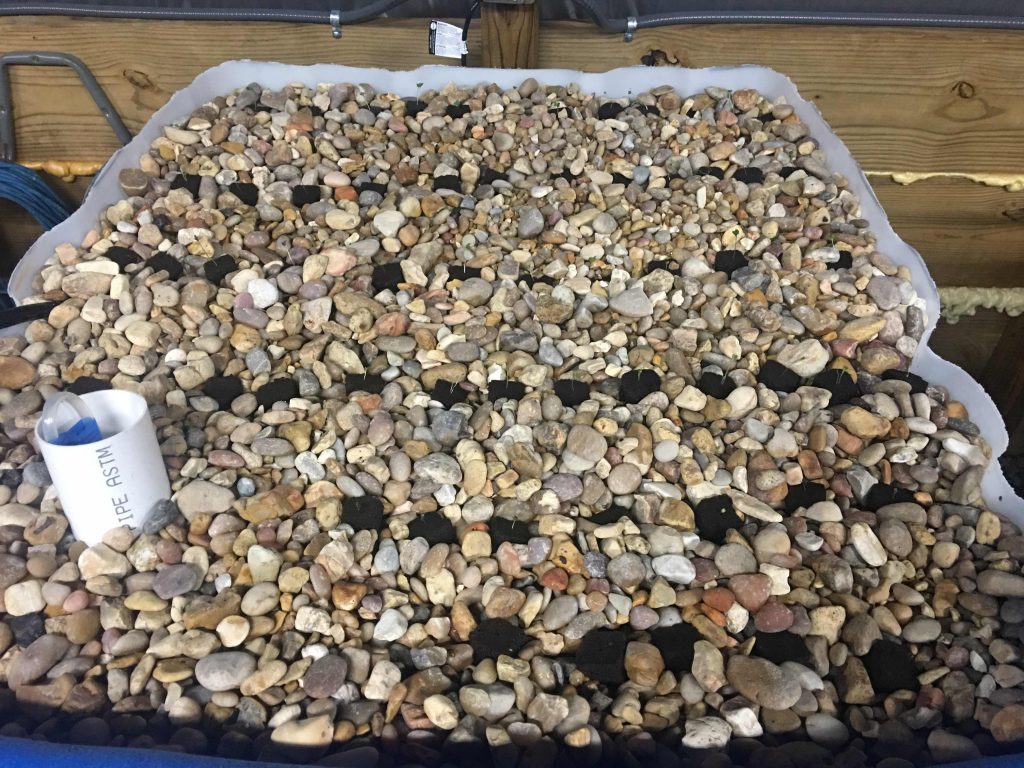
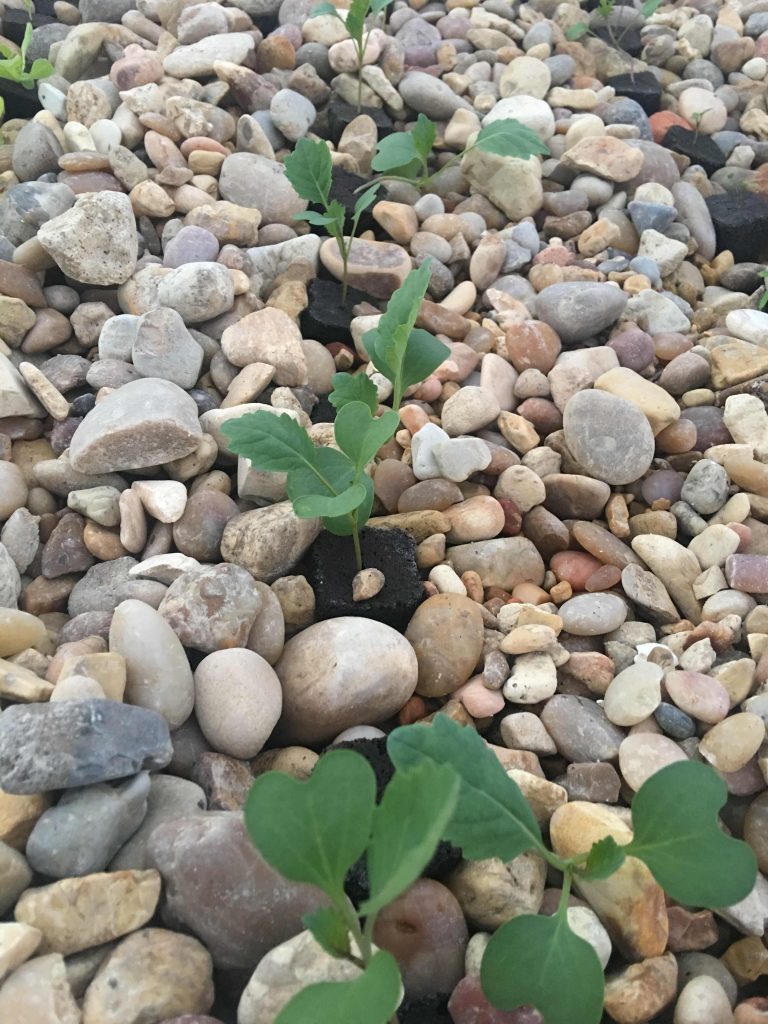

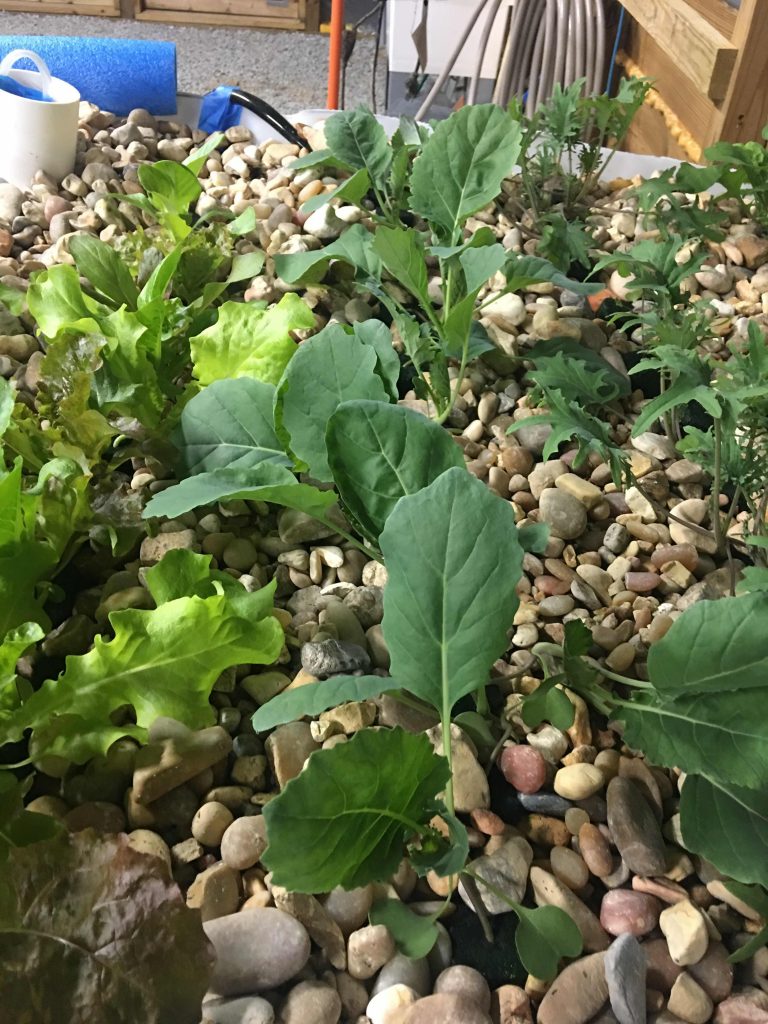
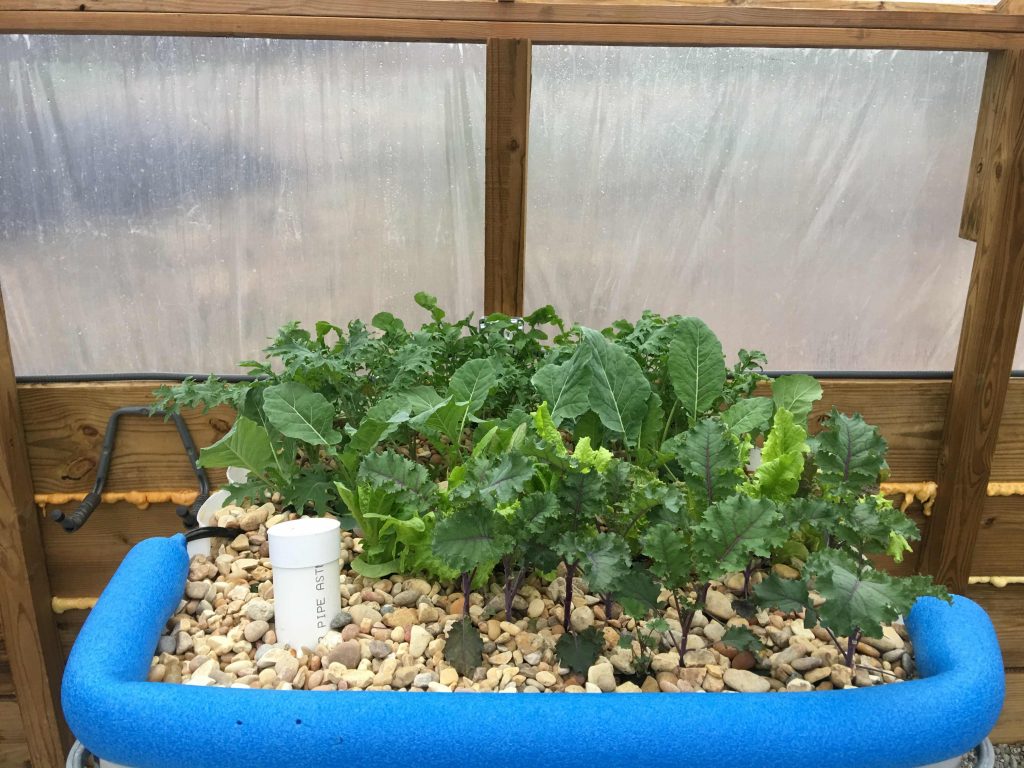
This particular bed is a flood and drain bed and we grew kale in it first. You can see one of the days of harvest in the buckets.
Giving the greenhouse a brain
One of my goals with the greenhouse was to make it as automated as possible. Another was to monitor what it is doing. I decided that the least expensive way to do this was to purchase an Arduino and program it to monitor temperatures and humidity at several locations in the greenhouse. This may be way more than some people would want to do, but something I was comfortable with, so that’s what I did.
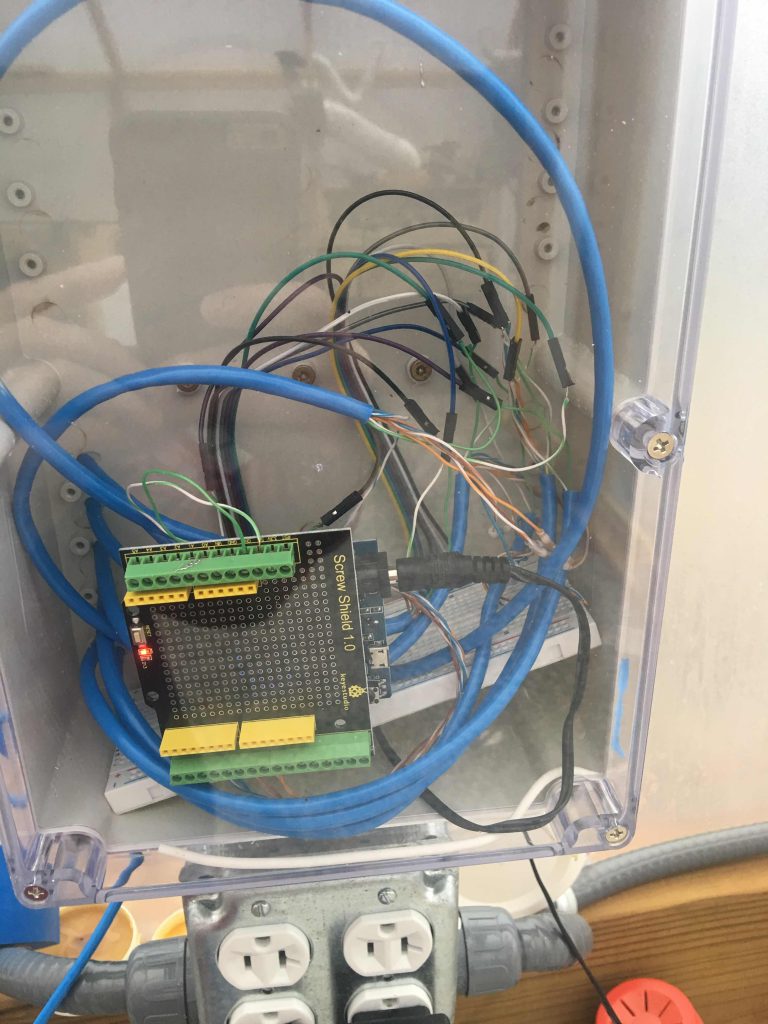
This tiny computer spends its life going through a loop of code which measures the temperature and humidity in five places inside the greenhouse and one place outside. It turns sends these values to a database on my computer so that I can look at them later.
Adding ventilation
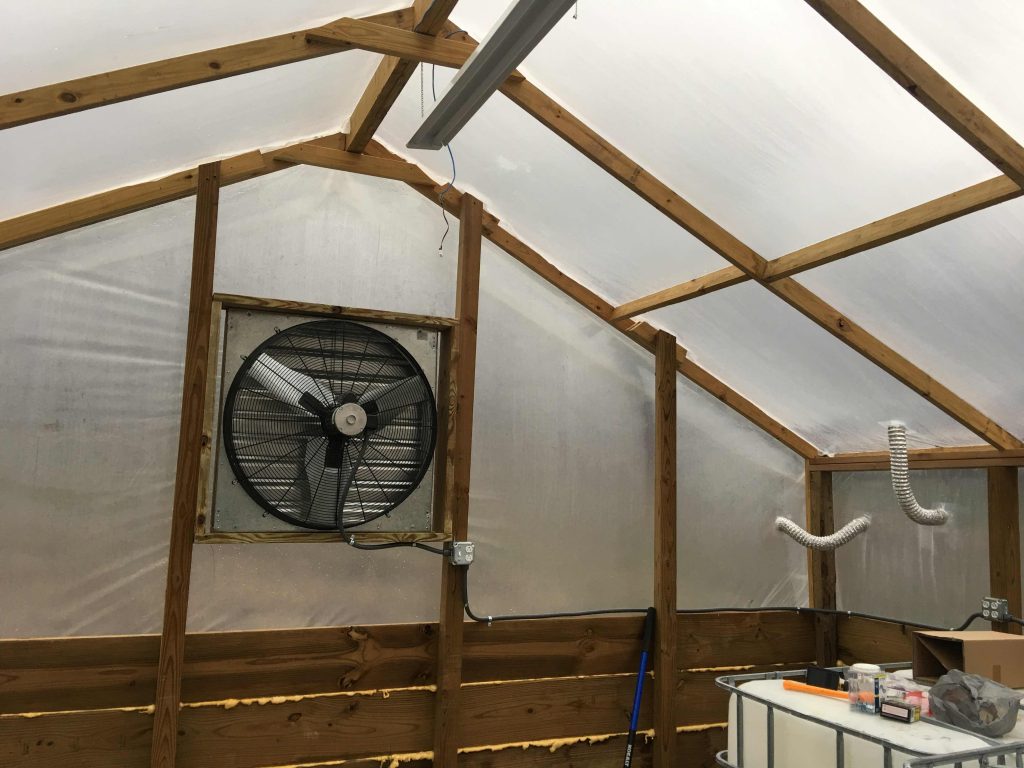
During the summer, the sun is extremely strong and the greenhouse goes above 100 degrees Fahrenheit very quickly on sunny days. It gets close to that even on cold winter days when the sun is shining. Because of this, I added a ventilation fan on the back wall to pull fresh air through the building.
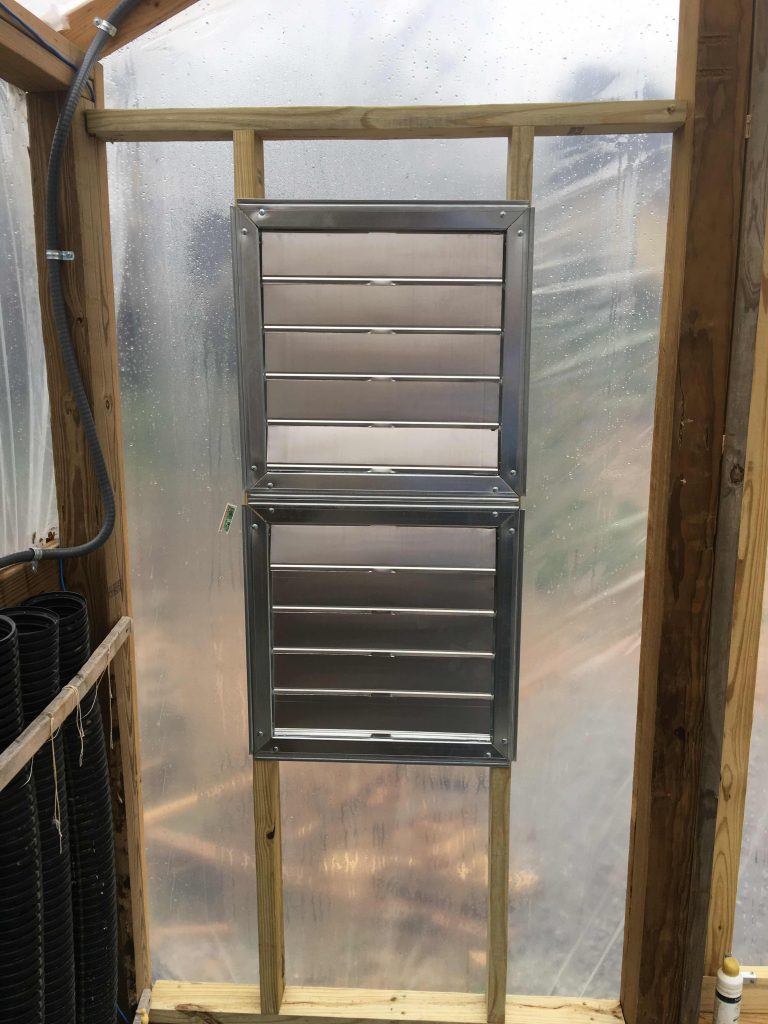
I also added some vents on the front to allow the fresh air to be sucked into the greenhouse. These worked, but there wasn’t nearly enough air flow through them, so instead of spending more money for a bunch more of these, screened in two of the doors on the front and just hung plastic behind them on the inside. Now the air can suck through when the fan is on, but the plastic drops back into place when it turns off.
The other thing I did was to wire the fan into a switch controlled by the Arduino. That way, the computer can measure the temperature and turn the fan on when needed. This could also be done with a thermostat on the fan, but this way allows me to look at several temperature locations and use their average to determine if the fan should start or stop.
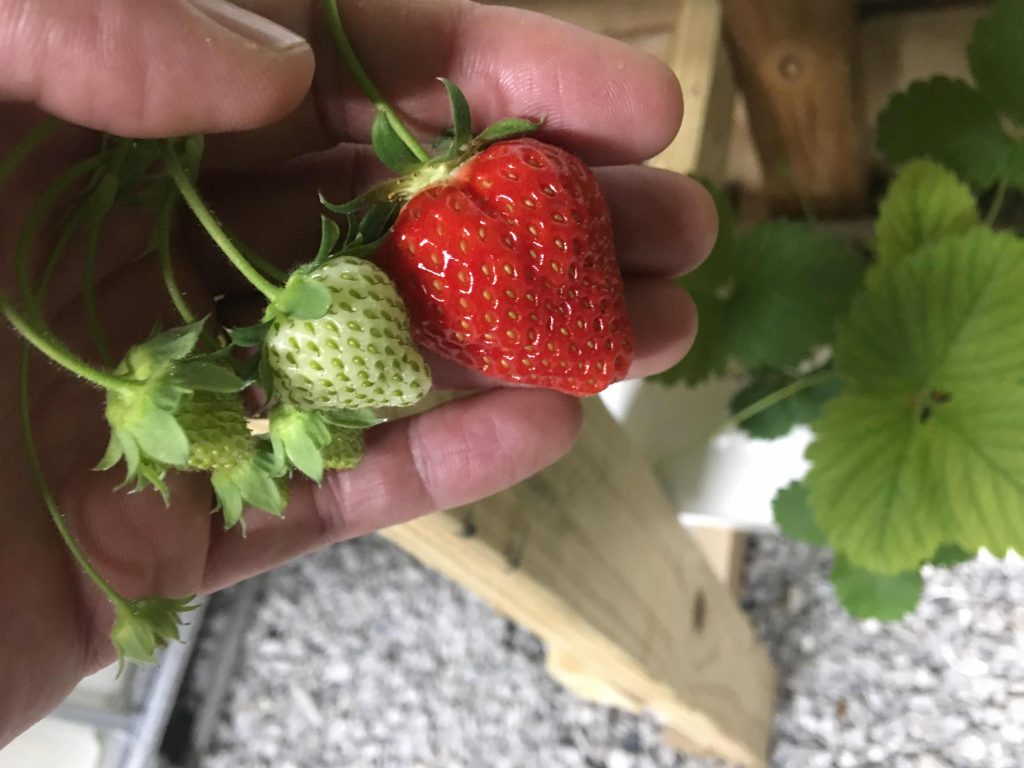
Adding a strawberry wall
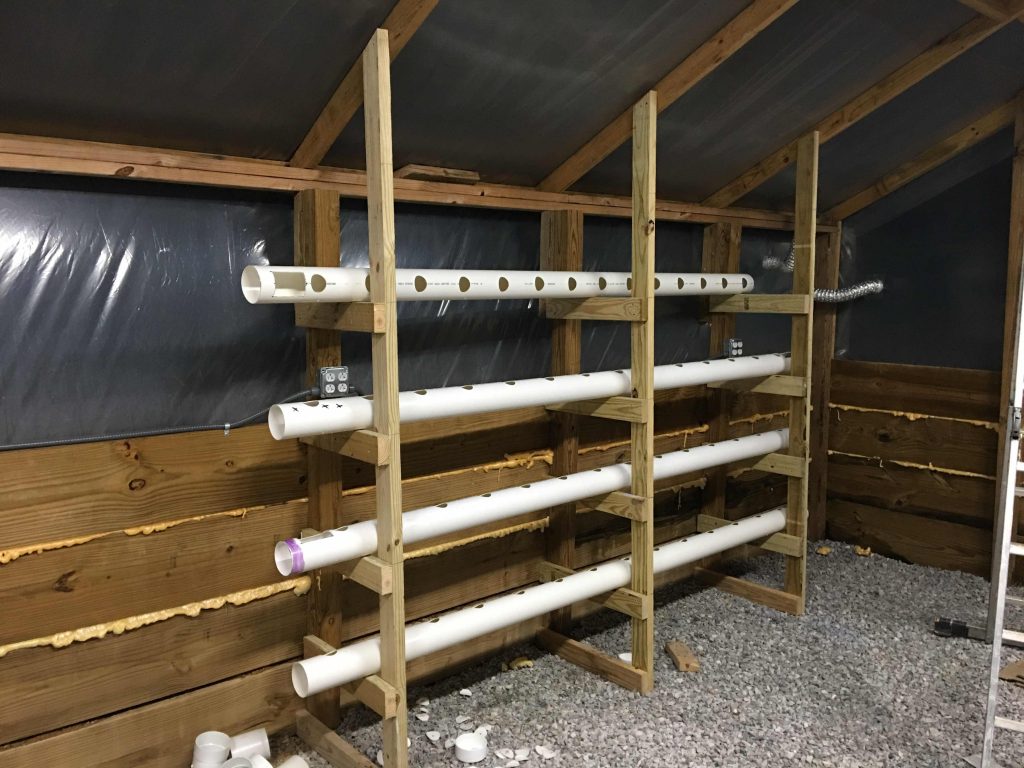
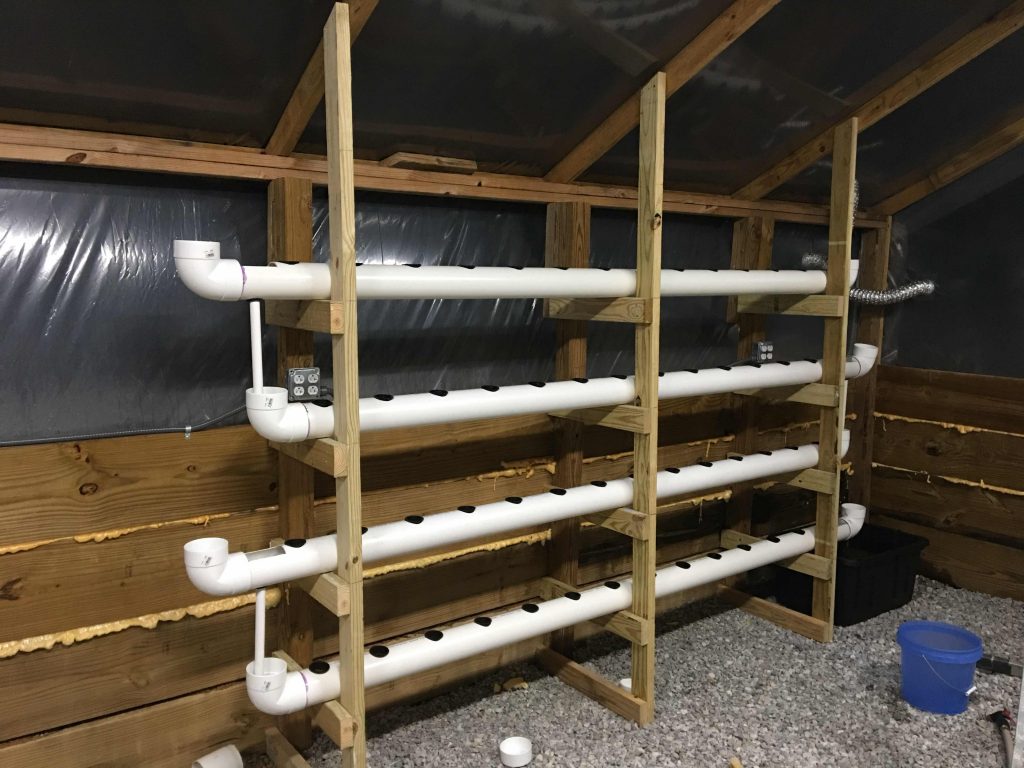
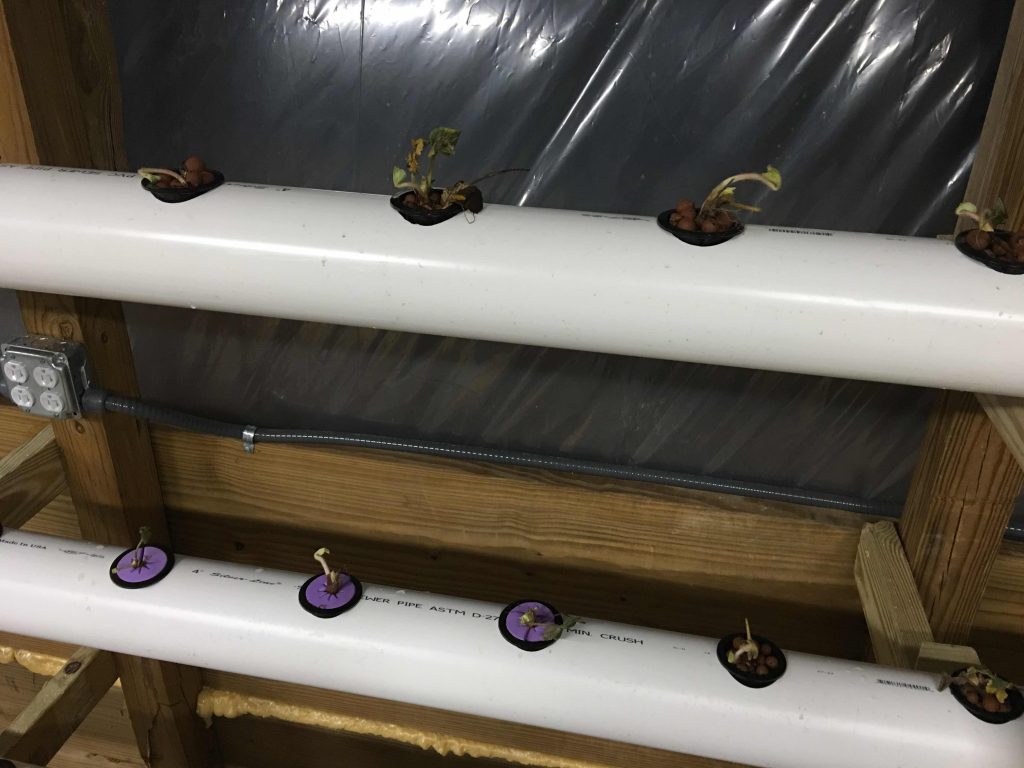
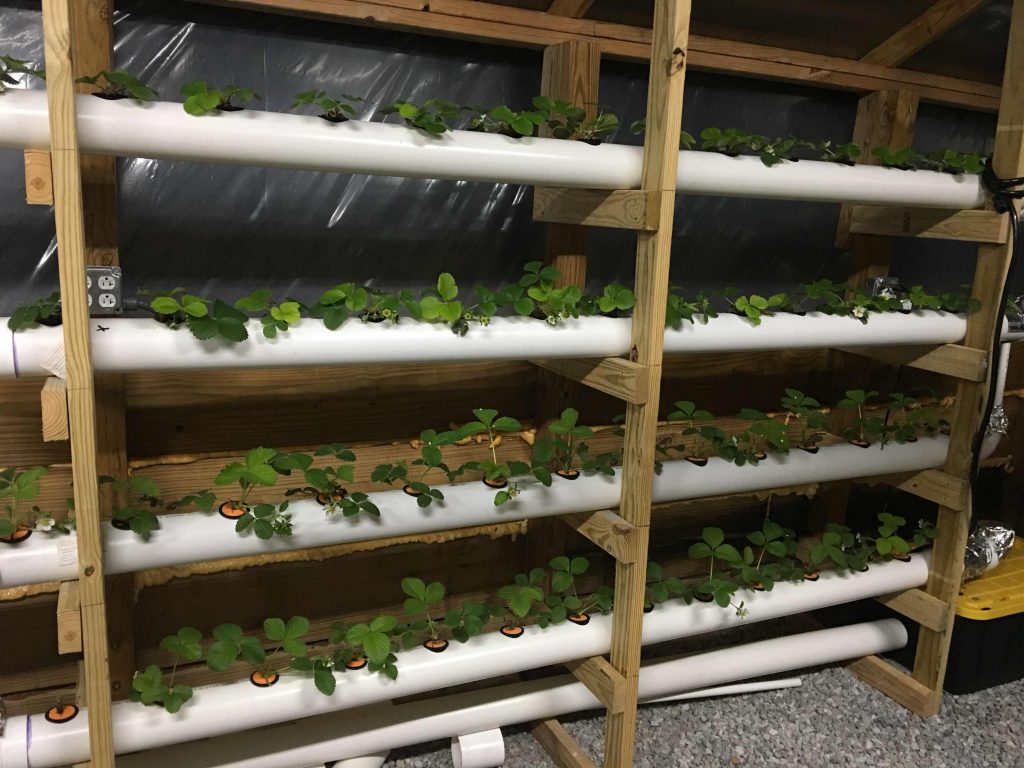
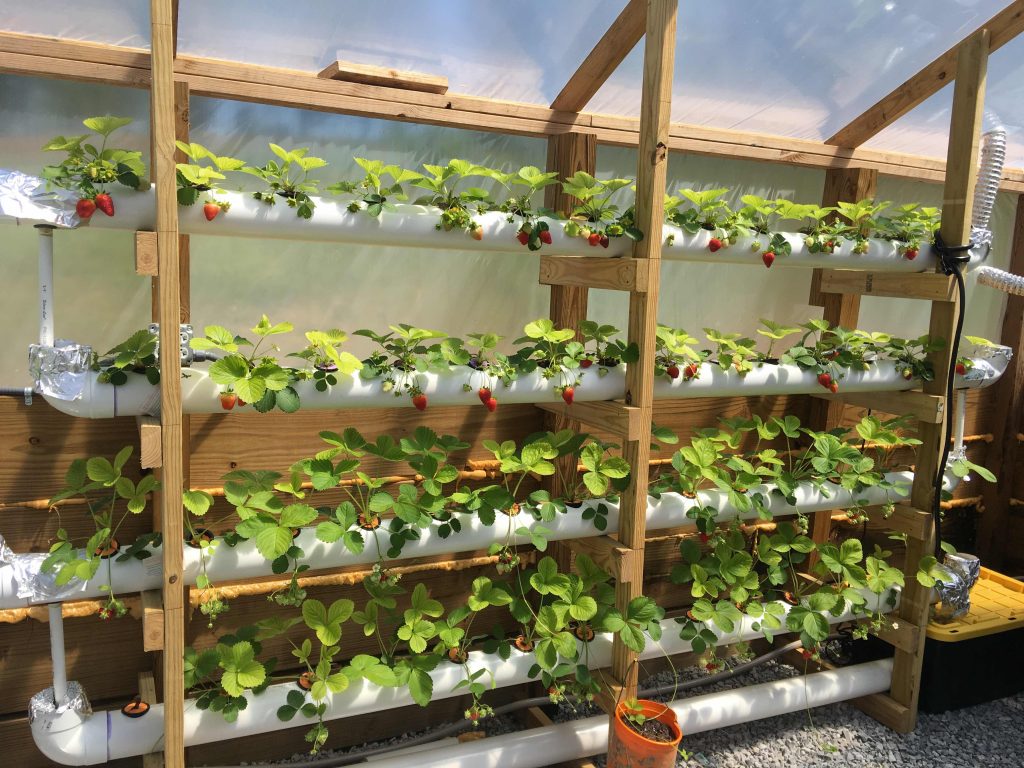
My son wanted to grow strawberries, so his first big project in the greenhouse was to design and build a system for them. We went with hydroponics again, but decided to use PVC pipes for this one to allow for a smaller footprint.
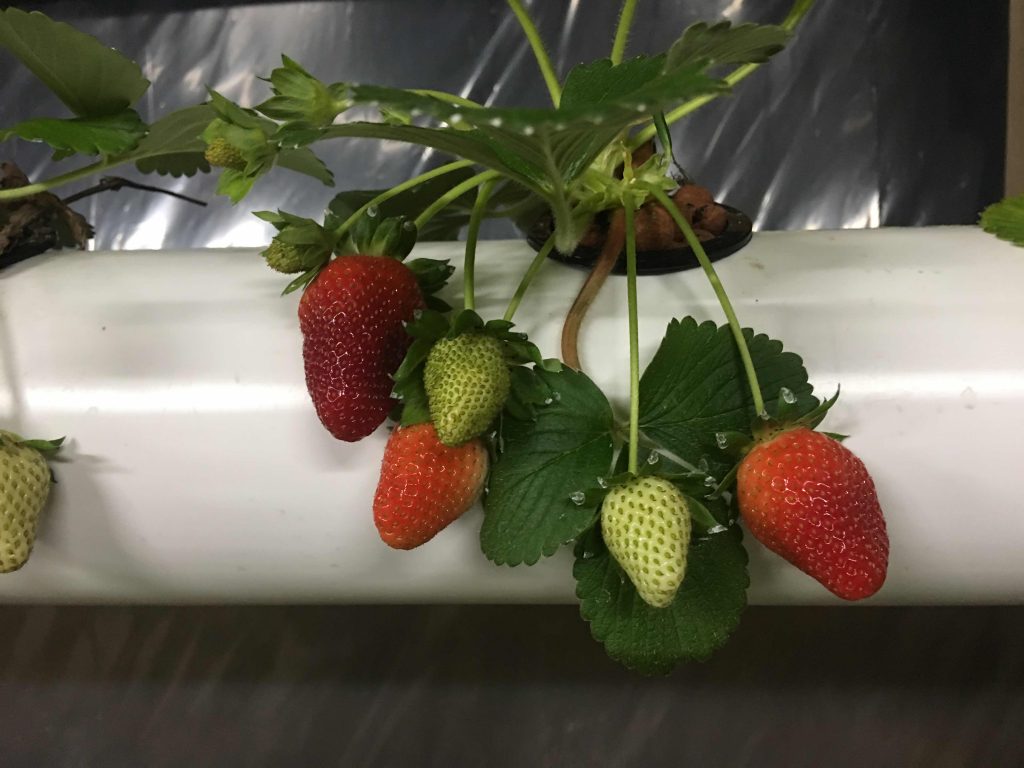
There are many variations on hydroponics systems built with PVC. This one is vertical and starts with the storage container in the corner. This is kept filled with nutrients and water and a small pump circulates the water to the top pipe. Gravity brings it back down to the storage tote and the cycle starts again.
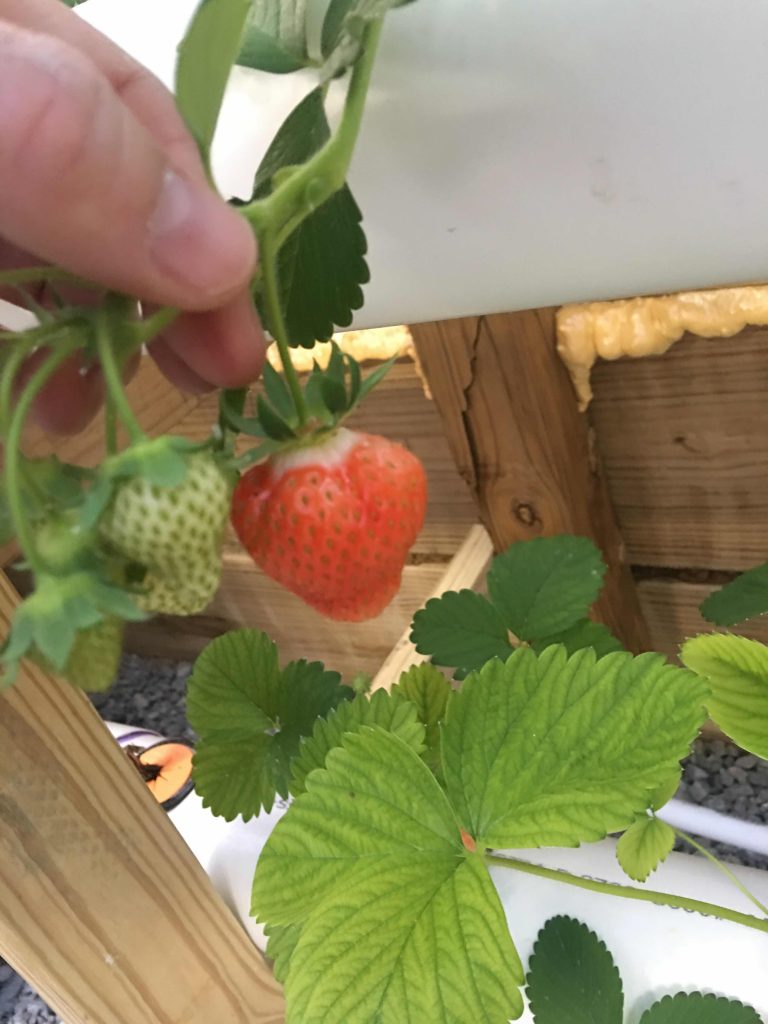
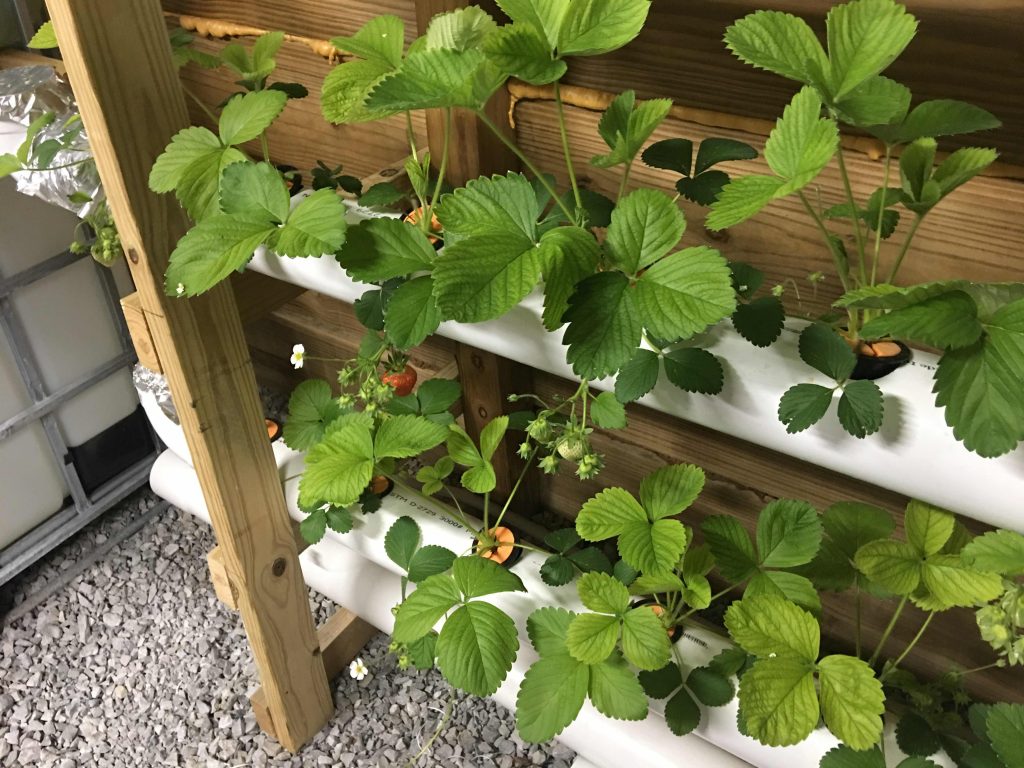
Once the structure was built, we planted the little starts in net cups and let them grow.
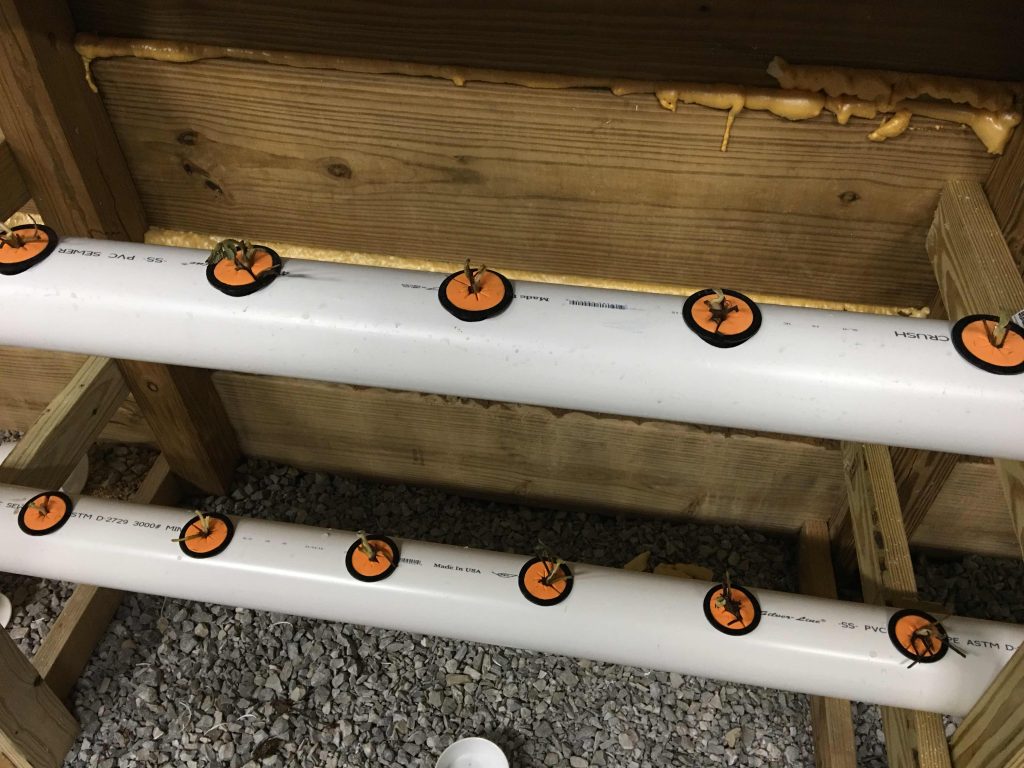
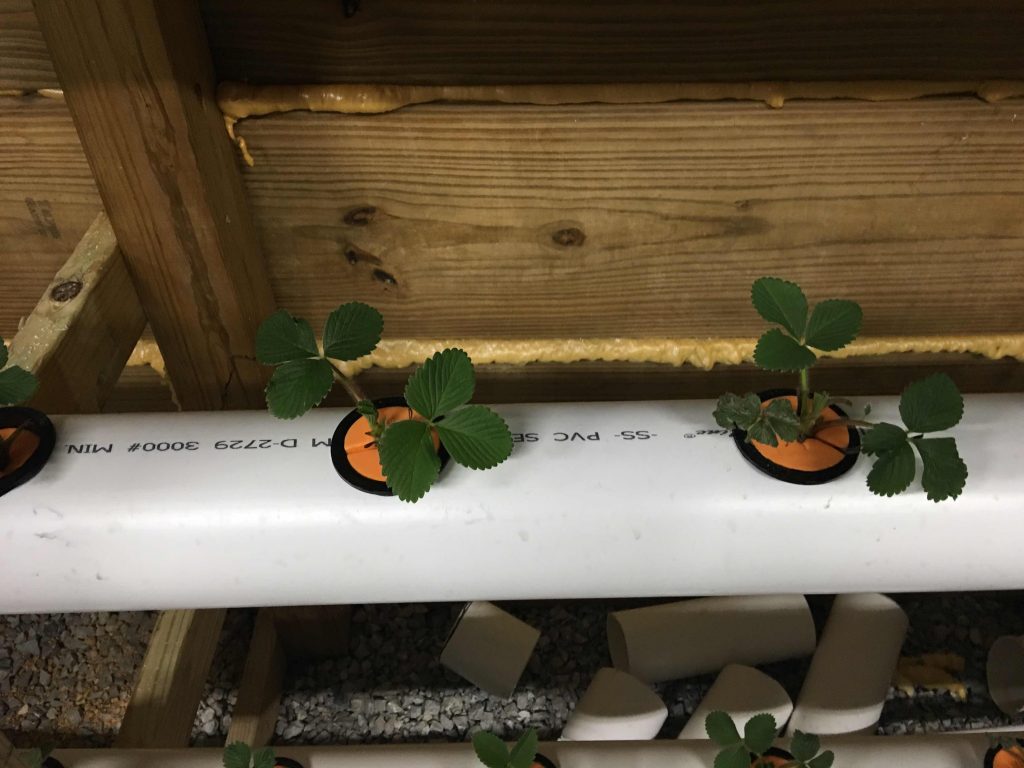
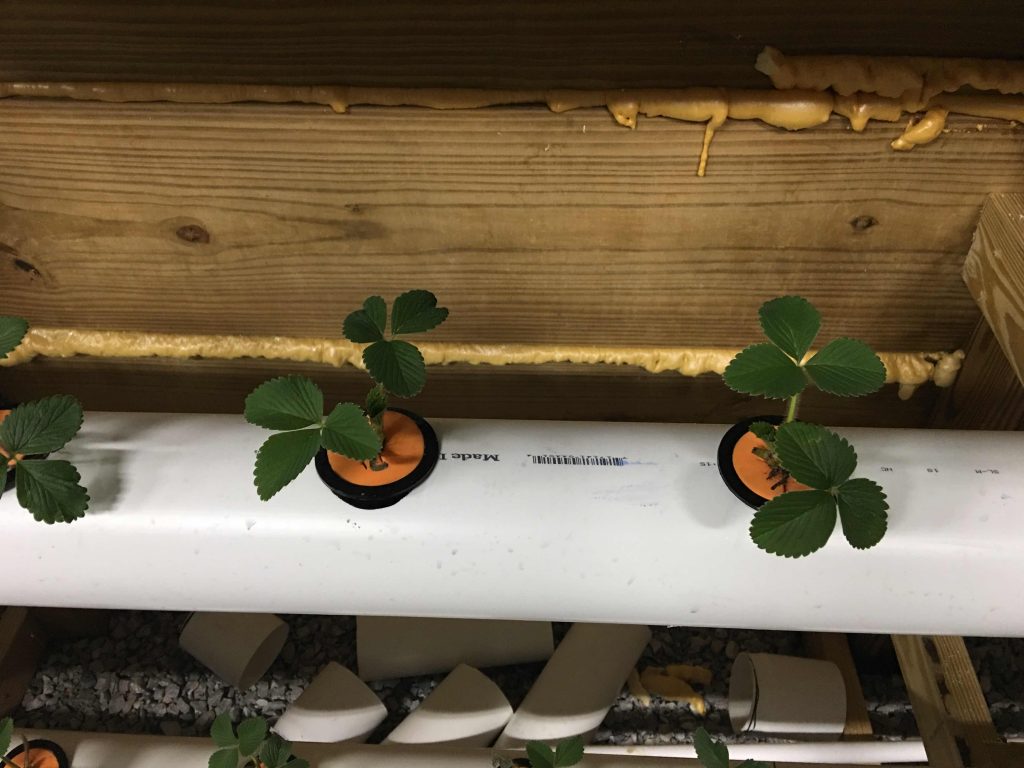
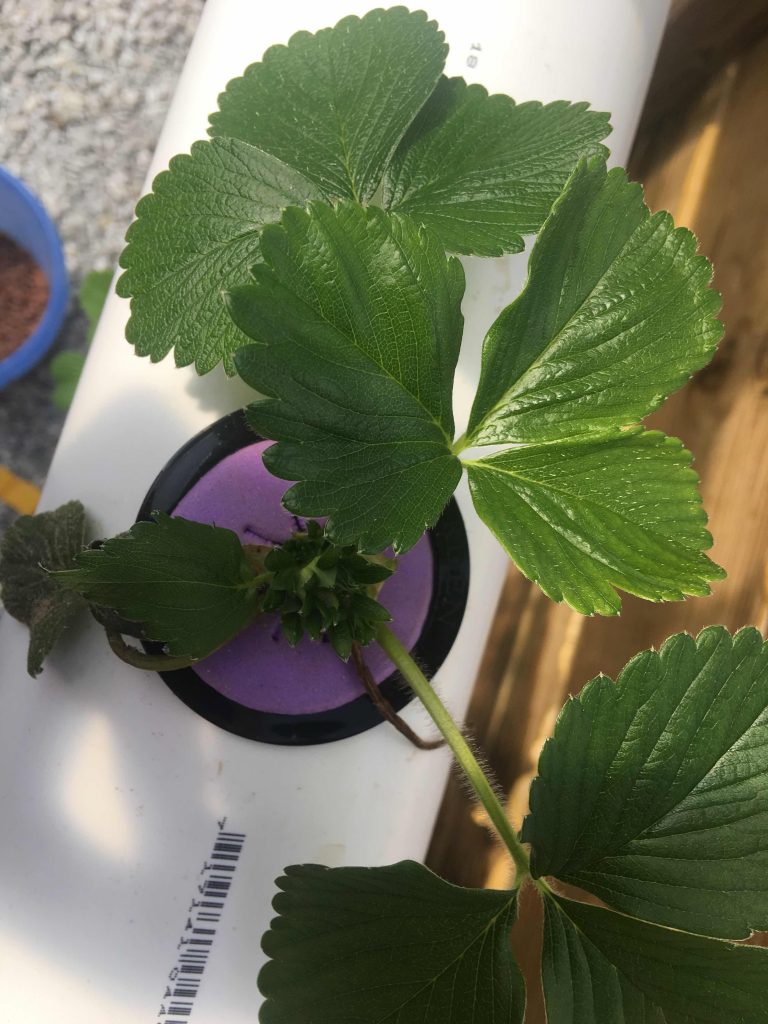
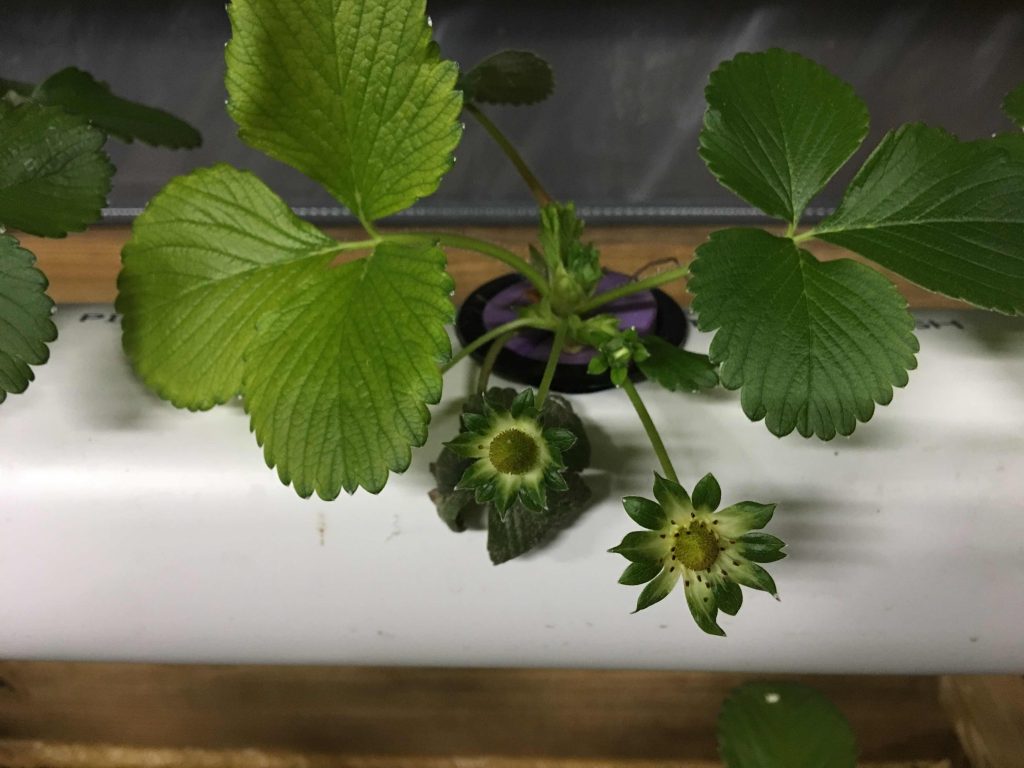
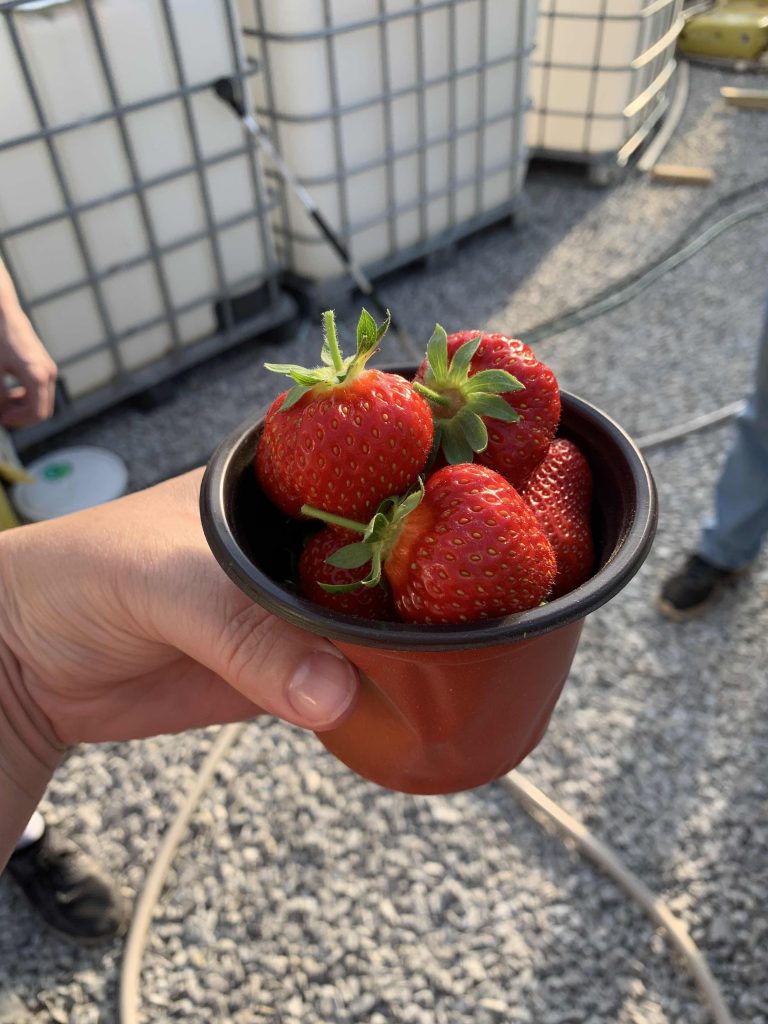
It took a couple of months, but we ended up getting quite a few delicious berries.
Building our first dirt bed
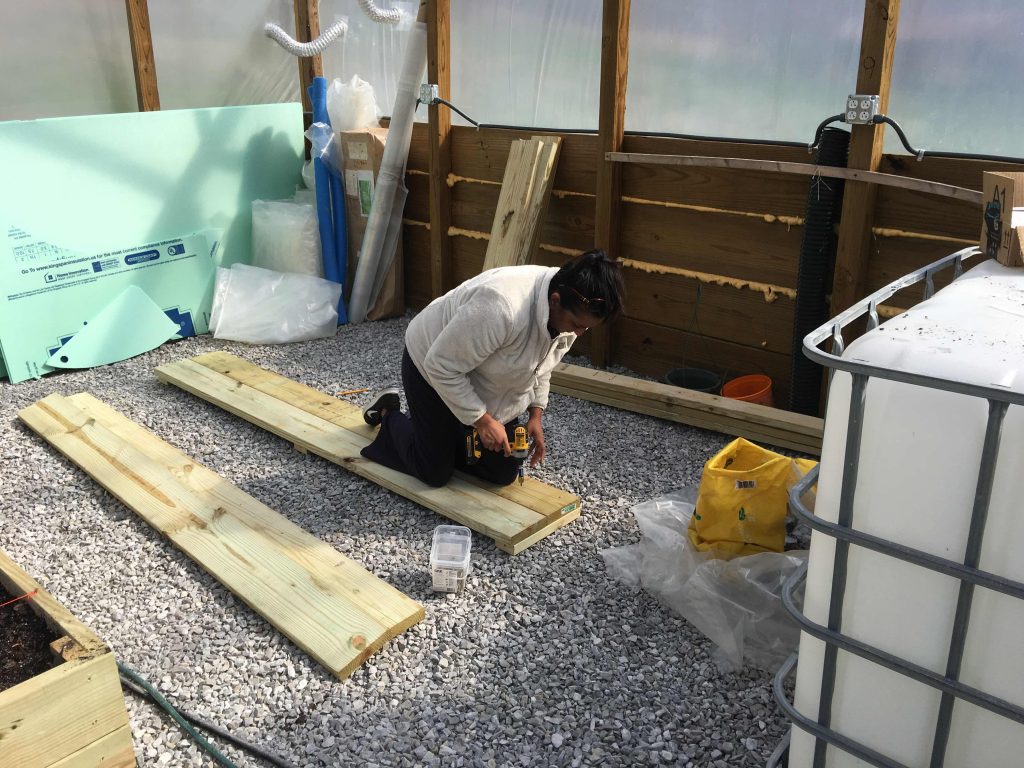
We had good results with hydroponics, but also wanted some dirt to play in. We decided to go with raised beds, and built them with pressure treated lumber. I know some folks don’t like using the pressure treated lumber, but the formulation in them has changed and I don’t see this as an issue. Feel free to build your beds in whatever way you decide is best for you.
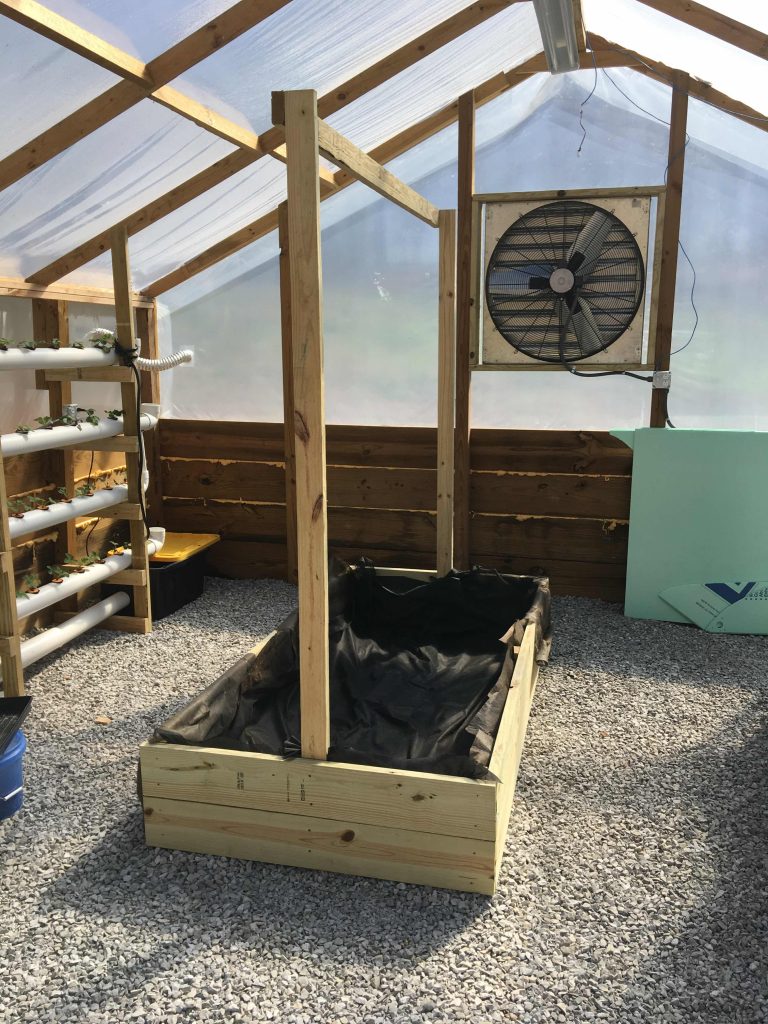
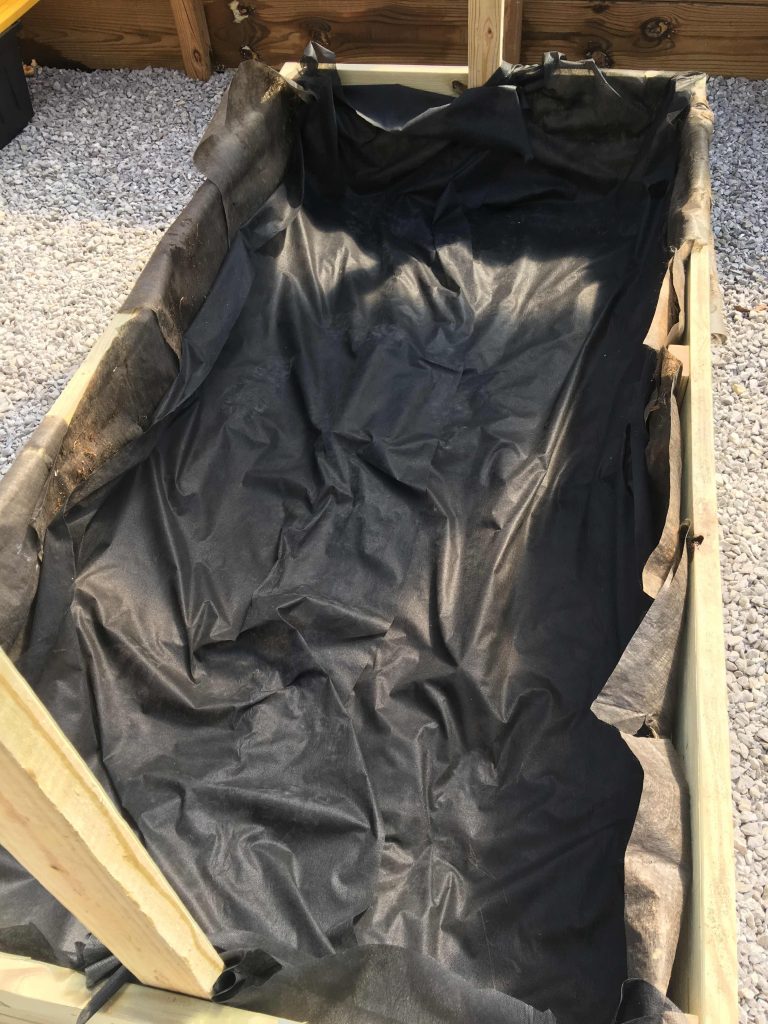
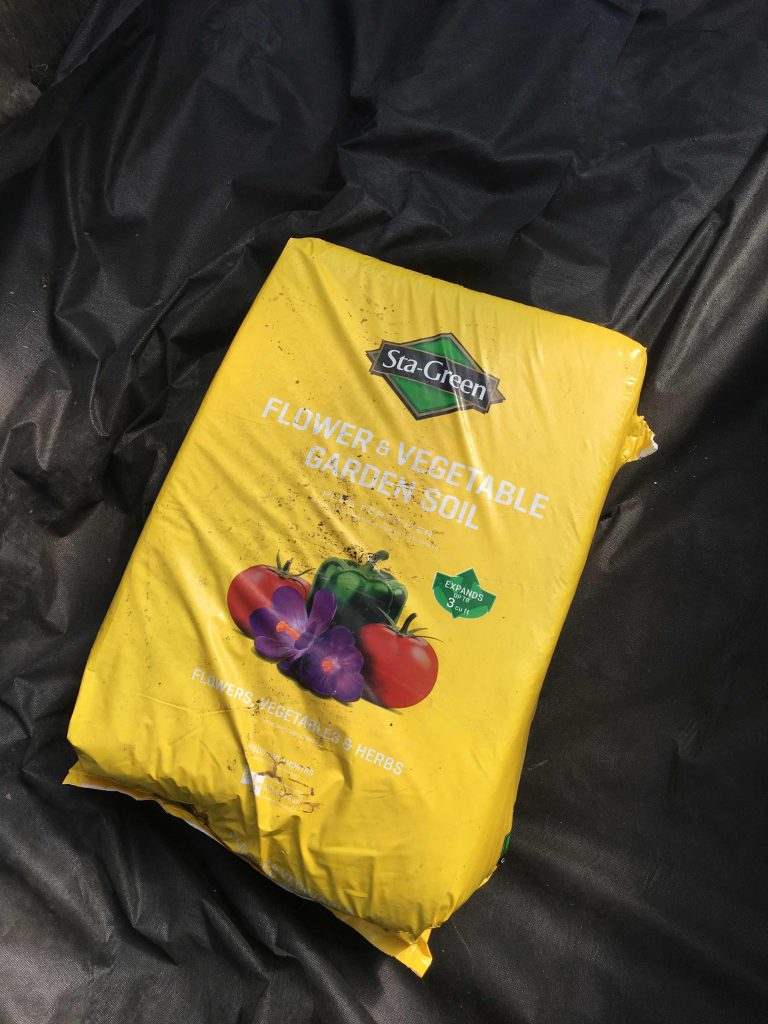
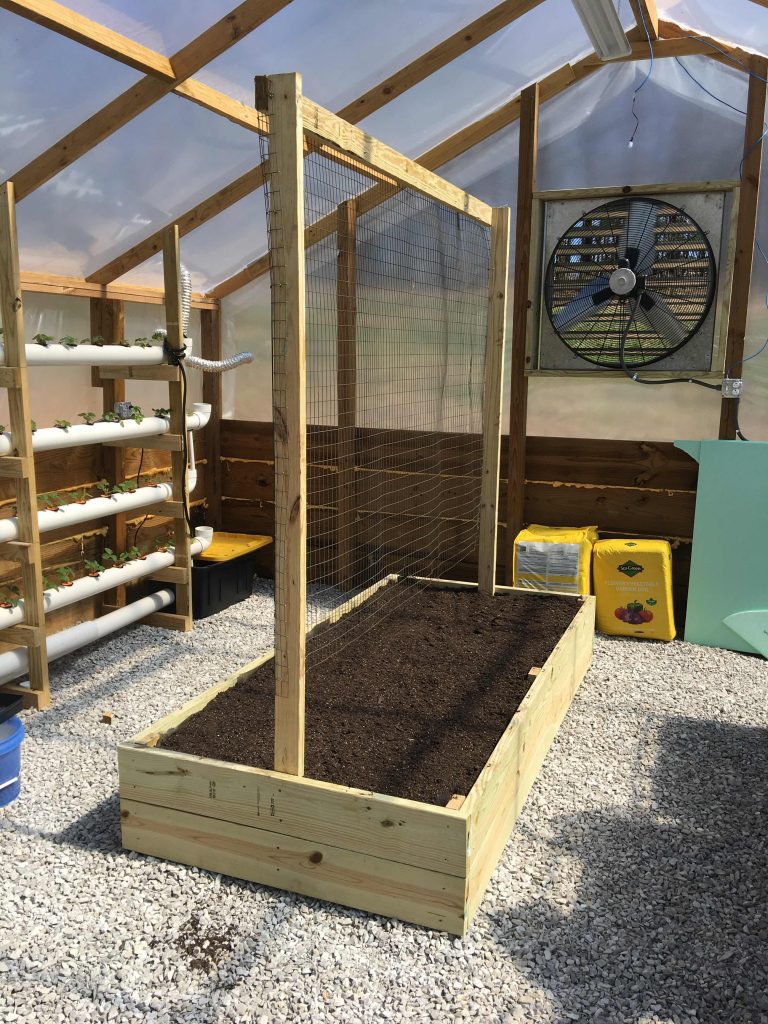
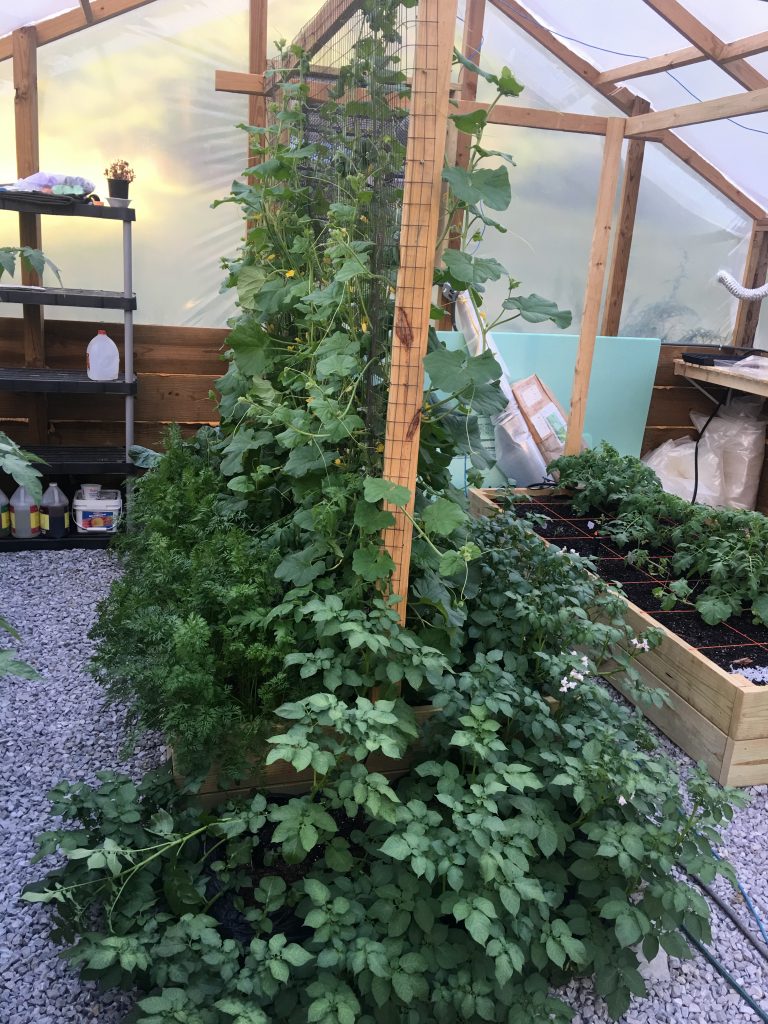
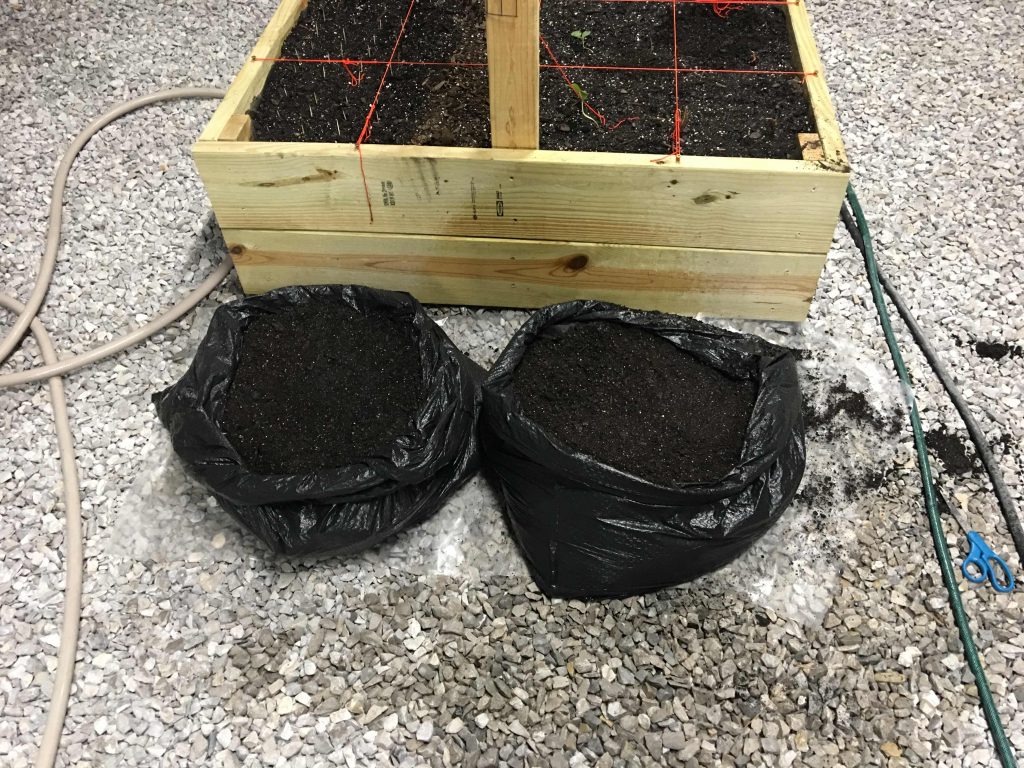
We lined the bed with landscaping fabric and filled it with garden soil. We also added a trellis above it to support whatever we put in that might need support.
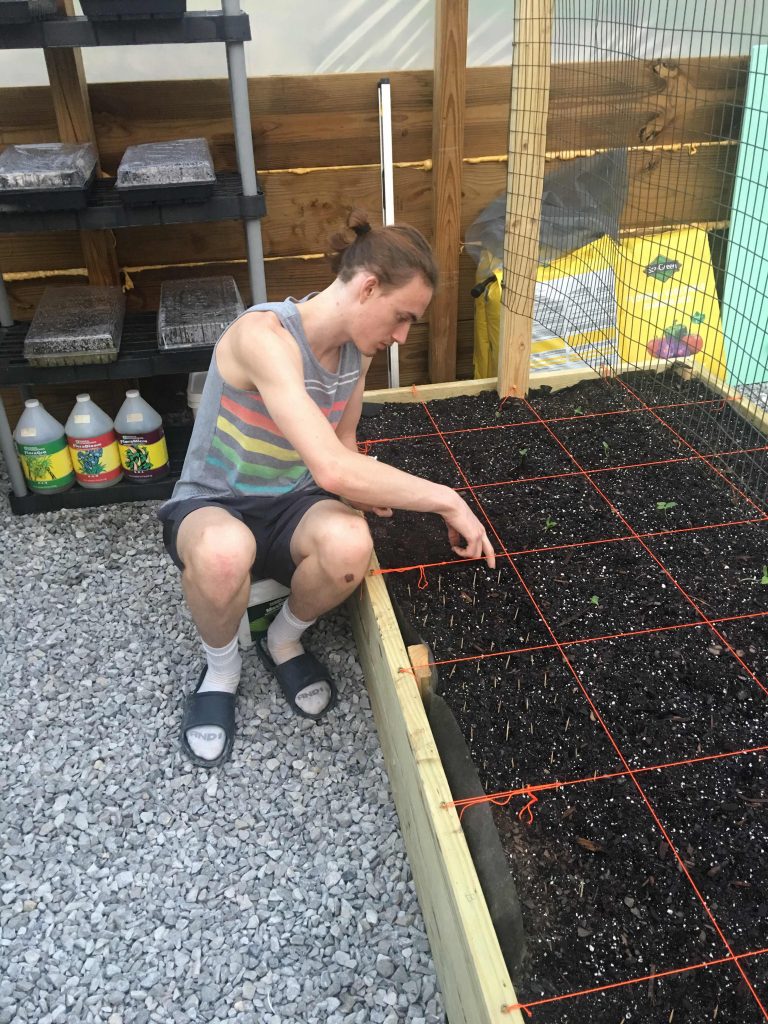
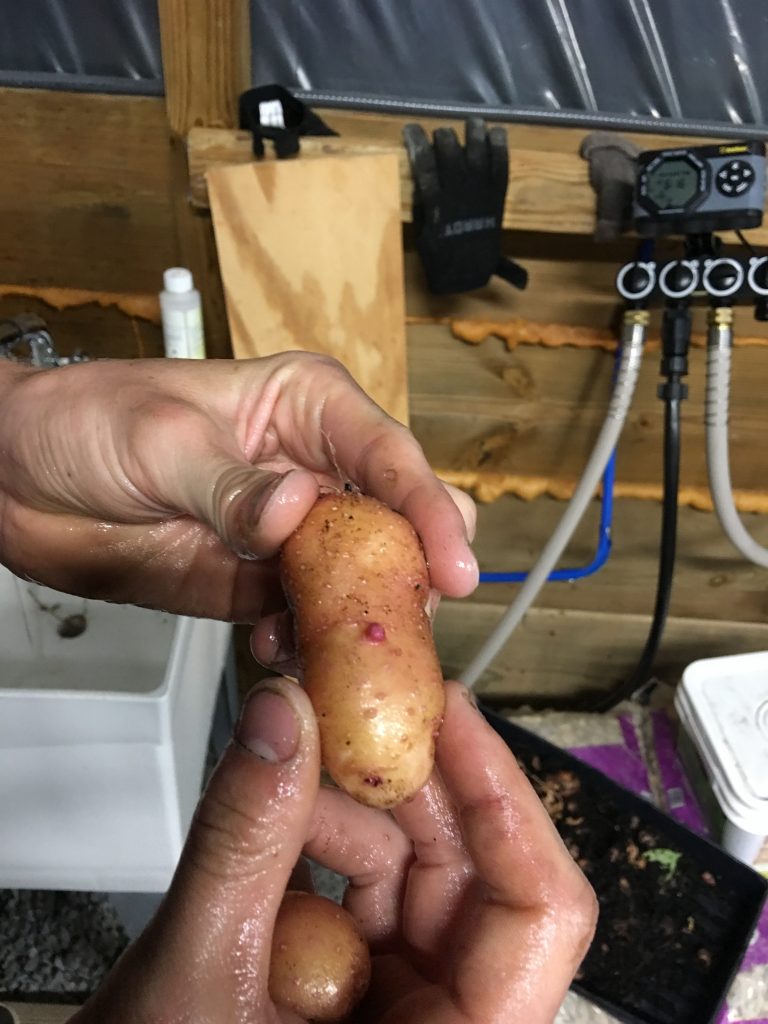
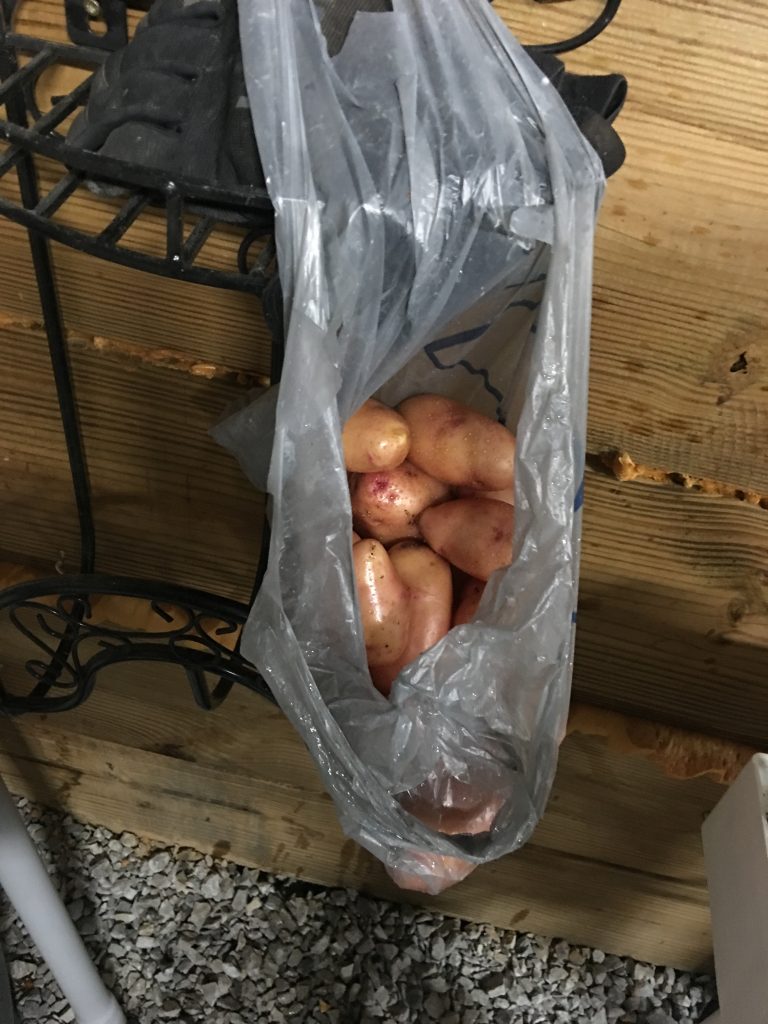
We went with the square foot marking and even put some potato sacks at the end of the bed.
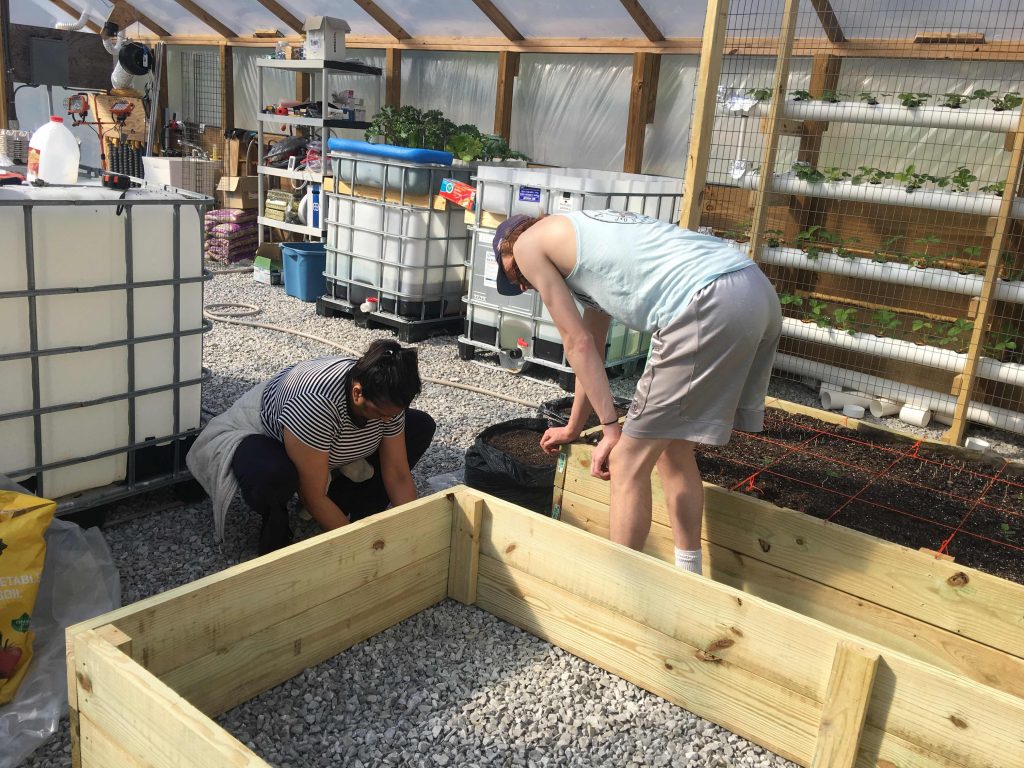
We liked this bed well enough that we ended up adding another one next to it. We recruited one of our friends to help with the second one. She wanted to see how we built it so she could build some at her house.

We also added to the trellis, which ended up strengthening the whole thing when we tied them together.

Adding a potting shelf
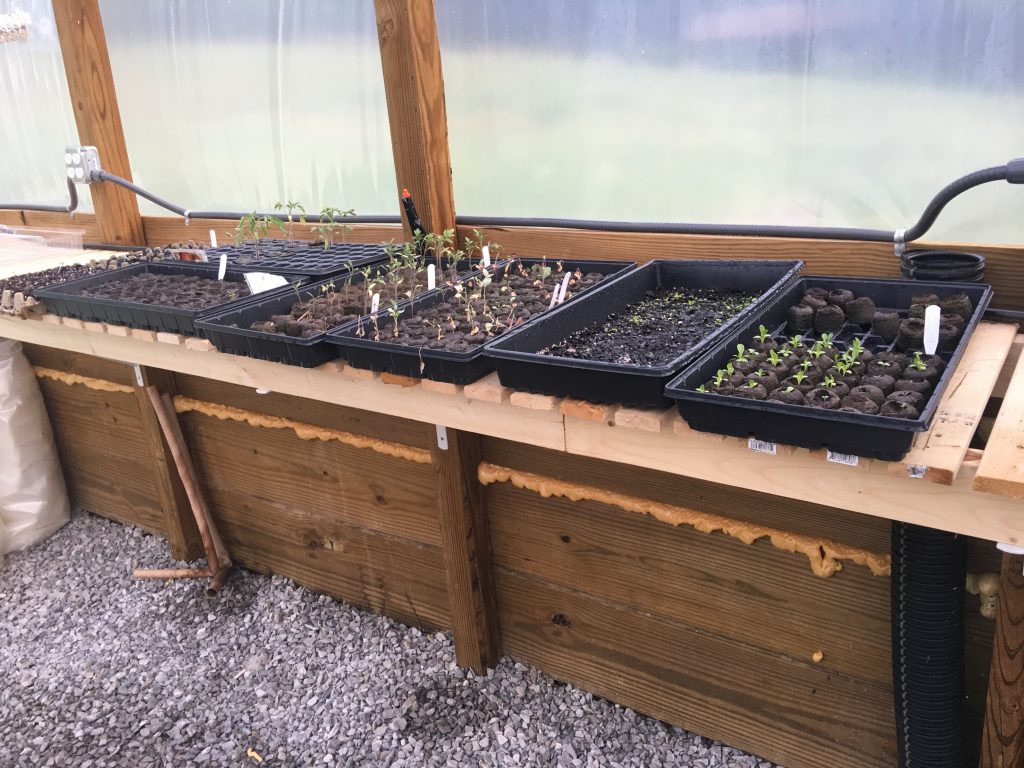
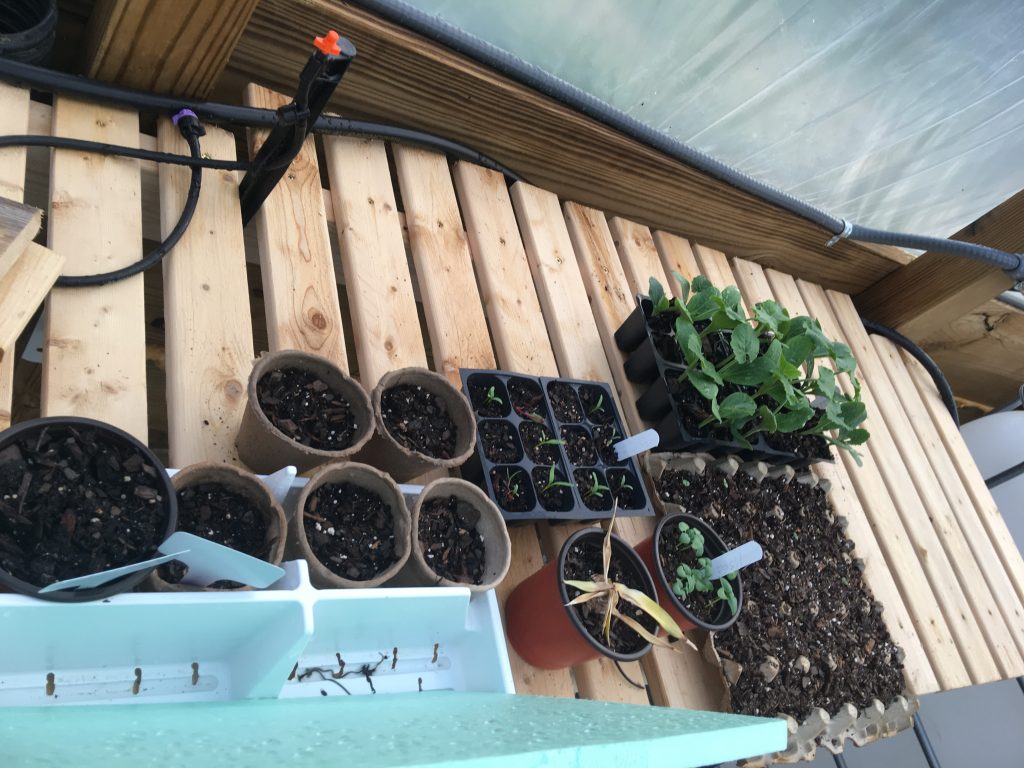
We quickly found that there was need to put new plantings and seedlings and the floor wasn’t the best location. We built a shelf along one wall to give us a place for this.
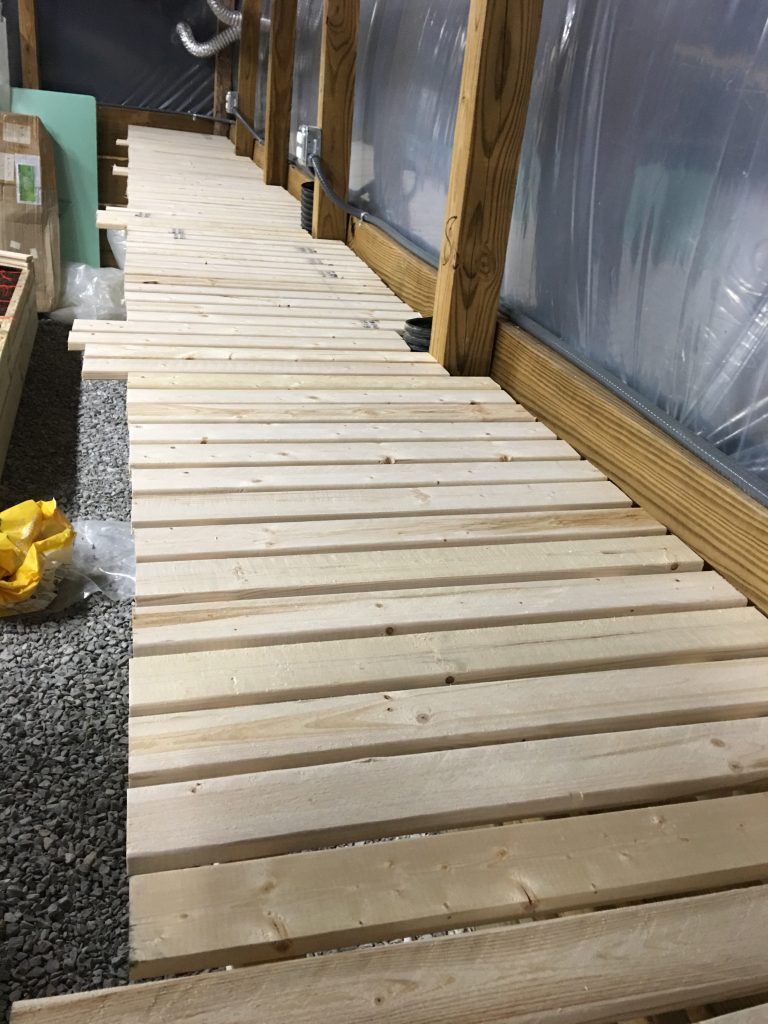
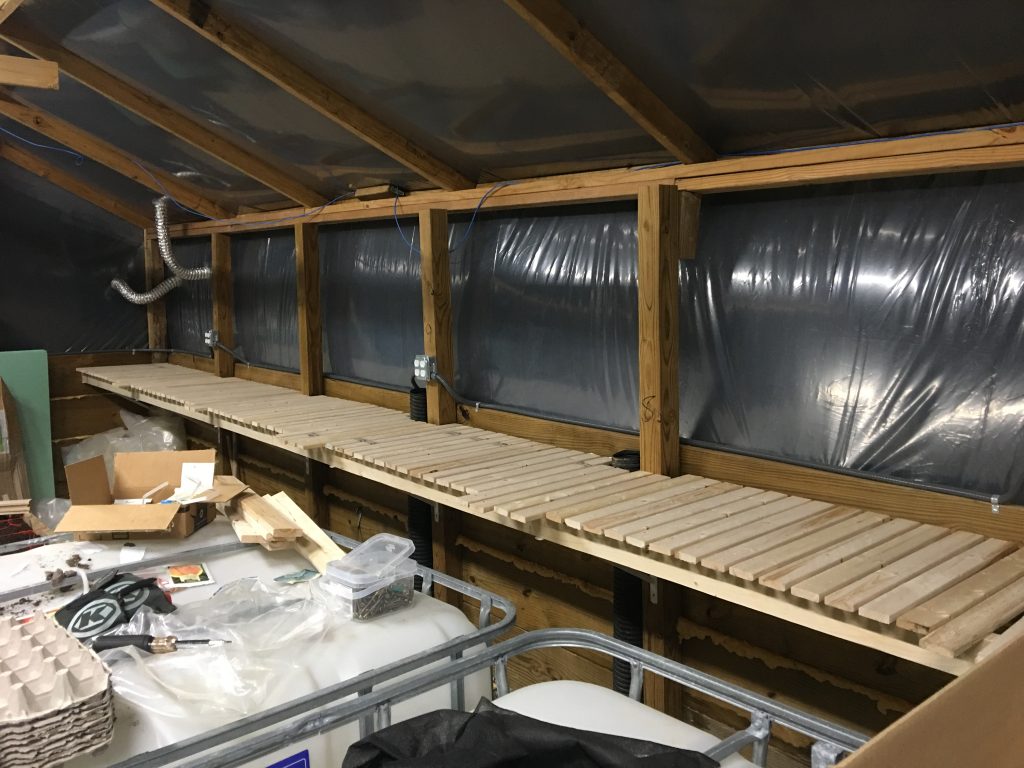
It quickly saw plenty of use, and is usually covered with trays and pots at this point. We plan to put in some more shelving units soon to further expand out options.
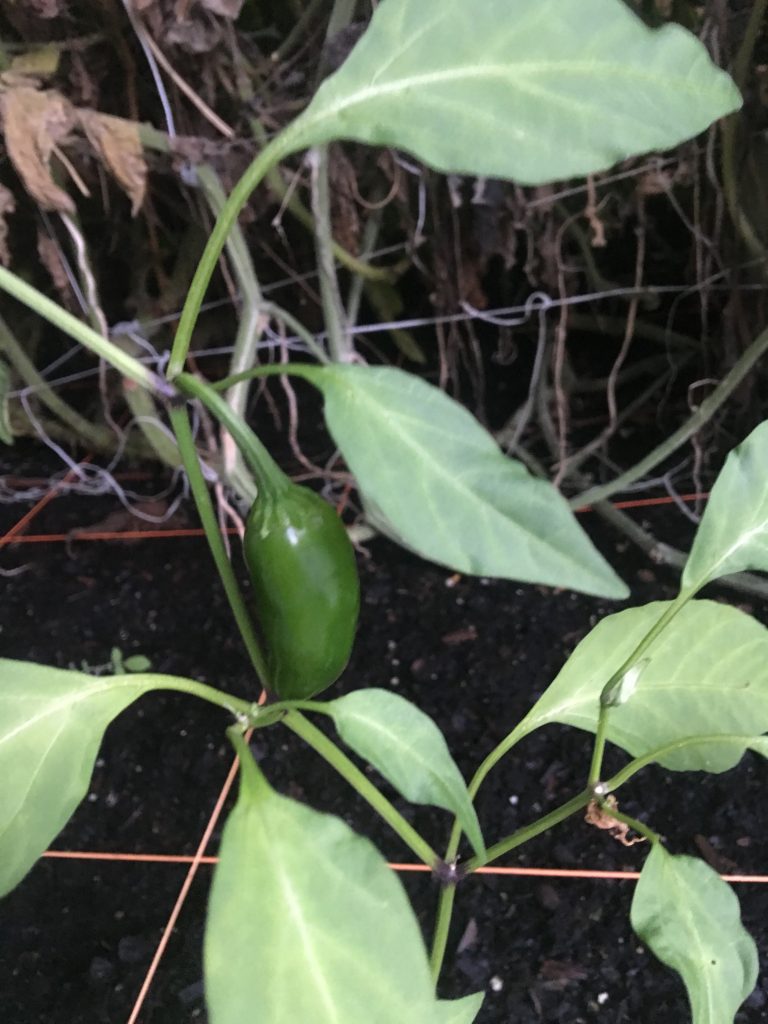
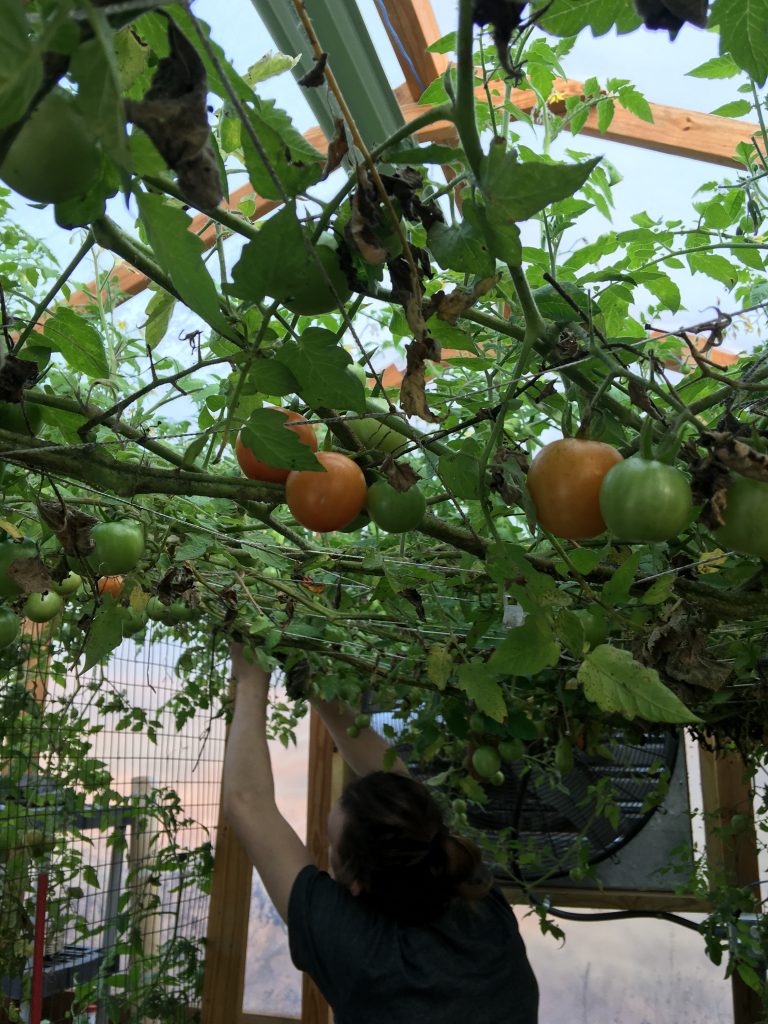
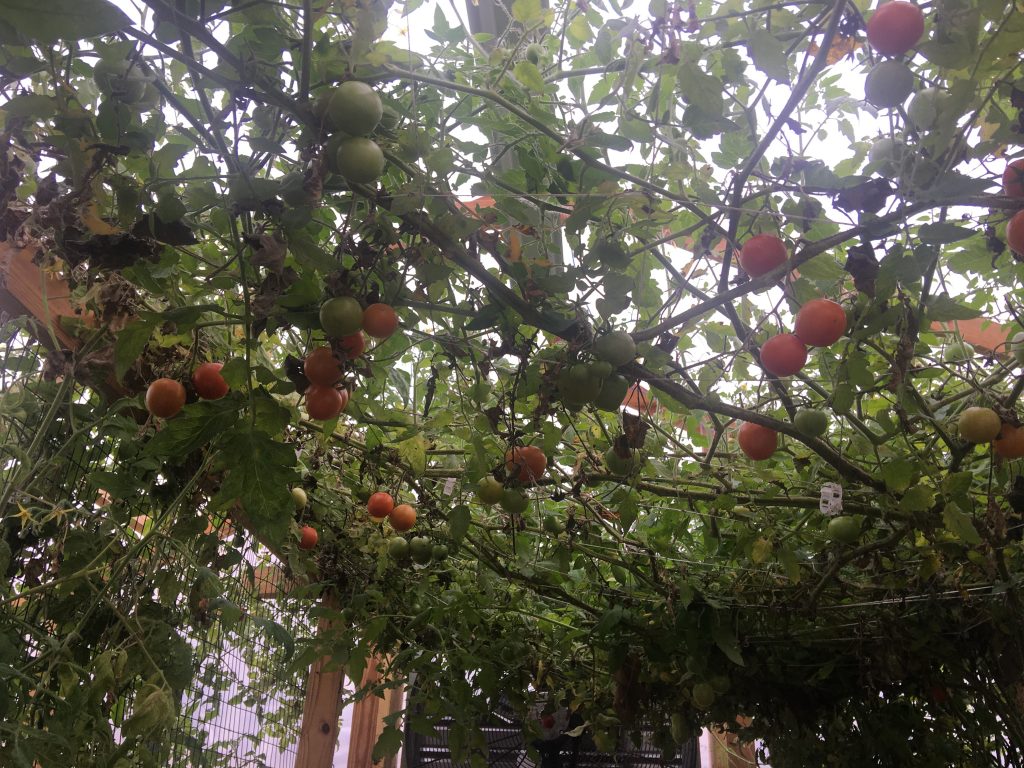
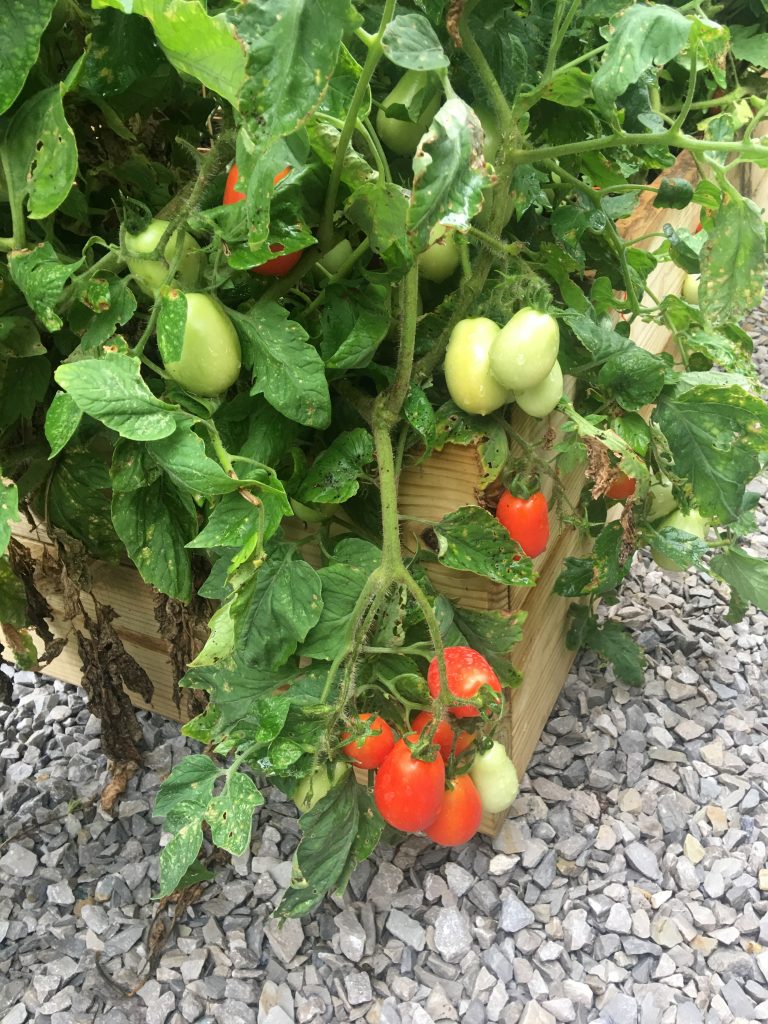
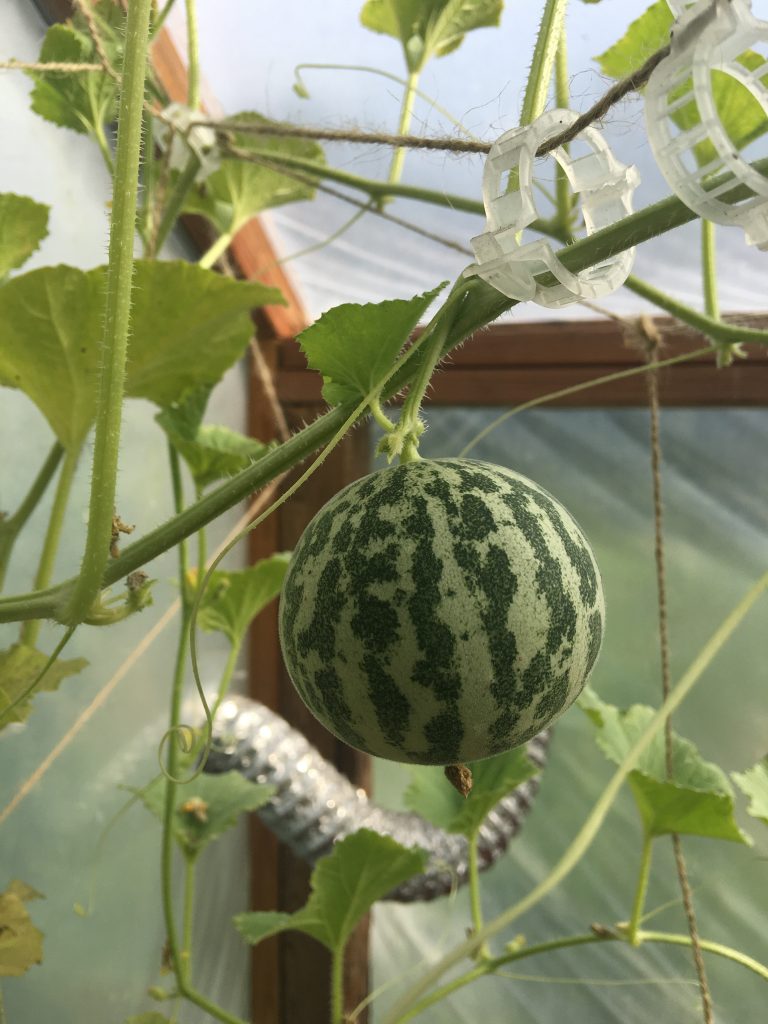
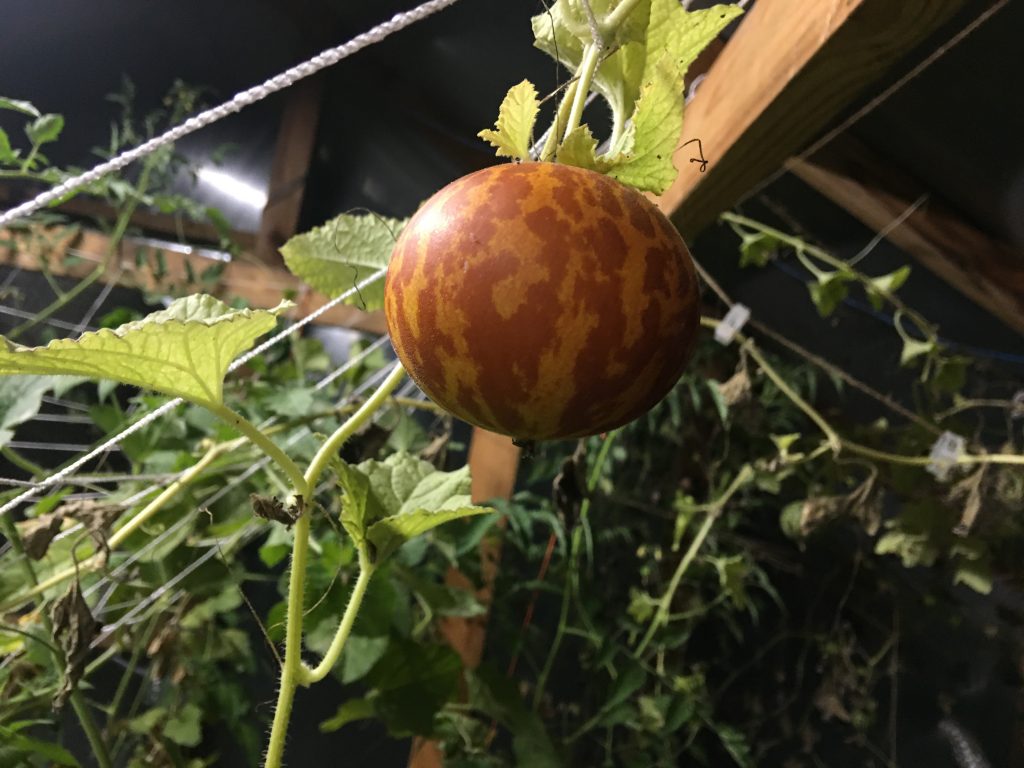
Finally some results
We’ve had the greenhouse for close to two years now, and I’m still very pleased with how it is working.
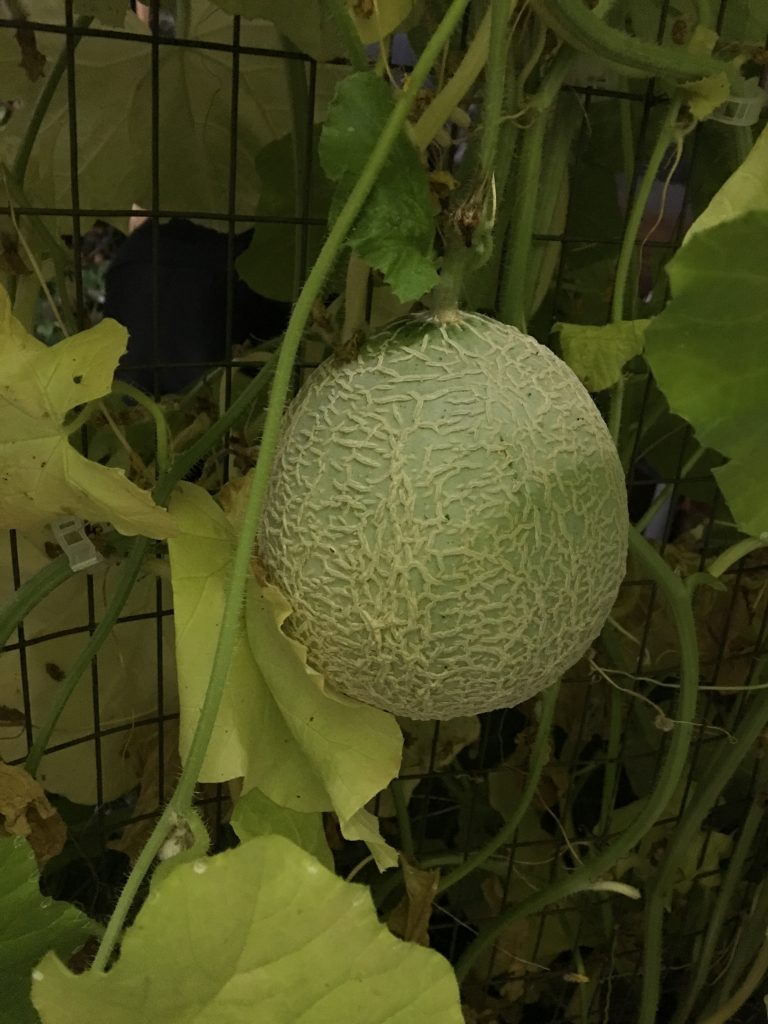
We’ve continued to add more options to the greenhouse, including some floating hydroponic beds, and another small dirt bed. We also have added some larger pots with tree starts.
Here are some of the results we’ve enjoyed over the past couple of years.